Showing posts with label printmaking. Show all posts
Showing posts with label printmaking. Show all posts
22 April 2019
03 May 2017
Animal number stamps
When I saw these erasers in Flying Tiger I thought they would make great stamps! The erasers are shaped like animals, but each animal is also in the shape of a number!
1. Because the erasers were already in the shapes of the animals, all you need to do is to carve the features of the animal, using a v-shaped gouge or a scalpel.
2. Stamp them - I then used inks to match the eraser colours.
3. Finally, add some details with a fine black pen.
To make this project even easier, you could do it without carving the features. Just stamp the eraser shapes then add the features with a pen!
These stamps would be great to use on a child's birthday card!
24 November 2016
GHS 50: Creating a school badge stamp
One idea I thought would be fun for the school anniversary displays was to have a souvenir stamp of the school badge that people could use. And luckily I had the materials on hand for making this - stamp carving block and tools, and a spare ink pad that people could use. I ended up actually making three stamps - one of the school badge, one of the school's initials, and one with 50 since it was the 50th anniversary.
To create a school badge stamp, draw the badge in reverse on the stamp carving block, then carve away the areas you don't want to print, leaving behind the parts you want to print in black (or whatever colour of ink you choose).
Put the stamp(s) and ink together in a box, and create a sign letting people know they can use them. Add a pile of blank paper at the side.
23 November 2016
GHS 50: vintage printing blocks
I was alerted to the existence of these printing plates when the art department at work was having a clear-out a few years back. They didn't want them, so I put them with a few other archive materials I was gathering, since I knew that the school's 50th anniversary was coming up.
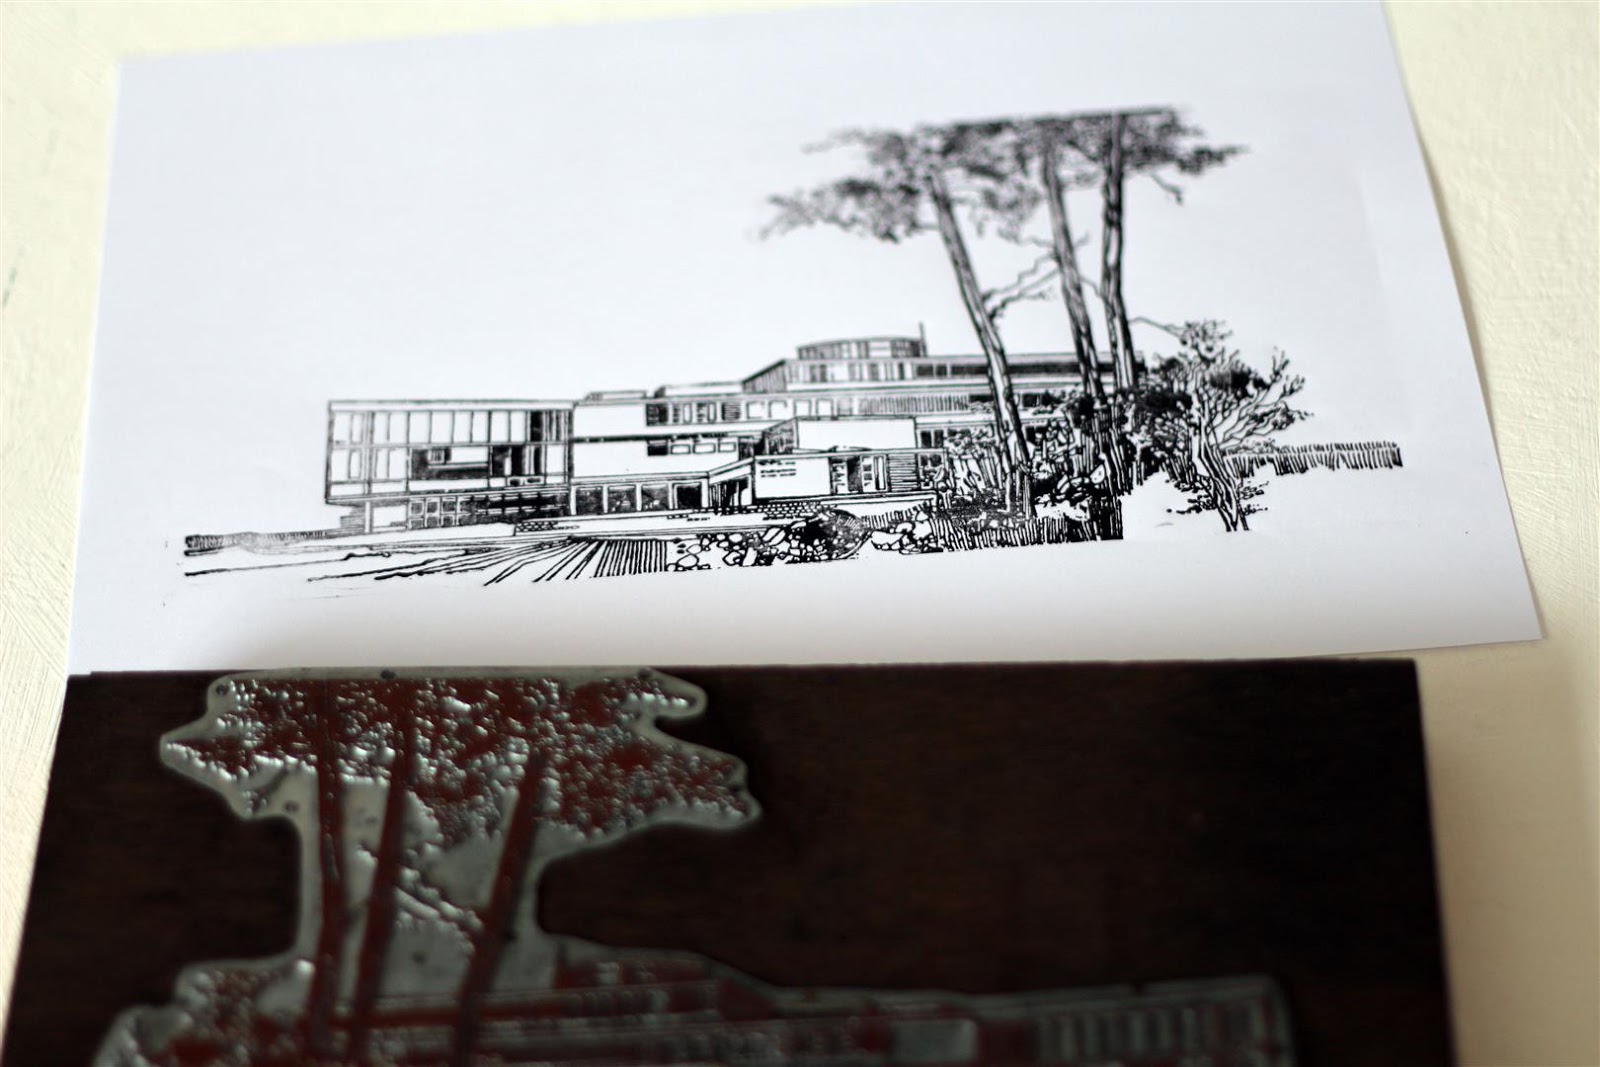
There are about 20 of these in total, with different images of the inside and outside of the school. It's very strange looking at a mirror image of the school! Luckily all the images are ones that we already had from other sources, so there was no great necessity to make prints from them.
But I thought it would be a fun project anyway, so I thought I'd have a go at printing a few of them one weekend.
I tried just using a stamp pad to ink them up for the first attempt, but I didn't feel the results were quite as clear as I wanted, so I finally broke out the printing ink and roller, and inked them up! I then used a baren to rub the paper against the plates. It was really hard work, so I just did a few copies of each until I had some that I was happy with.
I displayed a few of the prints alongside the printing plates at the school anniversary events.
01 August 2016
Designing a Japanese-style souvenir stamp
When Marceline showed off some of the souvenir stamp designs she’d gathered on her recent holiday to Japan, I had the bright idea that we could design them for our own towns! Marceline has set this up as a little summer challenge, so if you design your own, post it to Instagram with the hashtag #mysouvenirstamp and tag @marcelinesmith.
Often known as eki stamps, or station stamps, these rubber stamps are found not just at train stations but at all sorts of tourist attractions, temples, etc. Collecting them is a fun way to commemorate your visits to various places. On my first trip to Japan, I only got one, at Mount Fuji, but on my second trip I carried my travel journal with me and sought the stamps out where ever I went!
I found designing these stamps a very similar process to that of designing my personalised Japanese crest – thinking of items to sum up a person or place, my home town in this case, and fitting them into a circular design.
Not all souvenir stamps are circular, of course. They can be square, rectangular, octagonal, or other shapes. But the circle is one of my favourite shapes for them, and it’s quite appropriate for my home town of Glenrothes which is famous for its roundabouts!
I started with some sketches to put my ideas together. Glenrothes is also famous for its town art. There are sculptures throughout the town, and some of the best-known ones are the hippos, mushrooms, and irises, so I wanted to use these in my design. I also wanted to add a kawaii element to go with the Japanese inspiration, so I decided my mushroom and hippo would have cute faces.
I used a couple of stencils to draw concentric circles, and then drew my ideas inside them in pencil. When I’d done that I went over them in pen, and decided which of them I liked best. I discovered that I am not very good at drawing cute hippos! They often looked like some weird cow-horse-pig-moomin hybrid. Mind you, I was maybe not too far off with the Moomin resemblance, since Googling “cute Japanese hippo” gives images of Moomins!
I wanted some Japanese lettering on my stamp, and, not feeling confident about translating Glenrothes into katakana, I decided instead just to have the katakana for Scotland across the top.
I chose one of the drawings, but preferred the flower from another, so once I’d scanned them in I used Photoshop to combine them. I changed the colour, tidied up the drawing, and used the Stamp filter to give a smoother appearance to the lines. Then I added a layer on top where I used a brush to cover some areas with white. This gave a faded, dotty appearance to mimic the use of a real stamp.
I enjoyed the process so much that I went on to design more stamps representing the architecture, and town park!
I also experimented further in Photoshop by changing the colour of the stamps, and by making double-stamped images.
Why not join in the fun yourself, and design a stamp for your own town, a local tourist attraction, or somewhere else you like? You can draw it or try carving it from a stamp blog. Post your stamp on instagram with the hashtag #mysouvenirstamp and tag @marcelinesmith
19 November 2015
Cat-ear face stamps
I'd spotted these erasers a few times in Tiger, but hadn't bought them as I knew I wouldn't use them as erasers. But I thought they were really fun, and wished I could think of another purpose for them.
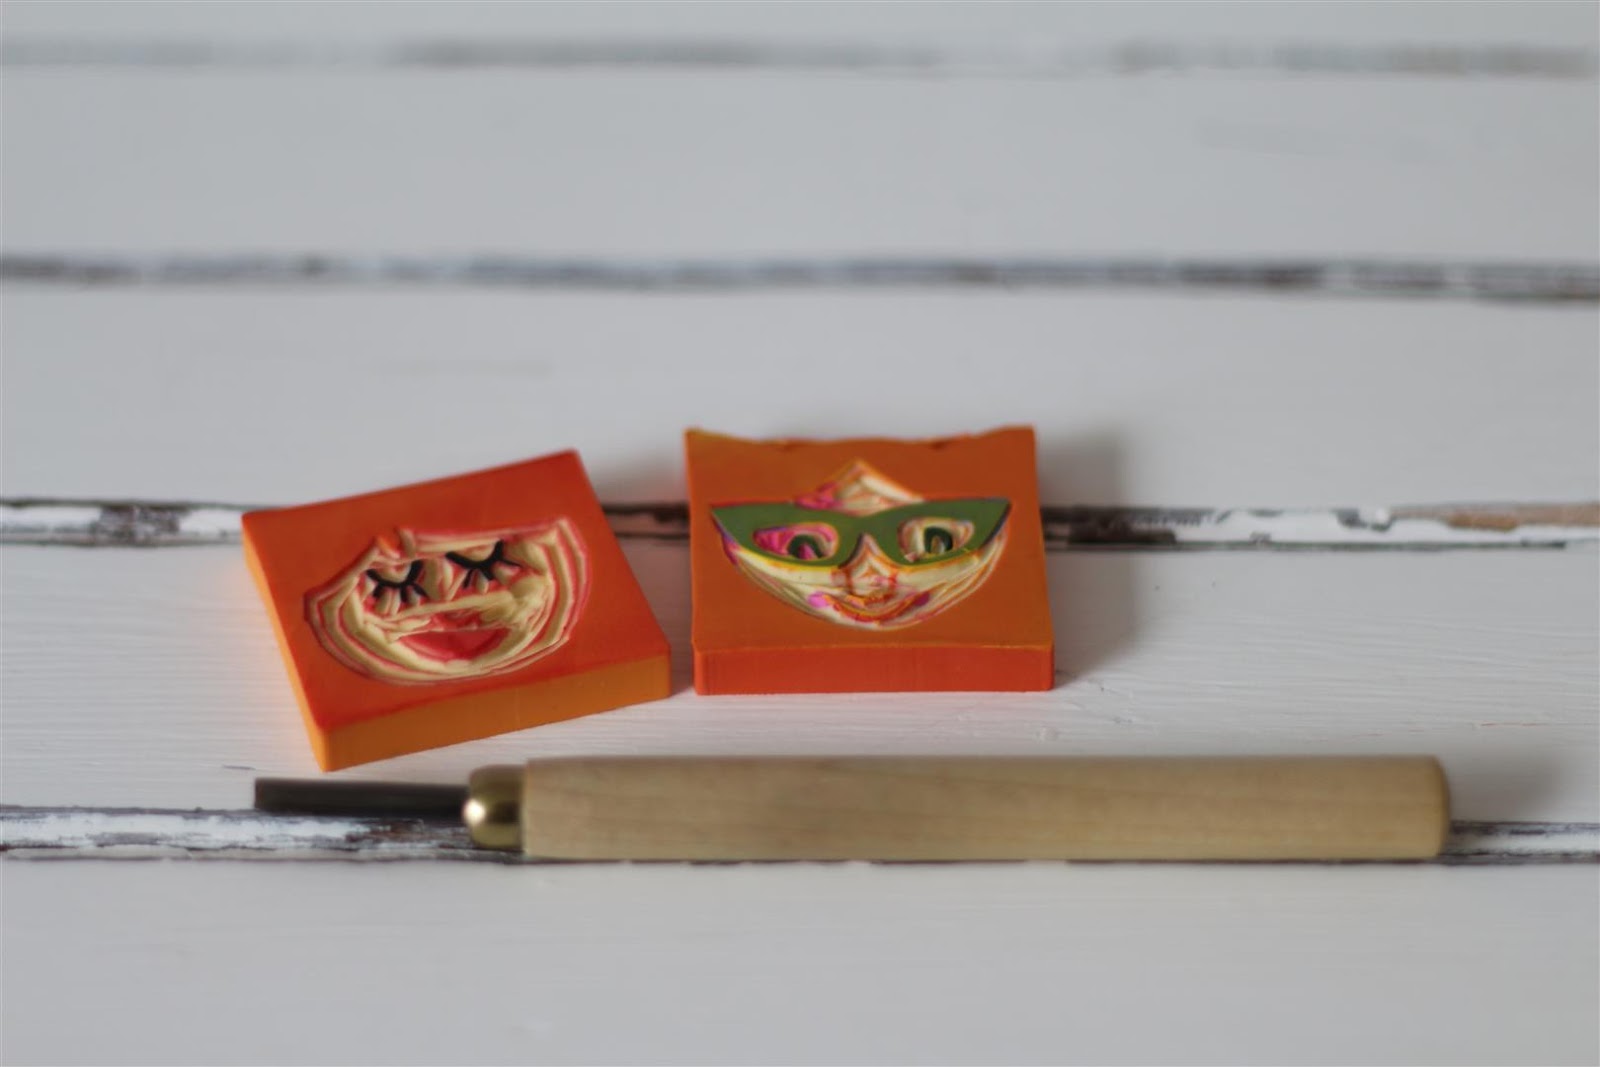
Then, on my latest trip to Tiger I was excited to find that they have stamp carving sets. Since I love carving stamps, I picked one up. Then I spotted the face erasers, and the idea came to me - I could carve along the lines of the design to create stamps!
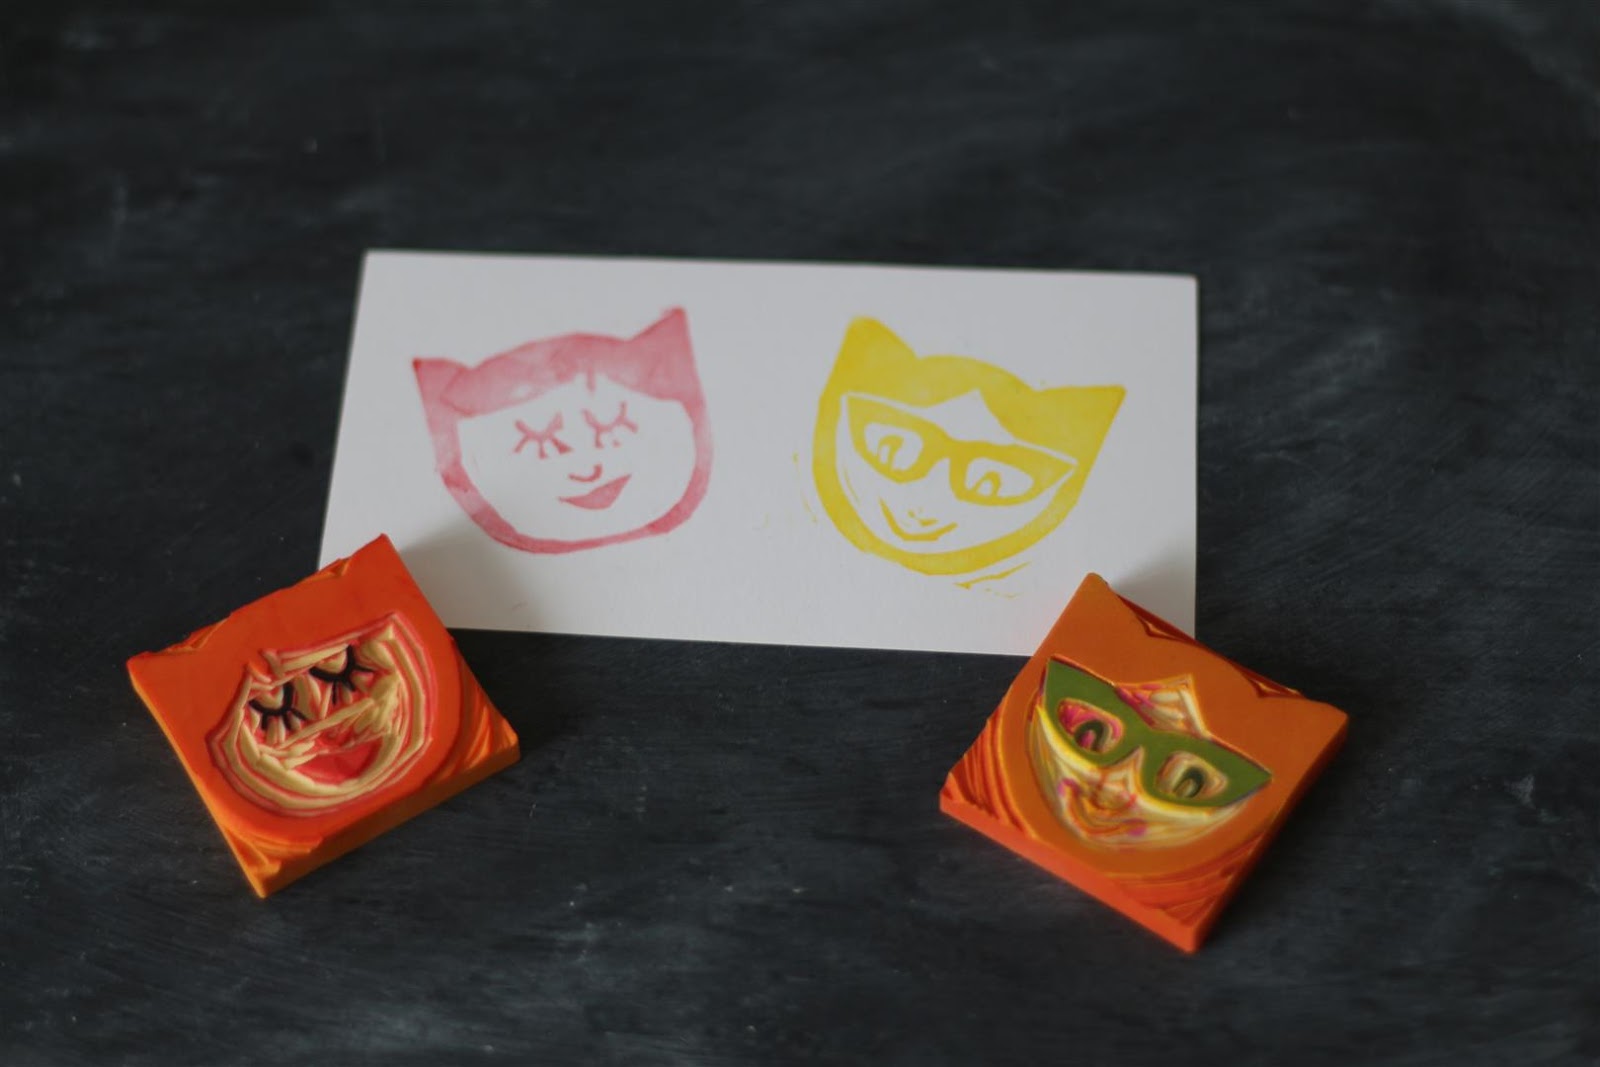
So that's exactly what I did. I carved out the areas of the faces that I wanted to remain white.
After stamping with them a bit, I noticed that one of them was giving a cat-ear effect when I didn't press hard enough at the top centre of the stamp. I thought this looked really cool (it reminded me of the character Enid in one of my favourite films, Ghost World). So I carved both of the stamps into cat-ear shapes.
And the other side of the stamps could also be carved - I'm wondering whether to make the opposite of these ones, with the hair area light and the faces dark.
05 May 2015
Rain cloud cushion
Screen printing is something I've always wanted to try, so when I realised that you can do it with Mod Podge, an embroidery hoop and an old piece of net curtain, all of which I had, I decided to give it a try!
I went with a simple repeating pattern of raindrops. I'd planned to make a simple square cushion, but then decided it would be cool to make the cushion in the shape of a cloud.
1. Draw your design on paper.
2. Place a piece of thin voile fabric tightly in the embroidery hoop.
3. Trace the design onto the fabric.
4. Paint over the background with Mod Podge and allow to dry. Give another coat if there are any holes in the Mod Podge.
5. Place some cardboard behind your fabric (if you wrap it in some sort of plastic it won't stick to the painted fabric like mine did!). Place the embroidery hoop on top, and paint over the non Mod Podged areas with fabric paint.
6. Allow to dry thoroughly, and iron on the reverse.
7. Draw a cloud shape on paper of the same size as your fabric.
8. Pin the cloud shape to the reverse of the fabric, adding a layer of plain fabric for the back of the cushion, and sew around the outline, leaving the bottom open.
9. Snip notches around the seam.
10. Turn out the right way and iron.
11. Stuff the cushion and hand-sew the bottom closed.
I like the imperfect look of the printing, but if you want a more perfect look you will have to experiment with how much fabric paint to use, and how hard to press it through the screen.
Subscribe to:
Posts (Atom)


.JPG)
.JPG)
.JPG)
.JPG)
.JPG)
.JPG)
.JPG)
.JPG)
.JPG)
.JPG)
.JPG)
.JPG)
.JPG)
.JPG)
.JPG)
.JPG)