
How to Create a Fun & Fabulous Easter Display, in 3 Simple Steps
Includes My Secret Formula!
It’s as Easy as 1,2,3
Have you started to think about decorating for Easter? It’s a pretty fun holiday. What could be cuter than little chicks and bunnies in a lovely Easter display? Even all the colors are fun. And I haven’t yet mentioned the chocolate, jelly beans, and malted milk balls.
If you’re looking for some inspiration for your own Easter display, I’ve created one myself that I share here.
But, I also include the simple steps you can use to create your own. And, I’m even adding both the sources for all my display items and some additional resources, so you can find other fun pieces. I’m also including my secret formula for how I pull everything together. It works like a charm every time, keep reading.
So, you have lots of inspiration here to build your very own, personalized Easter display.
Here’s what to do…
1. Select a Theme
Why Choose a Theme?
Selecting a theme for your Easter display will give it purpose and instantly create a more cohesive look. If you purchase items helter-skelter, you might find it hard to fit them together. Pieces with the same theme tend to blend together more seamlessly. Plus it makes shopping a little easier if you know where to focus.
My Easter Display
I selected bunnies as my theme. My very first Easter purchase this year was a wall plaque of a super cute bunny with the words, Happy Everything (you can see it below). That convinced me where to focus. So, I guess you could say that I got inspired into picking a theme.
You don’t need to pick a bunny for your theme (though it’s a good one!). Luckily, there are lots of ideas where Easter is concerned.
Here are a few possibilities for you.
Other Possible Easter Themes
- Chicks
- Candy
- Flowers
- Eggs
- Carrots
- Baskets
If you’re looking for more inspiration, it’s available in a lot of places. Try Pinterest, Instagram, magazines, online stores, and local shops.
2. Find Your Display Items
My advice is always to shop your house first, then set a budget and peruse local or online shops.
As you shop, look for items that build upon your theme. Also, have a good idea where you’ll place your display, so you know the number and size of the pieces to target.
As an Example
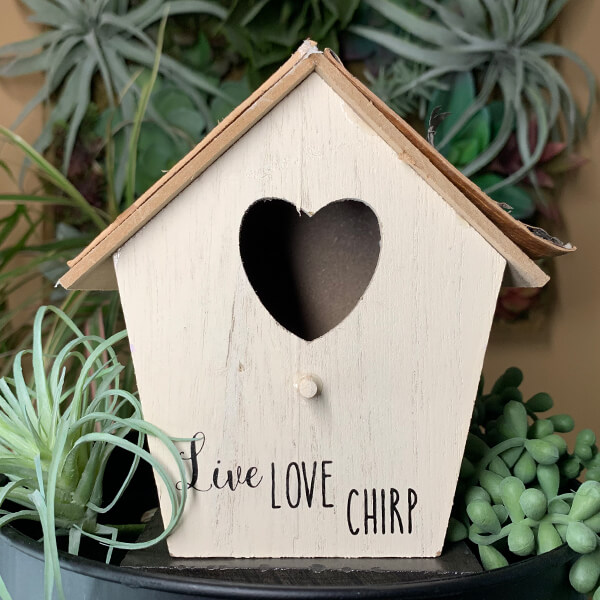
Once I selected bunnies as my theme, I looked for cute bunnies and bunny-like items everywhere. Yes, some of the items (you’ll see them below) weren’t exactly bunny-related. I’m thinking of the birdhouse in particular. But I thought it still worked and was both super cute and I found it at Target Dollar Spot, so cheap!
If you do go shopping for Easter decor, I have to warn you that there are lots of sweet, fun pieces in the shops this year. So guard your wallet, you’re going to come across a lot of things you’ll want to throw in your shopping cart.
I knew that I would be using a tiered tray to ‘house’ some of the items. I also knew where I would be setting up my display (it’s my favorite spot, I like the lighting there).
So, I looked for the size and number of items that would fit what I had in mind.
Here’s what I collected below. I purchased all these locally, so I did not include links to the vendor sites. There is one exception. The very first item, the bunny plaque, has a link and this link is an affiliate. This means that at no additional cost to you, I will earn a commission for purchases made through these links, which are sponsored by ShopStyle. Visit my Disclosure Statement and Privacy Policy for additional details.
Bunny Wall Plaque, Pier 1

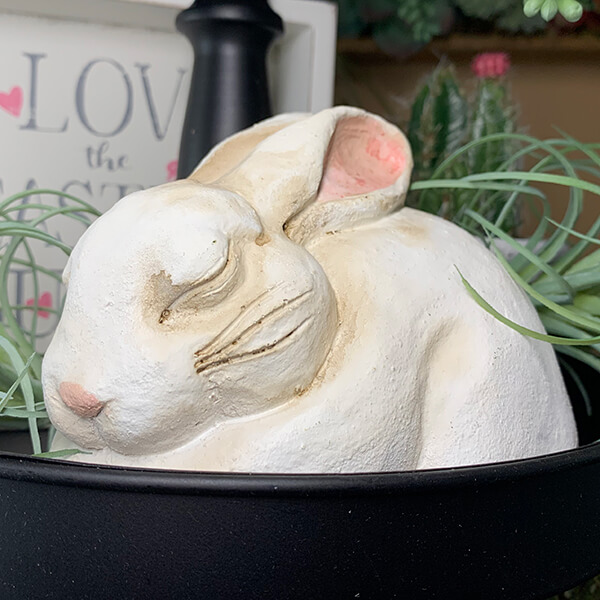
Bunny Statue, Target

Bunny Statue, Target
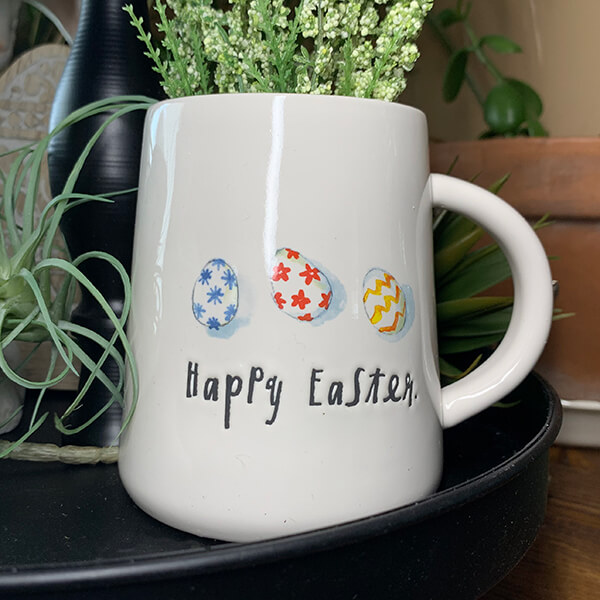
Easter Mug, Home Goods
Hop Cup, Home Goods

Bird House, Target Dollar Spot
Easter Bunny Sign, TJ Maxx

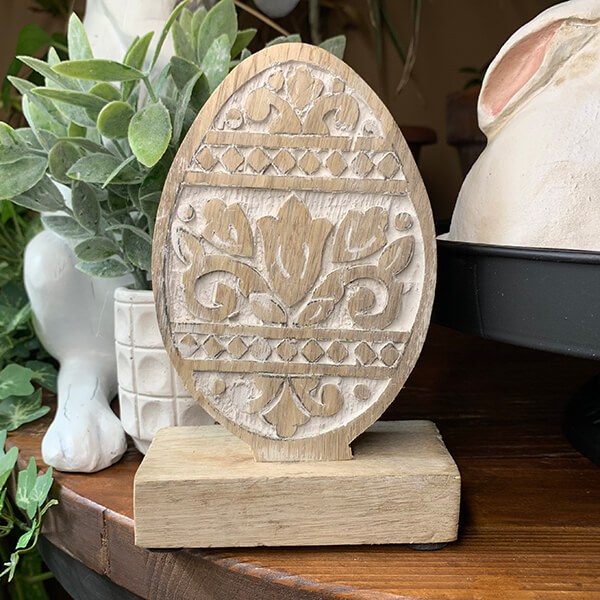
Wood Easter Egg, Home Goods
Bunny Statue, Hobby Lobby

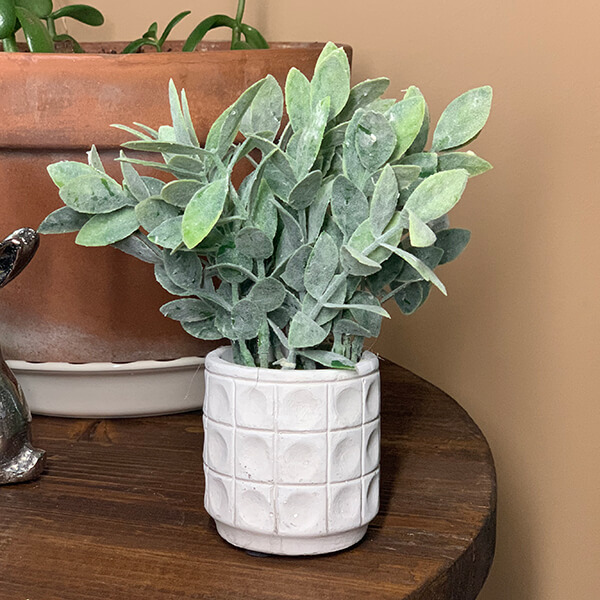
I also knew that I would be adding greenery to my display. The TJ Maxx purchases were new, the others were items I already had.
Hobby Lobby
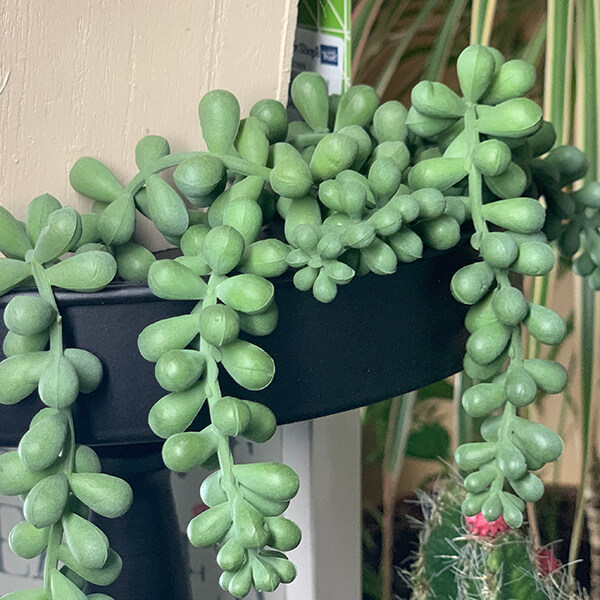
Hobby Lobby

Hobby Lobby
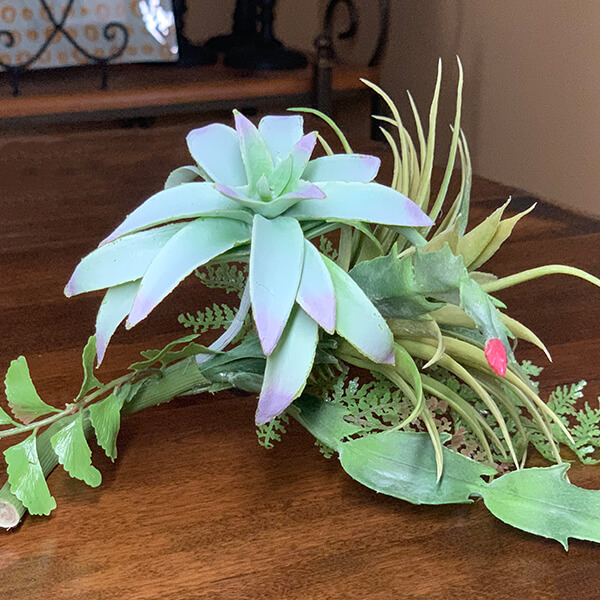
TJ Maxx
TJ Maxx

Other Resources
The following are some other resources for your own Easter display that I thought you might find helpful. The links below are affiliate links. This means that at no additional cost to you, I will earn a commission for purchases made through these links, which are sponsored by ShopStyle. Visit my Disclosure Statement and Privacy Policy for additional details.
Tiered Trays
Easter Decor
3. Put it Together
Now that you have your items, here is my secret formula for putting everything together. I use this technique for many of my displays and it never fails me.
My Secret Formula:
- Start with a tiered tray.
- Are you in the market for one? There are links above.
- If you need more instruction in building a tiered tray, here’s a post that may help.
- Find a good spot with some space around it.
- You’ll need enough space to put a couple of items on both sides.
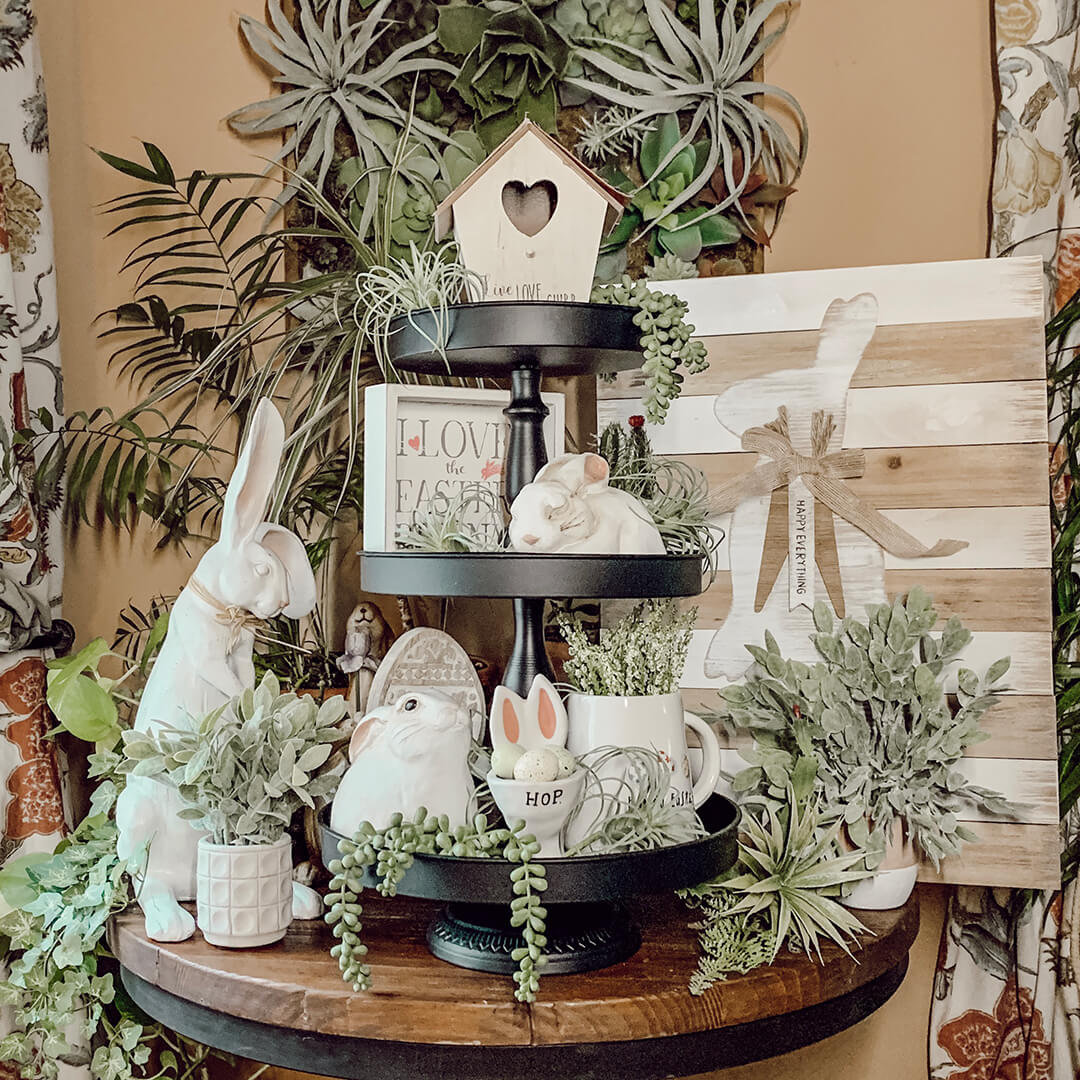
- Add items to the left and right of the tray.
- Often I add a sign on one side, with something shorter in front of it. Here, I added the bunny plaque on the right and placed some greenery in front of it.
- Then I add a piece or two to the other side. In this case, I wanted something tall enough to ‘hold its own’ with the picture on the other side, so I added the bunny. Then in front of it, I added some greenery.
- Thing about your background. You can just have a wall if you like. Here, I have a couple of plants in the background, and a plant wall piece. All of it serves as a backdrop, which I found more interesting than a blank wall.
Told you, Easy peasy!
The following is a fun, sweet 60-second video that shows how I built my Easter display. If you’re having trouble viewing the video here on the page, click here for the Youtube version.
My Final Display
SUMMARY
As my niece says, Ta Da! I hope this post has given you a few ideas and some inspiration to build your very own adorable Easter display. Got questions? Leave a comment below, I’ll always answer.
How about you?
Got any great Easter display ideas? If you do, or if you use my tips to build your own I’d love to hear about it!


I love all of your Easter goodies and your s3 tiered tray video tutorial is GREAT! Thanks for sharing.
So glad you stopped by Marissa and thanks much for the love!