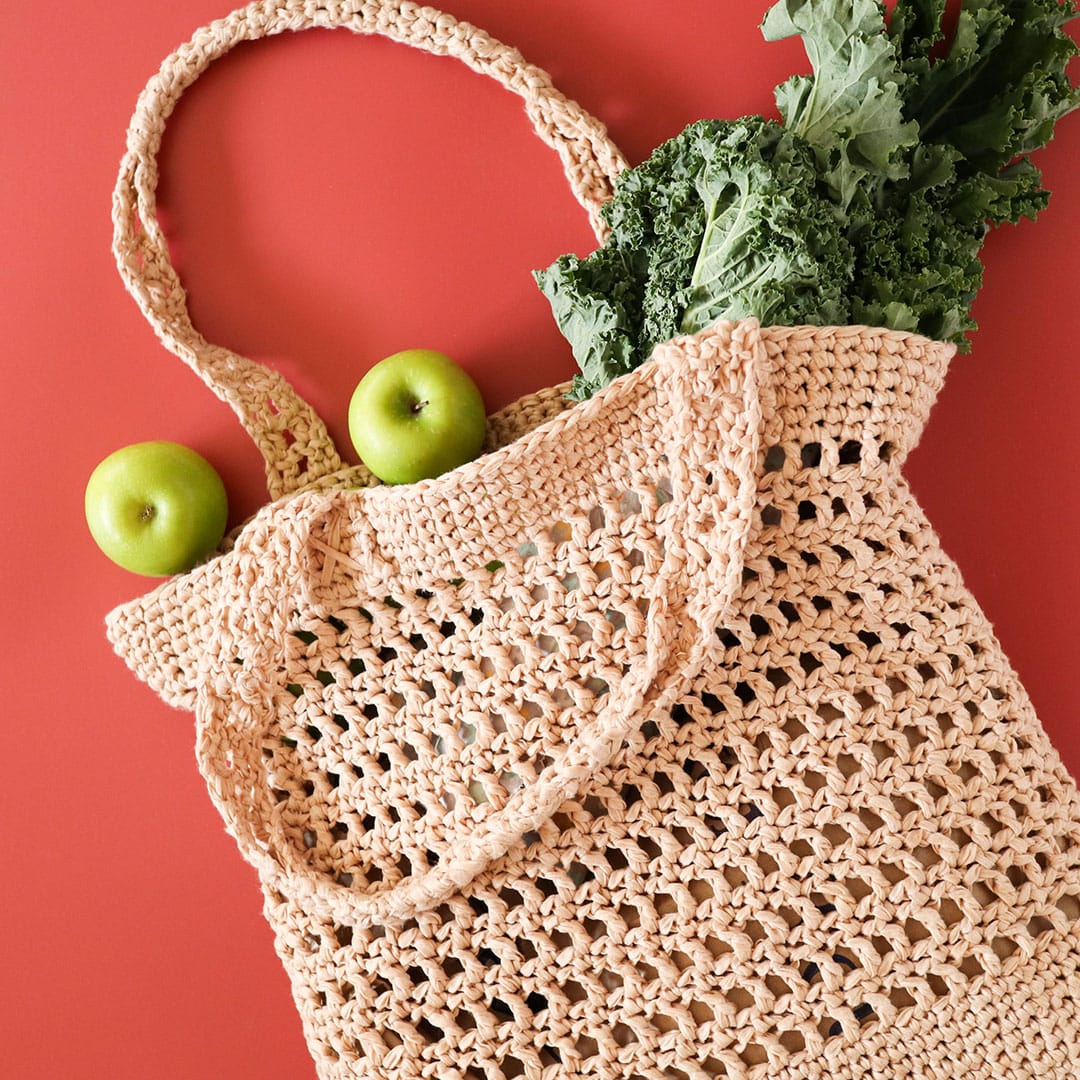
Crochet Raffia bags are all the rage at the moment. Some of the hottest designers including Prada, Miu Miu and YSL are sending handmade crochet tote bags down the runway with price tags in the thousands of dollars.
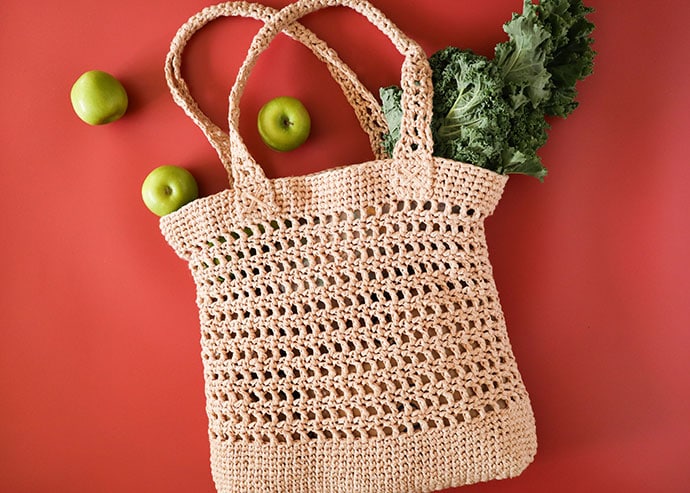
Of course with this easy to follow crochet market bag pattern and a brand new ribbon yarn that looks just like raffia yarn, you can whip up a raffia look crochet tote in no time at all.

This free crochet pattern is brought to you by American Yarns. This post contains affiliate links.
Natural raffia is quite tricky to crochet with, but you can cheat and get the same look much more quickly, and at the fraction of the price of raffia yarn with my sneaky new find.
This pattern for a crochet market bag is made with a novel new yarn from American Yarns called Bernat Suede-ish.

The ‘Tusk’ colour caught my eye as its light straw hue, combined with its flat appearance, looked just like natural raffia, which inspired the creation of this crochet bag pattern.
With just a few basic stitches this classic mesh pattern bag works up super fast and is very flexible, making it the ideal shopping tote for a visit to the market.

It’s also stylish enough to pair with a summer outfit and carry all your essentials as a beach tote bag.
You may also like:
About Bernat Suede-ish yarn
Bernat Suede-ish yarn is a smooth tape yarn that creates a soft brushed suede-like appearance in the finished project. The solid shades have a tonal dye effect, which gives a unique organic look with very slight colour variations.

Its flat tape style creates very defined stitches which is perfect for knitting or crochet projects where textural interest is required.

It’s hard to describe the texture of this yarn, not spun and non-woven, extremely light but super strong.
Made from 70% Polyester & 30% Rayon / Viscose, I’d recommend it for home decorating projects and accessories that need to be robust, washable and tolerate lots of wear.
The brushed suede-like finish ensures the yarn doesn’t feel plastic to the touch, and gives is a naturalistic matte look.

It was very easy to crochet with as it doesn’t split, tear or stretch so it’s very easy to maintain a consistent tension.
The yarn slides over the hook easily and its thin tape construction creates a strong, robust fabric with a nice drape and not too much weight.

American Yarns stocks 10 solid colours and 4 variegated shades.
Let’s make a Raffia style Crochet Market Bag

Constructed form the base up with handles made separately and then attached, this bag pattern is simple to follow and doesn’t need much attention once you get going.
If you can single and double crochet you can make this tote bag without too much effort.

Normally I’m pretty relaxed about gauge, but I recommend making a swatch to get the gauge correct for this project as the yarn quantity is pretty dead-on for 2 balls, and if you have a loose gauge you will run out of yarn.

This is all the yarn that remained after the bag was complete.
I generally have quite tight tension, so if you crochet more loosely than I do, you may run out of yarn. If that’s the case I suggest dropping a hook size, or in a worst case scenario where you run out of yarn for the handles, attach some leather straps as handles instead.

Finished size: Bag body without handles h 38cm (15″) x w 40.5cm (16″), with handles h 62cm(24.5″)
Gauge: 12st x 12rows per 10x10cm (4″x4″) in sc – (you may run out of yarn if your gauge is looser than this)

You will need:
- 2 balls Bernat Suede-ish yarn Tusk
- 6 mm crochet hook
- Yarn needle
- Scissors
- Sewing needle
- Matching colour sewing thread
Stitches used US terminology:
- Chain Stitch (ch)
- Single Crochet (sc) US
- Double crochet (dc) US
- Slip Stitch (sl)
- Stitch (st)
Faux Raffia Market Bag Crochet Pattern instructions:

This pattern is worked in 3 main sections:
- The base is worked flat back and forth
- The body is worked off the base in circular rounds
- The handles are made separately worked flat back and forth then attached
Make the base

Base is worked flat, back and forth. First ch in every row does not count as a stitch.
Set up row – ch 11
R1 – work 1 sc into 2nd stitch in chain, then work 1 sc into each ch. (10st)
R2 – R40 – ch, turn, work 1 sc into each stitch. (10st)
Don’t break yarn. Base should measure about 9cm x 34cm (3.5″x13.5″)

Now we are going to stitch around all sides of the base to prepare forming the sides of the bag base.
Set up row – working anti-clockwise, ch1, sc one st into each row space on top edge (20st), sc 10 along the starting foundation chain, sc 20 along the other long side and finally sc 10 into the last short side. (100st)
We’ll be working in the round from here.

Tip: I’ve placed these needles in the gaps where you need to sc into the row spaces.
Sides of base – Placing a marker into first stitch, sc into each st to end. Working in a spiral continue this way for another 10 rows.
Body of Bag – Netting Section

The mesh pattern is made up of repeats of 2 rows, the first row is *dc, ch* and the second is *sc, ch* stacked on top of each other worked in rounds.
First ch2 in each R1 round counts as dc, first ch in each R2 round counts as sc (see images below)

Finish the row by slip stitch into ch2 at the start of round as indicated by arrow which substitutes a dc in R1.

You can see that it gives a seamless finish before moving up to the next round.
R1 – ch3 (counts as first dc + 1 ch), sk 1 st, *dc 1, ch 1, sk 1. Repeat from * to end. Sl st into top of first ch 2.
R2 – ch2 (counts as first sc + 1 ch), sk 1 st, *sc 1, ch 1, sk 1. Repeat from * to end. Sl st into top of first ch 1.
The dc and sc should be stacked on the stitches of the rows below. Do not work into the chain spaces.
Repeat R1 & R2 another 9 times.
Finish with another R1.

R22 – Placing a marker into first st, sc into each ch sp and stitch from previous row, continue till end. Worning in a spiral from now on. (100 st)
R23- R27 – Placing a marker into first stitch, sc into each st to end. In final row, join with a sl st into first sc. Break off yarn and weave in end.

Make the handles
Make 2 identical handles working flat back and forth. First ch in every sc row does not count as a stitch
Basically its 6 rows sc, 10 rows dc pattern, 24 rows sc, 10 rows dc pattern, 6 rows sc.

Make 2x the following
Set up row – ch 6
R1 – work 1 sc into 2nd stitch in chain, then work 1 sc into each ch. (5st)
R2 – R6 – ch, turn, work 1 sc into each stitch. (5st)
R7 –16 – ch2 turn (counts as first dc), dc 1, ch 1, sk 1, dc2. Work last dc into top of first ch 2(5st)
R17 – R40 – ch, turn, work 1 sc into each stitch. (5st)
R41 –50 – ch2 turn (counts as first dc), dc 1, ch 1, sk 1, dc2. Work last dc into top of first ch 2(5st)
R51 – R56 – ch, turn, work 1 sc into each stitch. (5st)
Break off yarn and weave in ends.

To finish, fold the center of the handles in half and whip stitch edges together to make a rope like section. Weave in tails.

Finishing the Tote bag
1. Lay the bag flat and pin handles in place with a gap of 16 stitches between each end. Mirror on opposite side of bag.

2. Sew on securely with matching colour sewing thread for an invisible finish.

Optional – sew a large decorative cross stitch over the base of each handle where it attaches to bag.

All done! Time to enjoy your brand new, very fashionable, crochet tote bag.
It looks like raffia but can be thrown in the washing machine when it gets dirty and will wear well for years to come.

I hope you enjoy this free crochet market bag pattern – Tag me on Instagram @mypoppetmakes if you make your own, I’d love to see them.
All yarns featured are available from www.americanyarns.com.au


Hi Cintia,
I love your tutorial of the crochet market bag. I have raffia so I want to use this pattern. I cant find a link to just print out the pattern so I have it. . I will use your tutorial as I am self teaching myself crochet. Made a hat years ago. If you have a pdf of this pattern, would you please email it to me. Thanks again for writing a great pattern.
Renee
Hi Renee, I don’t have PDFs of my patterns available at this stage. Sorry
Thank you. I’ll try and work with your tutorial. I actually am going to use raffia since I have it. Would you recommend a different size crochet needle than the one you used for the Bernard tape yarn? Thanks for your time.
The hook size will depend on your raffia. Make a test swatch and adjust accordingly.