6 Tips for Setting Up Your Nextflow Dev Environment
This blog follows up the Learning Nextflow in 2020 blog [post](https://www.nextflow.io/blog/2020/learning-nextflow-in-2020.html).
This guide is designed to walk you through a basic development setup for writing Nextflow pipelines.
1. Installation
Nextflow runs on any Linux compatible system and MacOS with Java installed. Windows users can rely on the Windows Subsystem for Linux. Installing Nextflow is straightforward. You just need to download the nextflow executable. In your terminal type the following commands:
The first line uses the curl command to download the nextflow executable, and the second line moves the executable to your PATH. Note /usr/local/bin is the default for MacOS, you might want to choose ~/bin or /usr/bin depending on your PATH definition and operating system.
2. Text Editor or IDE?
Nextflow pipelines can be written in any plain text editor. I'm personally a bit of a Vim fan, however, the advent of the modern IDE provides a more immersive development experience.
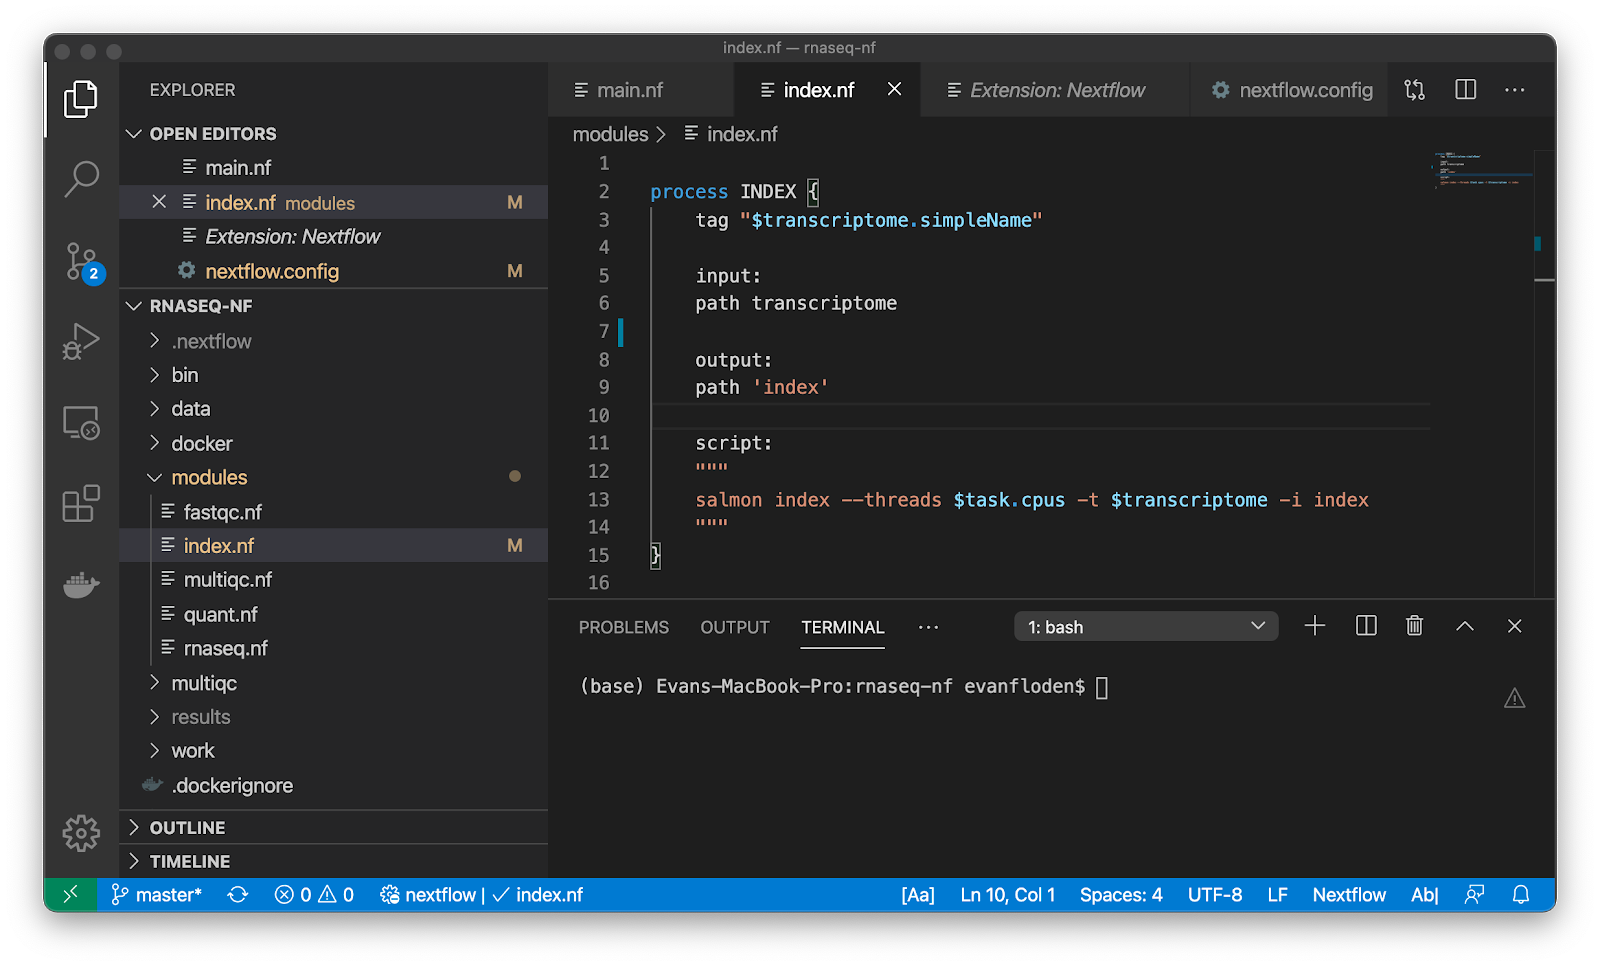
My current choice is Visual Studio Code which provides a wealth of add-ons, the most obvious of these being syntax highlighting. With VSCode installed, you can search for the Nextflow extension in the marketplace.

Other syntax highlighting has been made available by the community including:
3. The Nextflow REPL console
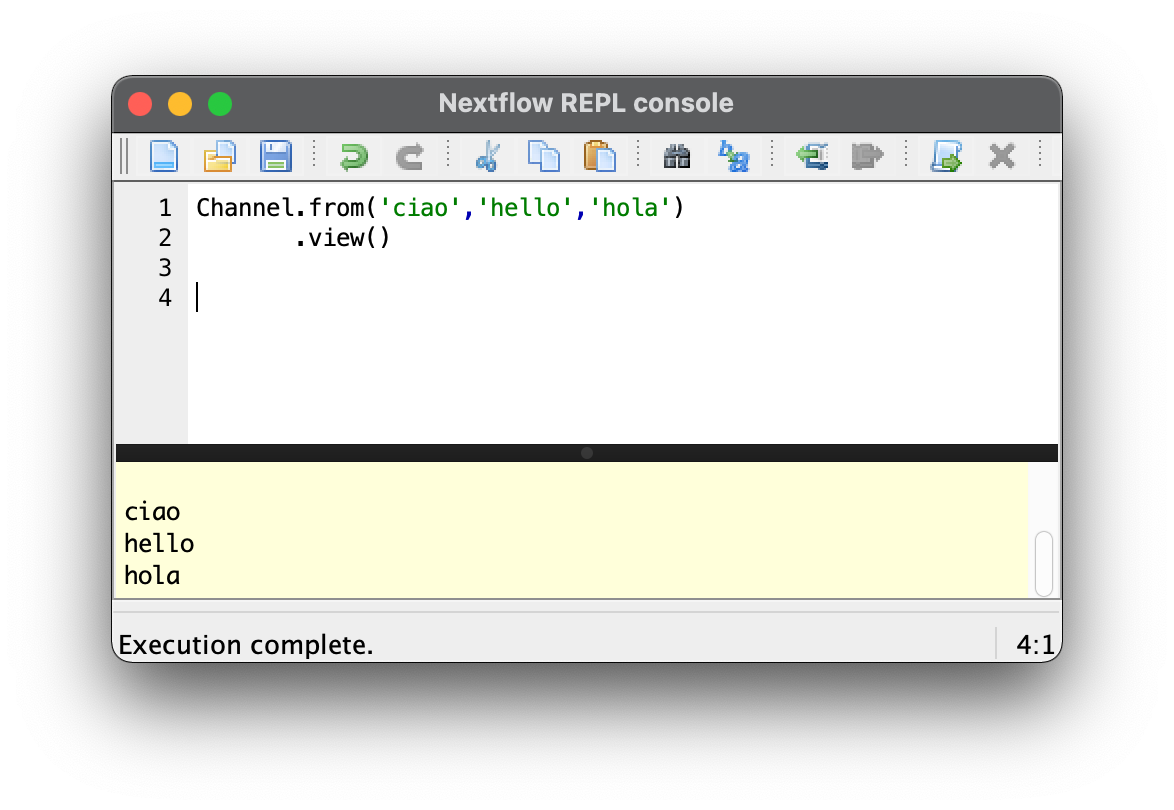
The Nextflow console is a REPL (read-eval-print loop) environment that allows one to quickly test part of a script or segments of Nextflow code in an interactive manner. This can be particularly useful to quickly evaluate channels and operators behaviour and prototype small snippets that can be included in your pipeline scripts.
Start the Nextflow console with the following command:

Use the CTRL+R keyboard shortcut to run (⌘+Ron the Mac) and to evaluate your code. You can also evaluate by selecting code and use the Run selection.
4. Containerize all the things
Containers are a key component of developing scalable and reproducible pipelines. We can build Docker images that contain an OS, all libraries and the software we need for each process. Pipelines are typically developed using Docker containers and tooling as these can then be used on many different container engines such as Singularity and Podman.
Once you have downloaded and installed Docker, try pull a public docker image:
To run a Nextflow pipeline using the latest tag of the image, we can use:
To learn more about building Docker containers, see the Seqera Labs tutorial on managing dependencies with containers.
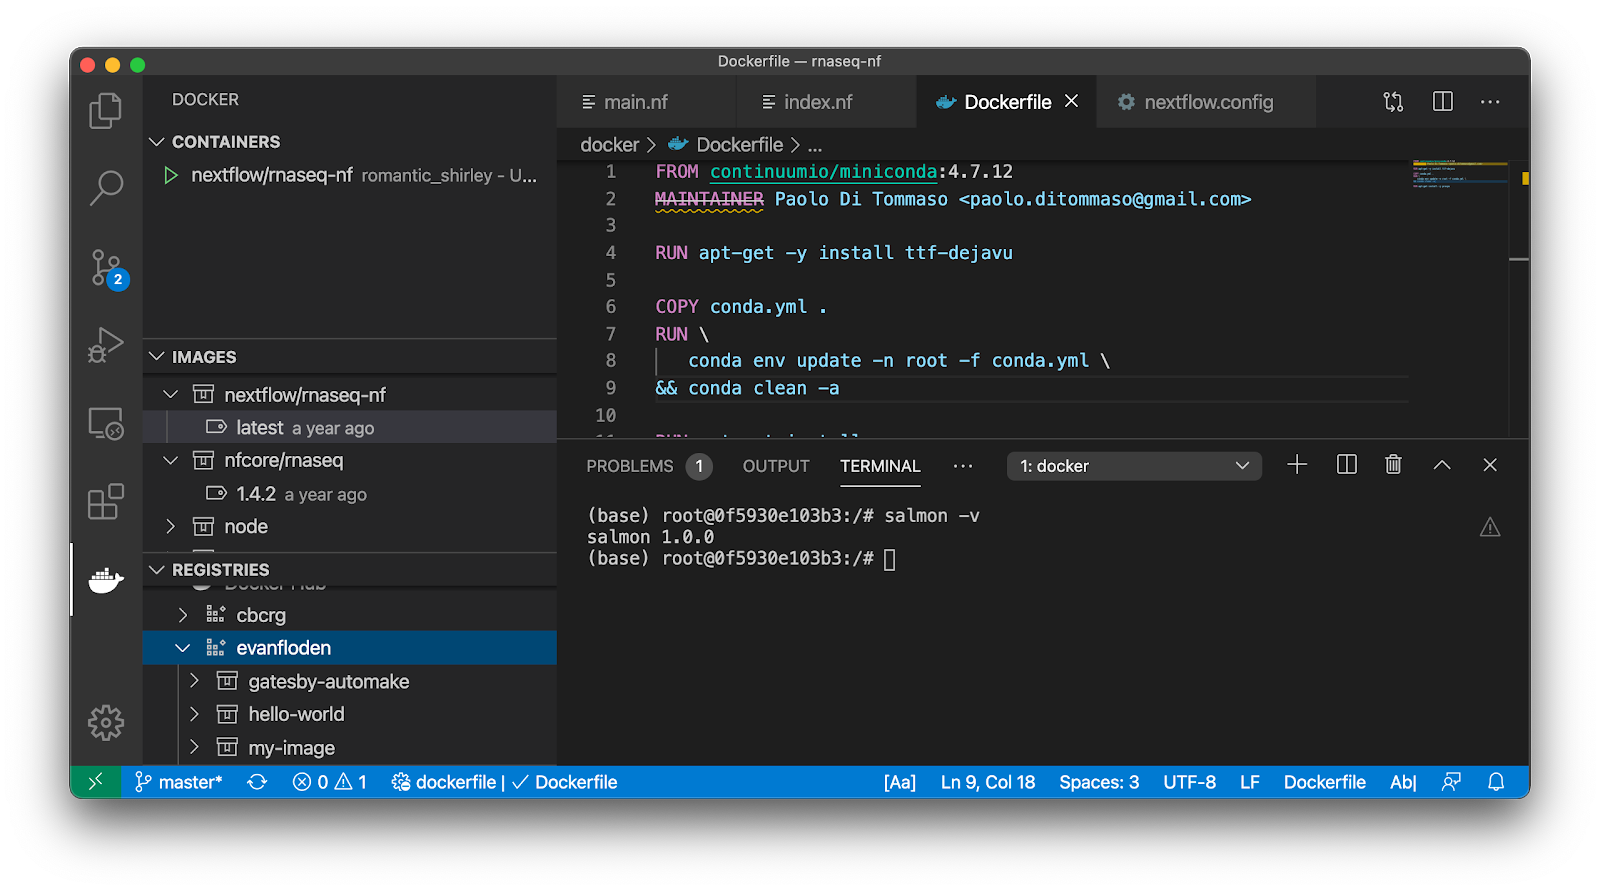
Additionally, you can install the VSCode marketplace addon for Docker to manage and interactively run and test the containers and images on your machine. You can even connect to remote registries such as Dockerhub, Quay.io, AWS ECR, Google Cloud and Azure Container registries.

5. Use Tower to monitor your pipelines
When developing real-world pipelines, it can become inevitable that pipelines will require significant resources. For long-running workflows, monitoring becomes all the more crucial. With Nextflow Tower, we can invoke any Nextflow pipeline execution from the CLI and use the integrated dashboard to follow the workflow run.
Sign-in to Tower using your GitHub credentials, obtain your token from the Getting Started page and export them into your terminal, ~/.bashrc, or include them in your nextflow.config.
We can then add the -with-tower child-option to any Nextflow run command. A URL with the monitoring dashboard will appear.
6. nf-core tools
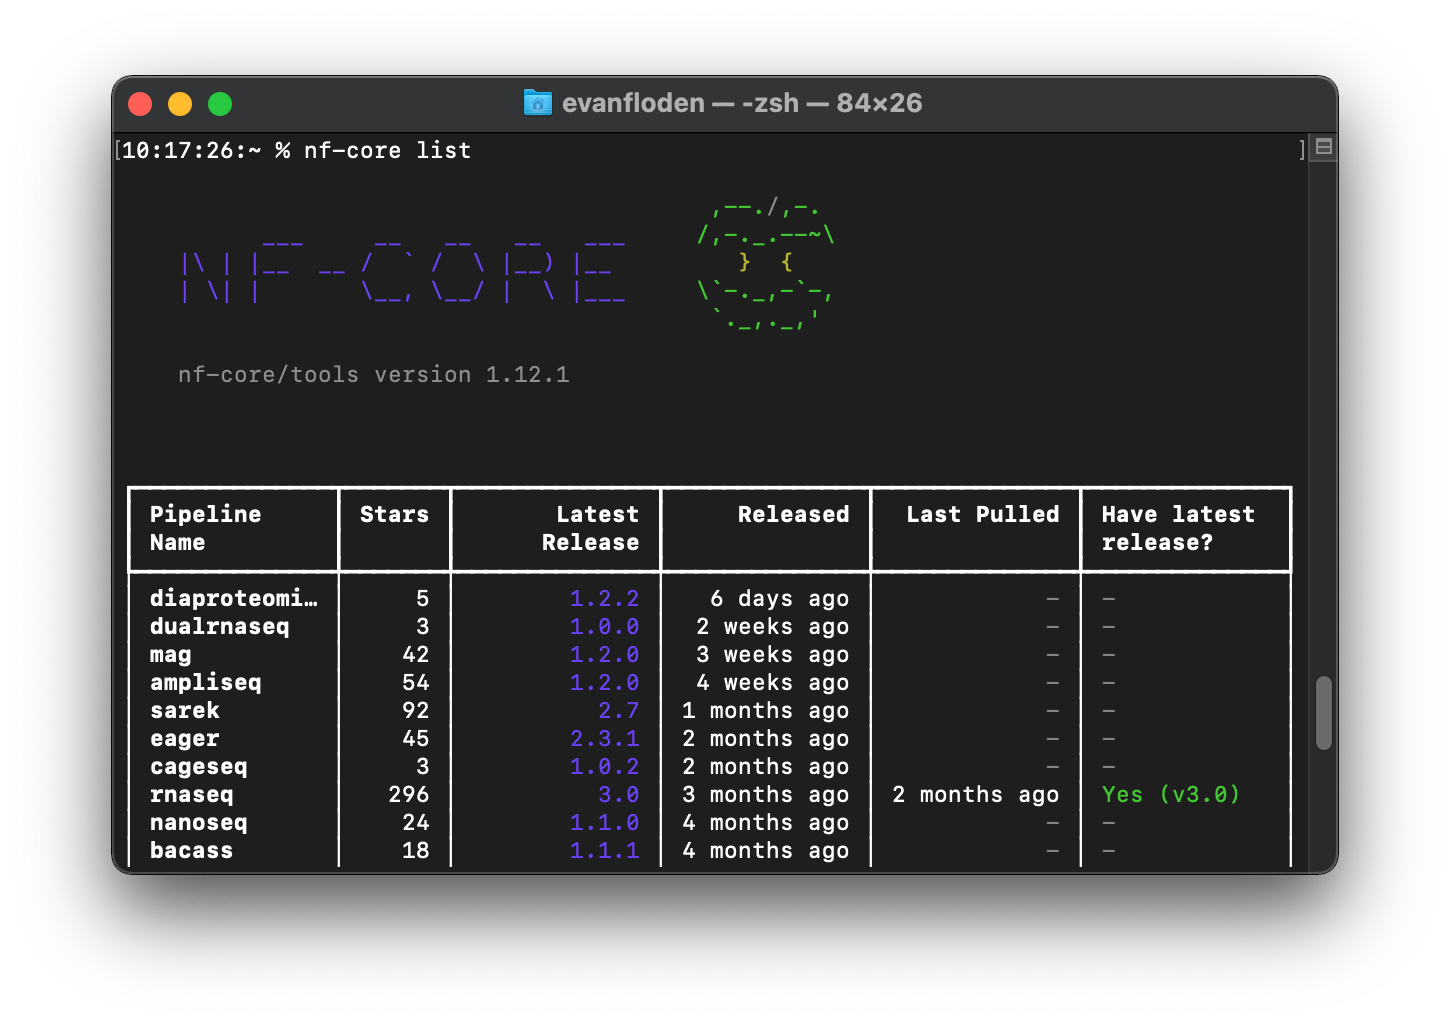
nf-core is a community effort to collect a curated set of analysis pipelines built using Nextflow. The pipelines continue to come on in leaps and bounds and nf-core tools is a python package for helping with developing nf-core pipelines. It includes options for listing, creating, and even downloading pipelines for offline usage.
These tools are particularly useful for developers contributing to the community pipelines on GitHub with linting and syncing options that keep pipelines up-to-date against nf-core guidelines.
nf-core tools is a python package that can be installed in your development environment from Bioconda or PyPi.
or

Conclusion
Developer workspaces are evolving rapidly. While your own development environment may be highly dependent on personal preferences, community contributions are keeping Nextflow users at the forefront of the modern developer experience.
Solutions such as GitHub Codespaces and Gitpod are now offering extendible, cloud-based options that may well be the future. I’m sure we can all look forward to a one-click, pre-configured, cloud-based, Nextflow developer environment sometime soon!
