Dehydrated foods have a lot of advantages. They maintain an excellent nutritional profile, they last a lot longer than they would normally, and they’re easy to prepare by reconstituting them.
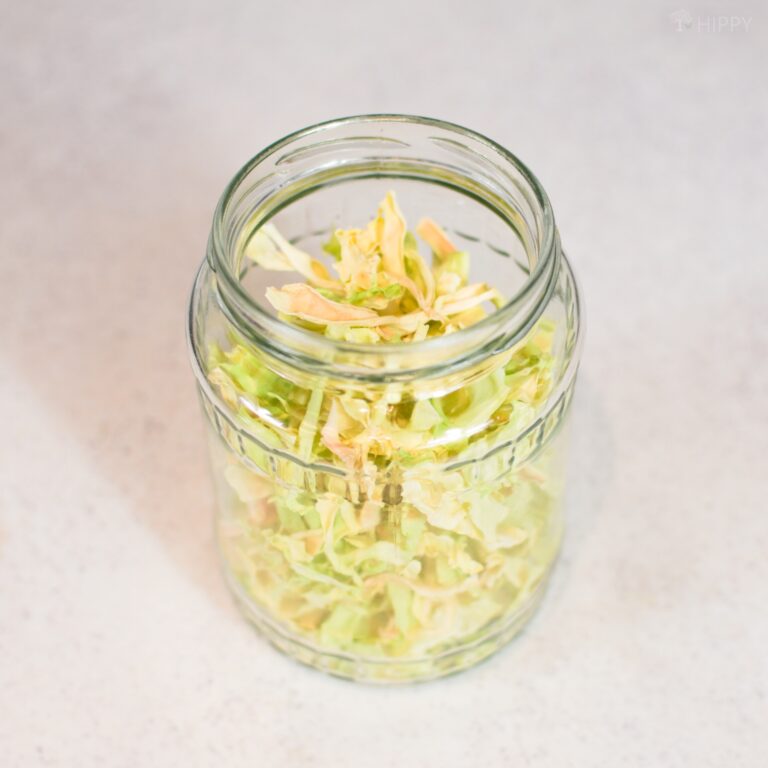
The only trick is, some foods just don’t dehydrate that well, especially leafy green vegetables. Everyone knows that, right? Right..?
Actually, not so fast! It is entirely possible to dehydrate some leafy vegetables, and cabbage is one of the best and easiest to do.
Cabbage has an excellent nutritional profile and is surprisingly easy to dehydrate, and even better, it stays tasty after dehydration. I’ll tell you how to do it easily down below…
What You’ll Need
You don’t need much in order to dehydrate cabbage easily. Chances are you’ve got everything in your kitchen this very moment.

- Food Dehydrator: first things first, if you want to dehydrate cabbage, you’ve got to have a food dehydrator. Though it is possible to dehydrate certain foods in your oven, there’s virtually no standard household oven that can maintain a low enough temperature, steadily enough, to work.
- Chef’s Knife: a chef’s knife or cleaver will help you chop the cabbage into quarters and then into thin slices to prepare it for dehydration. Whichever knife you choose, make sure it’s a larger one so you can easily split the cabbage in half.
- Lettuce Corer (optional): if you have a lettuce corer, it’s going to make the preparation process even faster and easier. You don’t have to run out and get one if you don’t have it, though, because you can easily remove the core and stem with your knife.
- Cutting Board: a good, sturdy cutting board of your choice. Just make sure it’s totally clean.
- Paper Towels: for patting the cabbage dry after you wash it.
- Salad Spinner (Optional): another optional tool but one that will enhance your results, a salad spinner will allow you to fully dry your cabbage after washing using centripetal force. If you don’t have one, don’t worry, you can just use paper towels.
And that’s it for the supplies. Let’s move on to the preparation…
Steps to Dehydrating Cabbage
Follow these simple steps and in about a day’s time you’ll have delicious and long-lasting dehydrated cabbage for your pantry or dried soup mixes.
Step 1: remove outer leaves from cabbage. The outer leaves of most types of cabbage are tough, and they also contain the majority of contaminants, so peel them away and discard them.

Step 2: core cabbage. If you have a lettuce core, now’s the time to use it. Follow the instructions for your tool and then remove the core and the stem of the cabbage. If you don’t have this device, just move on to step three.
Step 3: rinse. Using cool water, rinse your cabbage well all over and then shake off the excess water.
Step 4: split cabbage. Take your knife or cleaver and cut the cabbage in half on your cutting board.
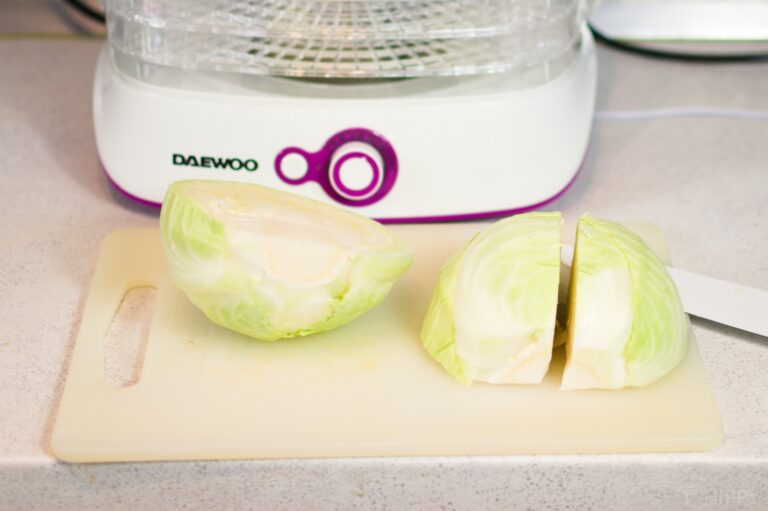
Step 5: quarter cabbage. Now cut each half in half again. If you don’t have a lettuce corer, now is the time to carefully remove the core from each quarter by cutting under it at an angle. Use a smaller knife if you have to. Discard the cores, and make sure the stem is removed.
Step 6: cut cabbage into slices. Taking each quarter of the head, slice the cabbage into sections from the inside out. These slices should form (ideally strips no wider than ¼” (6 millimeters). Mine are thicker yet they turned out fine.

You can also use a food processor to chop the slices into smaller pieces to speed up how fast they dry, but I found it’s not necessary.
Step 7: cut long strips in half. If you have any really long strips of cabbage that would make placing them in the dehydrator difficult, go on and cut them in half in the middle to render them into a more manageable size.
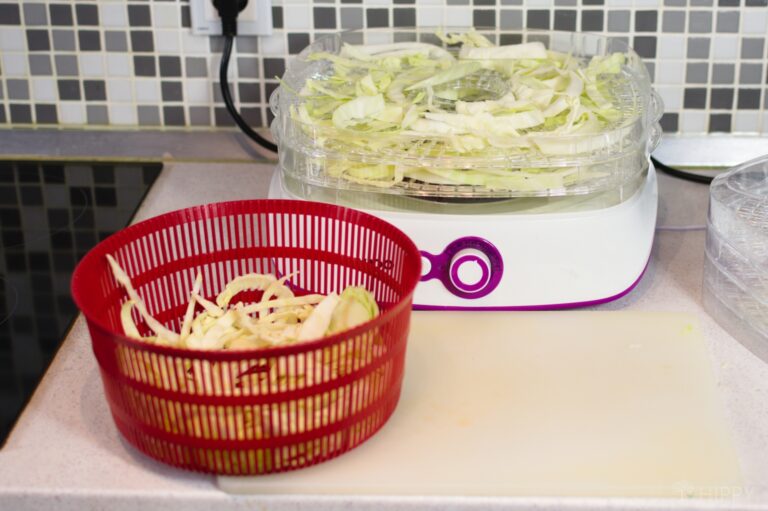
Step 8: dry cabbage. Now is the time to get the cabbage as dry as you can. A salad spinner is invaluable here because it’s fast and easy, but you can also pat it dry using two layers of paper towels.
Step 9: place in dehydrator. Load your food dehydrator according to the instructions for your machine. You want to give the cabbage room to dehydrate, but cabbage shrinks very quickly so it’s okay if you mound it up a little bit. Just don’t pile it deep from edge to edge and it should work out fine.
Step 10: set dehydrator to 130°F / 55°C. This is the ideal temperature for dehydrating cabbage.
Step 11: set timer for 8 to 12 hours. Your cabbage will take a surprisingly long time to dehydrate, and depending on the quantity and how thinly you sliced it, it could take 12 hours, or potentially longer. Set the timer to help you remember, but we won’t trust it.
Step 12: check from time to time, and rotate trays. A little while before your timer is set to expire, check the cabbage. If the pieces are dry, crispy and snap easily, it is done…
This is what my cabbage strips looked after 3 hours:

And this picture was taken at the 7-hour mark:
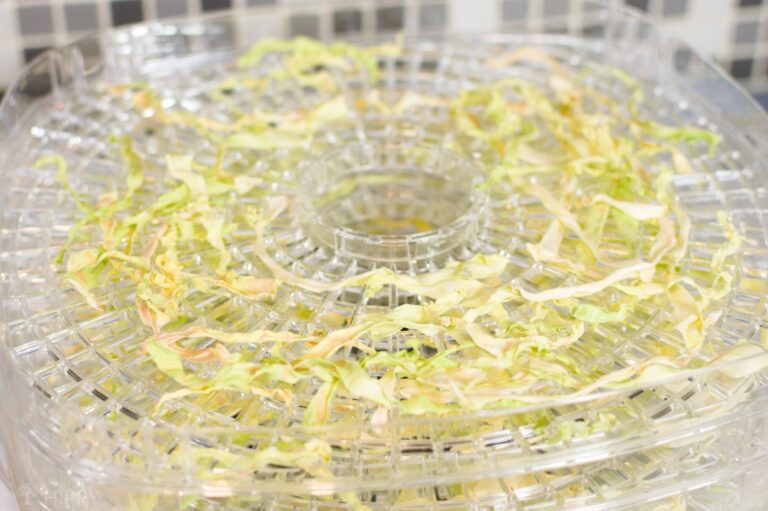
Lastly, here it is after over 12 hours:
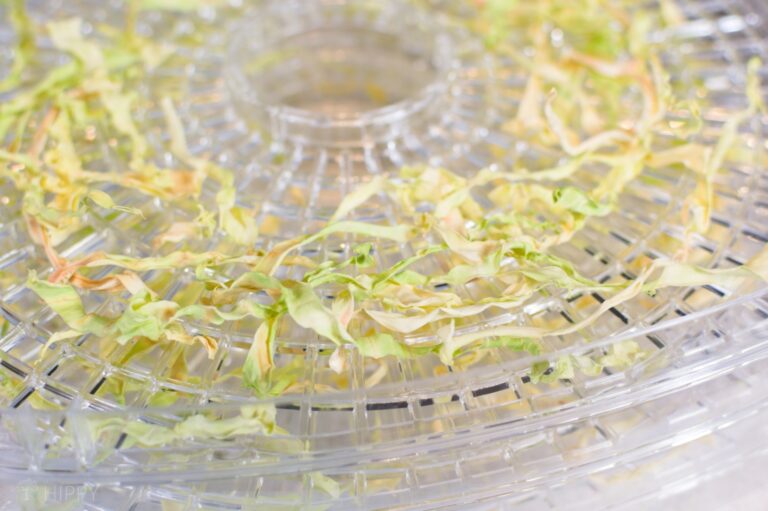
Remember how I said I left the slices a bit thicker? Well, that’s what caused it to take a bit longer to dehydrate…
Step 13: remove finished cabbage. It isn’t out of the question that some of your cabbage might be done before other pieces are. If some of the trays are completely done, remove them and keep the others in the dehydrator. Once they’re all finished, move on to the next step.

Step 14: cool. Don’t throw your freshly dehydrated cabbage pieces into a container and then stash them. This will cause condensation that will inevitably ruin them. Instead, leave them out on a tray to cool down at room temperature.
Step 15: Place cabbage in container. Use any airtight container you prefer for storing it. I like glass jars or mylar bags. Place the container in a cool, dark, and dry place and you can expect your cabbage to last for at least a year.
Step 16: condition. After putting your cabbage into its container and then your pantry, check the container every single day for 7 days. You are looking for any signs of moisture.
Shake the container to redistribute the pieces daily, then check again the next day as usual. If everything looks good in a week, you can stop doing it. But if notice any signs of moisture, at all, you need to put your cabbage back in the dehydrator to dry it out fully!
Step 17: finished! Your dehydrated cabbage is now ready to store and use however you prefer.
Believe me, I was plenty surprised myself when I dehydrated cabbage for the first time…
All I had ever heard were horror stories that you could never successfully dehydrate leafy vegetables because they desiccated into papery little wisps of nothing that dissolved when they were rehydrated.
Turns out you just need to know the right way and a few tricks!
How to Rehydrate Cabbage
Rehydrating your cabbage is a snap. The way you go about it depends on the dish you are using it for: if you want to prepare the cabbage for anything like coleslaw or just as a side, put it in a container, and then add just enough water to cover it.
The cabbage will soak it up quickly and rehydrate. It won’t be quite as crisp as it was before you started, but it will still be surprisingly good!
If you want to use your dehydrated cabbage in a soup, stew, broth, or something like that all you need to do is toss it in, and let it simmer with the other ingredients. Nothing to it!
Recipe Notes
- You can dehydrate any kind of cabbage you want with this method. Note that your sturdier, thicker cabbages will take longer to fully dehydrate, and to compensate, you should cut them into slightly thinner strips than you normally would.
- You don’t have to blanch cabbage before dehydrating it, contrary to popular opinion, but you can choose to do it if you want to. A quick 2-minute blanch can improve the final product in terms of longevity, but it will affect the texture and taste after you rehydrate.
Tim is a farm boy with vast experience on homesteads, and with survival and prepping. He lives a self-reliant lifestyle along with his aging mother in a quiet and very conservative little town in Ohio. He teaches folks about security, prepping and self-sufficiency not just through his witty writing, but also in person.
Find out more about Tim and the rest of the crew here.

I’m planning to adapt your steps for my Bok Choi … Thank you.