How to Fix the Shutil.dll Missing on Your Computer Error?
Try reregistering the DLL file if it is present on your PC
4 min. read
Updated on
Read our disclosure page to find out how can you help Windows Report sustain the editorial team. Read more

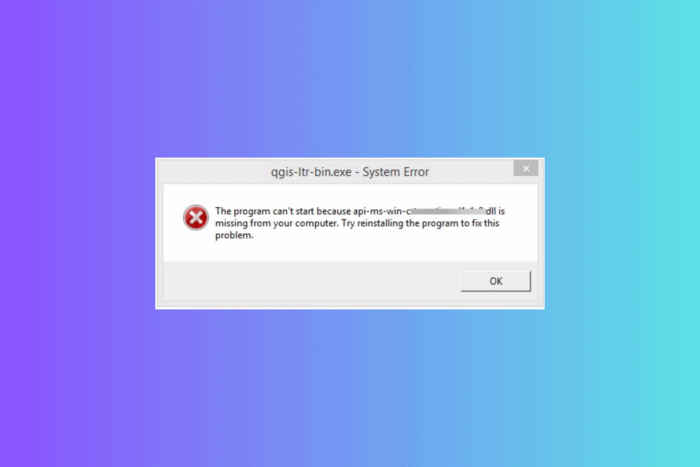
Many of our readers have complained about getting The program can’t start because shutil.dll is missing from your computer. Try reinstalling the program to fix this problem with shstat.exe – System Error heading on the dialog box, while launching the McAfee, Inc. software.
This error usually appears when the system file is corrupted, device drivers are outdated, the affected app is damaged, or the DLL file is accidentally deleted. First, restart your computer, then ensure Windows is updated to the latest version. Check Recycle Bin to ensure the file is not deleted accidentally, and run a malware scan using a reliable third-party antivirus tool.
How can I fix the Shutil.dll missing on your computer?
1. Reinstall the affected app
- Press Windows + I to open the Settings app.
- From the left pane, select Apps, then click Installed apps.
- Locate the affected app, click the three-dot icon, and select the Uninstall option from the context menu.
- Click Uninstall again on the confirmation pop-up.
- Go to the app’s official website to reinstall the latest version of the app.
2. Get a DLL fixer tool
DLL files are vital for the associated app to function; in this case, the app is McAfee. You can reinstall the app to fix the problem.
However, if you are uncomfortable with that, we suggest you get a third-party DLL fixer tool. All you need to do is download and install the tool, then run it to resolve the DLL-related issues quickly.
3. Re-register the DLL file
- Press the Windows key, type cmd in the search box, and select Run as administrator from the list of options to launch the Command Prompt with admin rights.
- To re-register the Shutil.dll, type the following command and hit Enter:
regsvr32 Shutil.dll - Click OK when prompted to confirm, then restart your computer to let the changes take effect.
4. Run SFC & DISM scans
- Press the Windows key, type cmd in the search box, and select Run as administrator from the list of options to launch the Command Prompt with admin rights.
- Type the following command to restore the damaged system files and hit Enter:
sfc /scannow - Wait for the command to complete, copy & paste the following command to scan the Windows image files for corruption and repair it using Windows Update, and press Enter:
Dism /Online /Cleanup-Image /RestoreHealth - Let the scan be completed, then restart your computer to save the changes.
5. Restore your computer to the previous version
 NOTE
NOTE
- Press the Windows key, type control panel in the search box, and click Open.
- Select Large icons for View by and click Recovery from the options.
- Click Open System Restore.
- Select Choose a different restore point from the System Restore wizard and click Next.
- From the list of options, select the restore point created before you encountered Shutil.dll, then click Next to proceed.
- Click Finish.
Windows will restart and restore the system settings to the older version. However, if it fails, and you see the System Restore did not complete successfully message after the system restarts, it could be conflicting drivers or missing system files; read this detailed guide to learn more.
6. Download the DLL file manually
 NOTE
NOTE
- Click the DLL-ME website link to open the Shutil.dll page. Locate the DLL file version that works for you and click Download.
- Locate and double-click the downloaded folder to open it, and copy the DLL file.
- Navigate to this path after replacing C with your system drive letter, if it is not the same for you, then paste the DLL file:
 C:\WINDOWS\System32
C:\Windows\SysWOW64 - Reboot your computer to confirm the action.
To conclude, you can fix the errors related to Shutil.dll by registering the DLL file again, reinstalling the affected app, getting a DLL fixer tool, restoring the system files using SFC & DISM scans, or restoring the system settings to a previous point.
If you encounter missing DLL files in Windows 10 and want to learn what caused them, read this guide to learn more.
Before you go, check out our detailed guide on what to do if you encounter the UXtheme.dll not found error on your computer.
If you have suggestions or questions about this DLL error, feel free to mention them in the comments section below. We will be happy to interact.


User forum
0 messages