Check out how we made rustic DIY wooden ghosts for our yard to spook our trick-or-treaters! This is a fun and easy Halloween decor project!

In 7 years of owning homes, we always reuse Halloween items for our decorations the following year.
BUT, we usually always mix up the theme and add on new elements each year to keep it fresh.
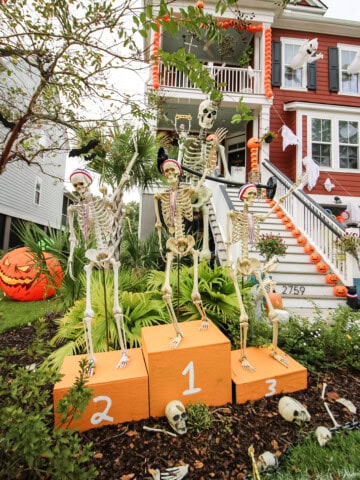
We're known in our neighborhood as "the pumpkin house" because we have trails of pumpkins up our 16 front steps and have a giant pumpkin arch garland on the upper front porch.
But last year, we started working some ghosts into the mix, adding a strand of ghosts coming from the front porch to the crepe myrtle in the front yard and two inflatable ghosts coming out of our front windows.
So this year, one element we're adding is drawing down ghosts into the front yard to tie into those ghosts up hight. To do that, we wanted some easy DIY ghost decor that could be in the yard itself.
We made these simple wood ghosts with scrap wood and they are a perfect addition to any yard, especially if you have small bushes you want to make just a little bit more creepy.
DIY wooden ghosts
These DIY wooden ghosts are great DIY outdoor Halloween decor and are a great way to use up some scrap wood!
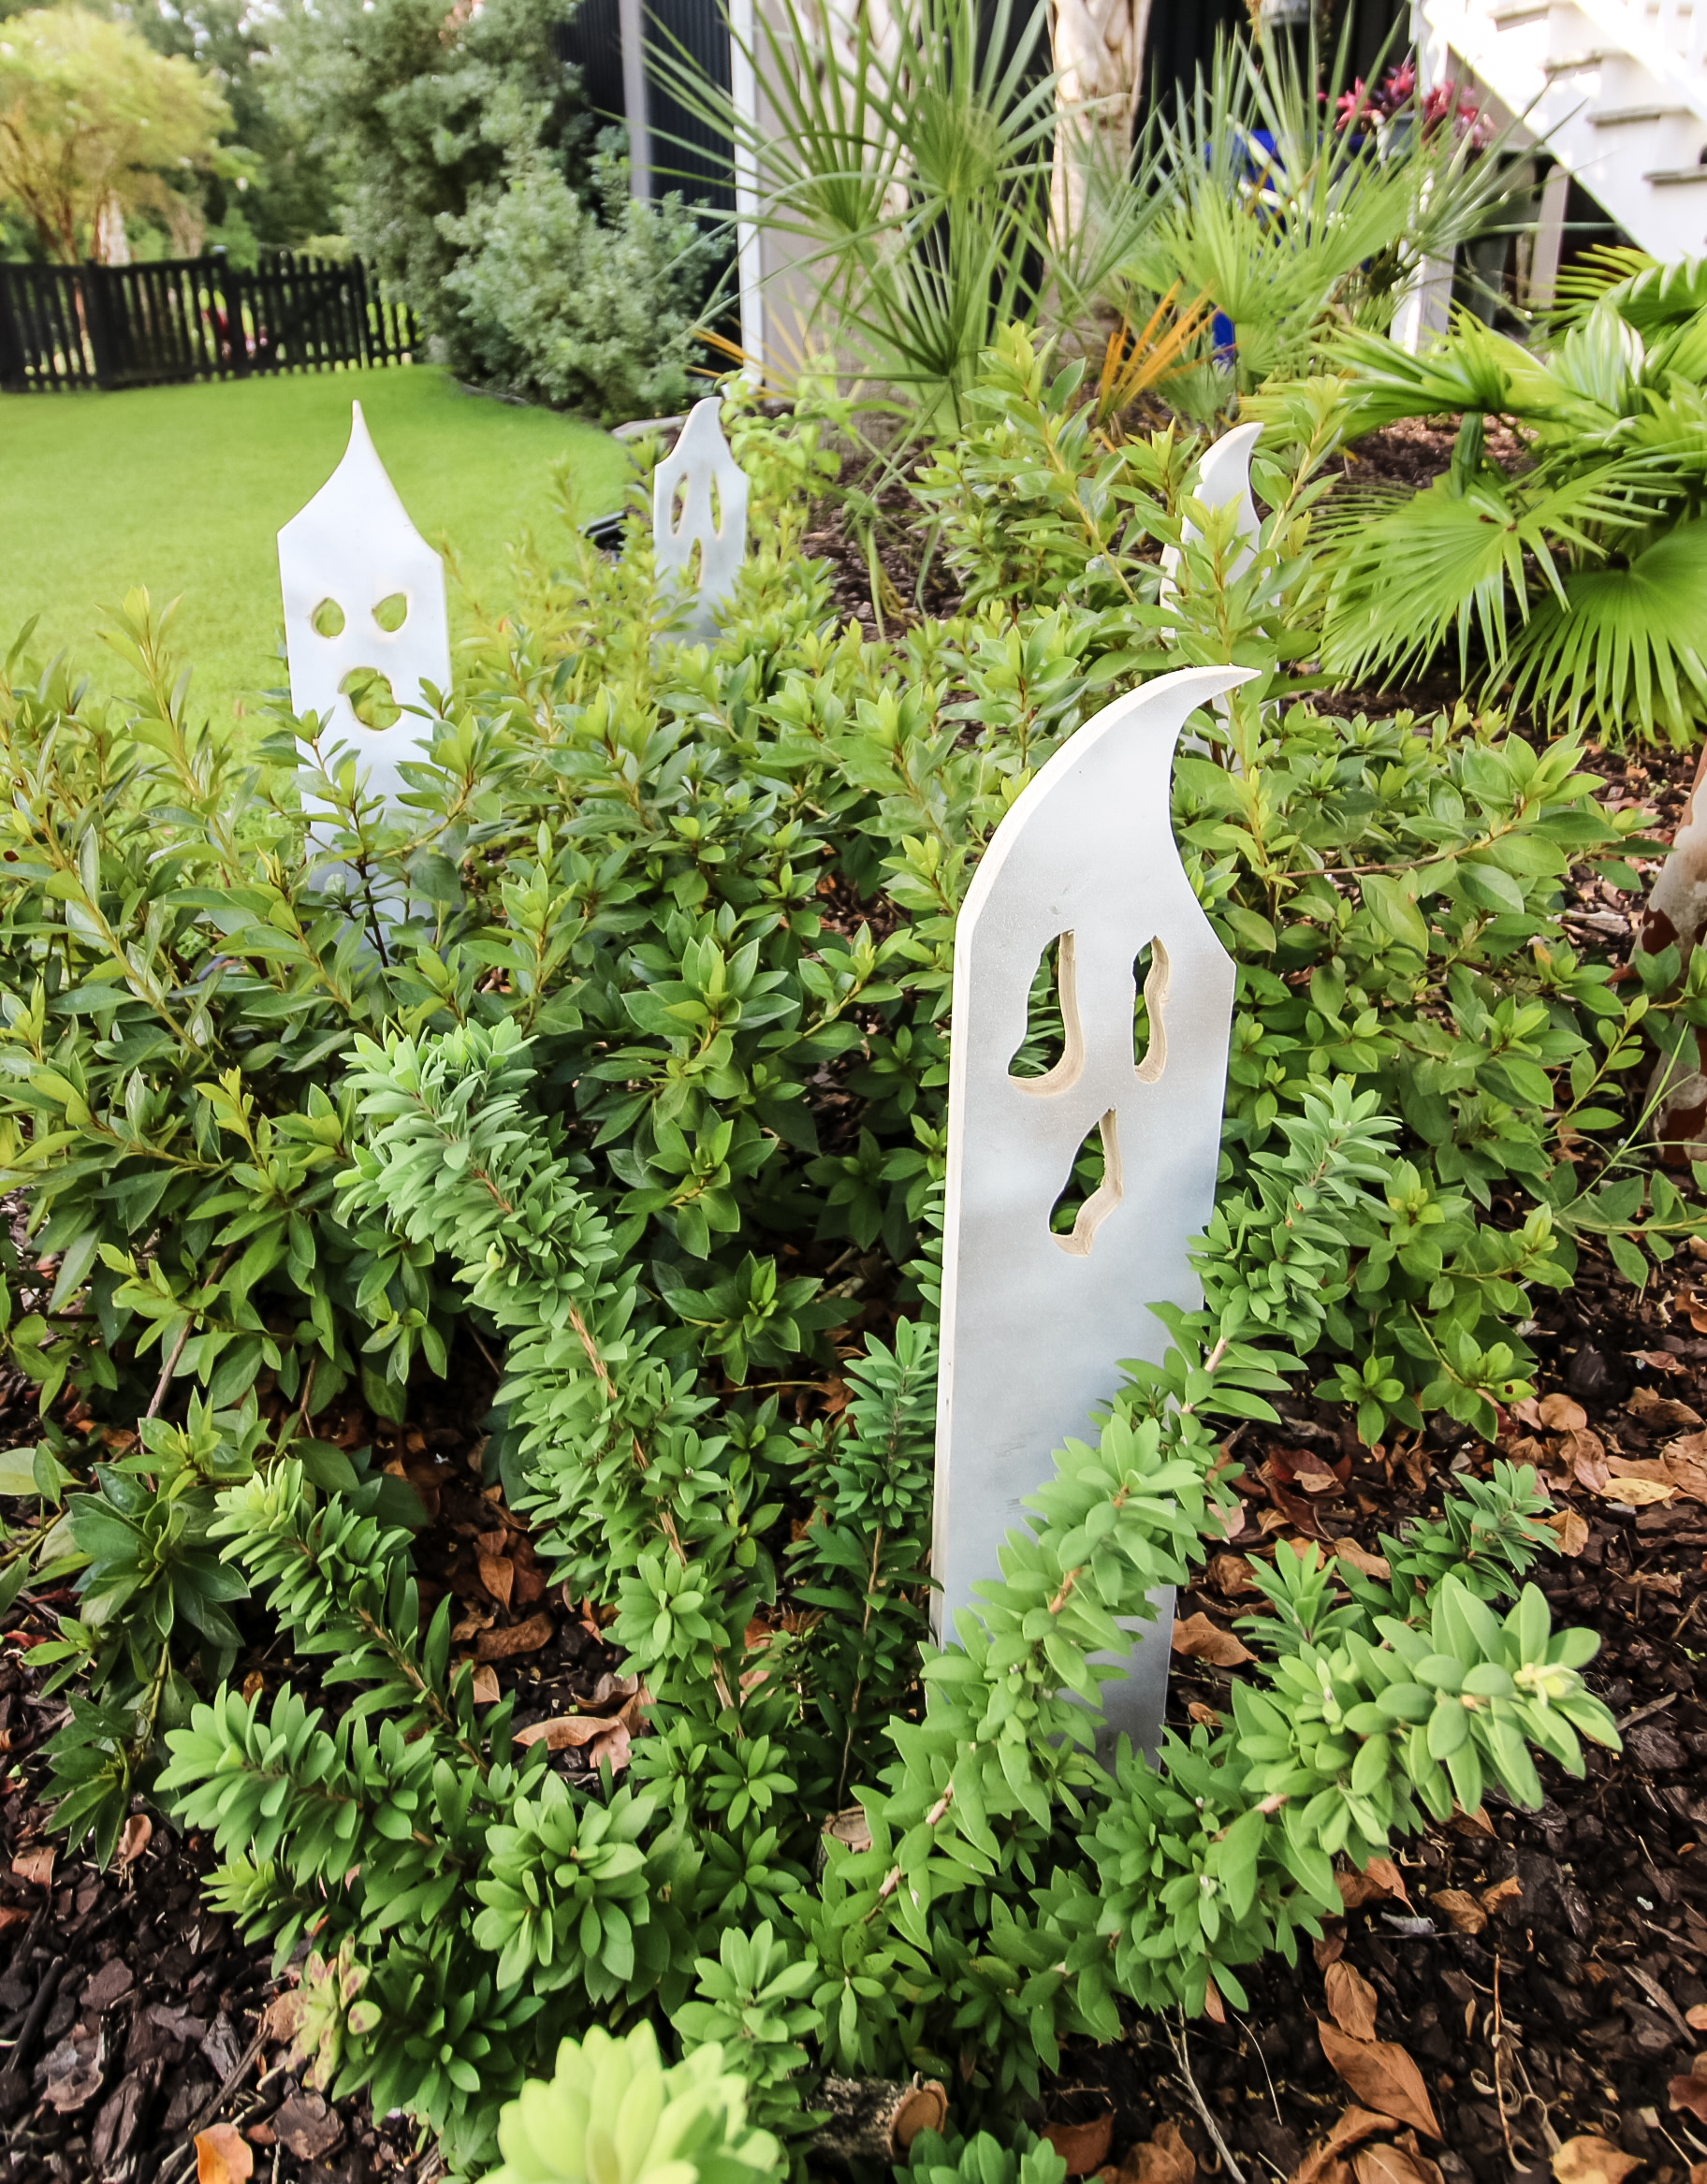
For this project, we cut down strips of plywood from our old office desks, but you could use any scrap plywood, 1x4s or whatever you have laying around.
Halloween ghosts are a staple in outdoor decor, and these are a fun and easy project that doesn't require much woodworking skill and is not difficult.
How do I make a ghost for my yard?
Easy wood ghost decor for your yard isn't hard and you can really use your imagination when designing them. Here's the materials and tools you need to make a ghost for your yard and how to make them!
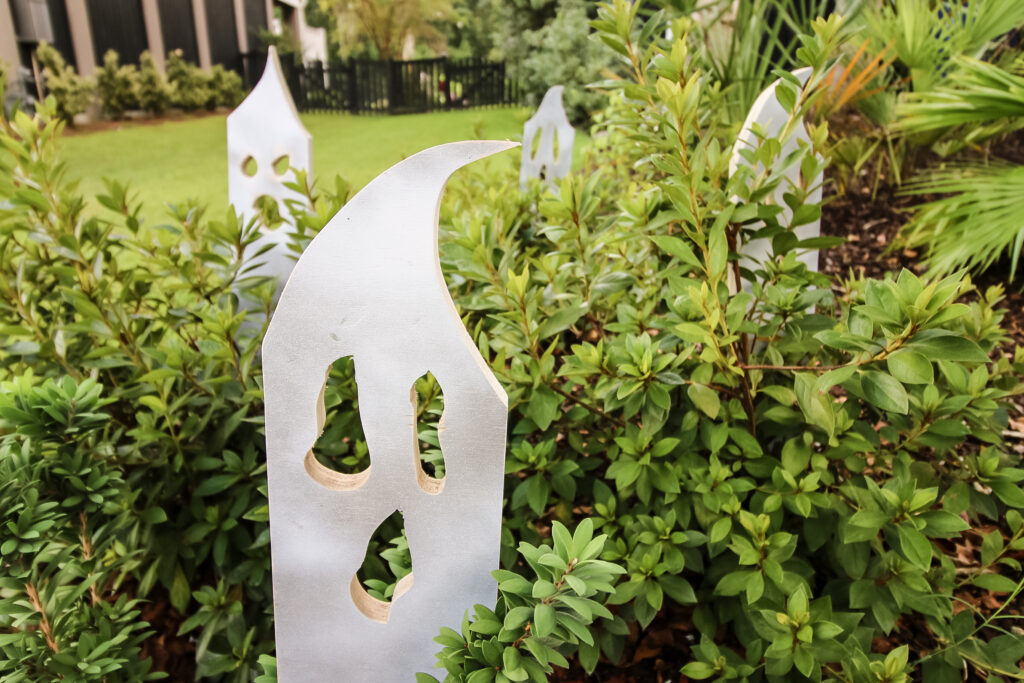
Materials needed to make Halloween ghosts for outdoors
- Wood planks
- This is kind of up to you. We chose to rip down scrap plywood, but you can just as easily use common 1x4 boards, fence pickets or any wood you have laying around that is at least 3 ½" wide.
- Wood glue
- White spray paint
Tools needed to make Halloween ghosts for outdoors
Step one: cut boards
Start out by cutting your wood boards to about 2' long. Ours are strips of ¾" plywood cut down to 3 ½" wide each.
We used the 3 ½" width so that these could also be made from any common 1x4 scraps that you have laying around. I wish I still had the scraps from our garage enclosure project for this!
You can also use ½" plywood or whatever you have laying around, just cut them down to about 2' long.
We cut six of these because we have 6 small bushes in our front yard and we wanted a ghost to be popping out of each. You can make more or less depending on what you want.
Also, for each one, but a 1" strip of wood about 10"-12" long which will attach to the back as the stake.
Step two: draw and cut out faces
Now here comes the fun part where you get to use your creative side!
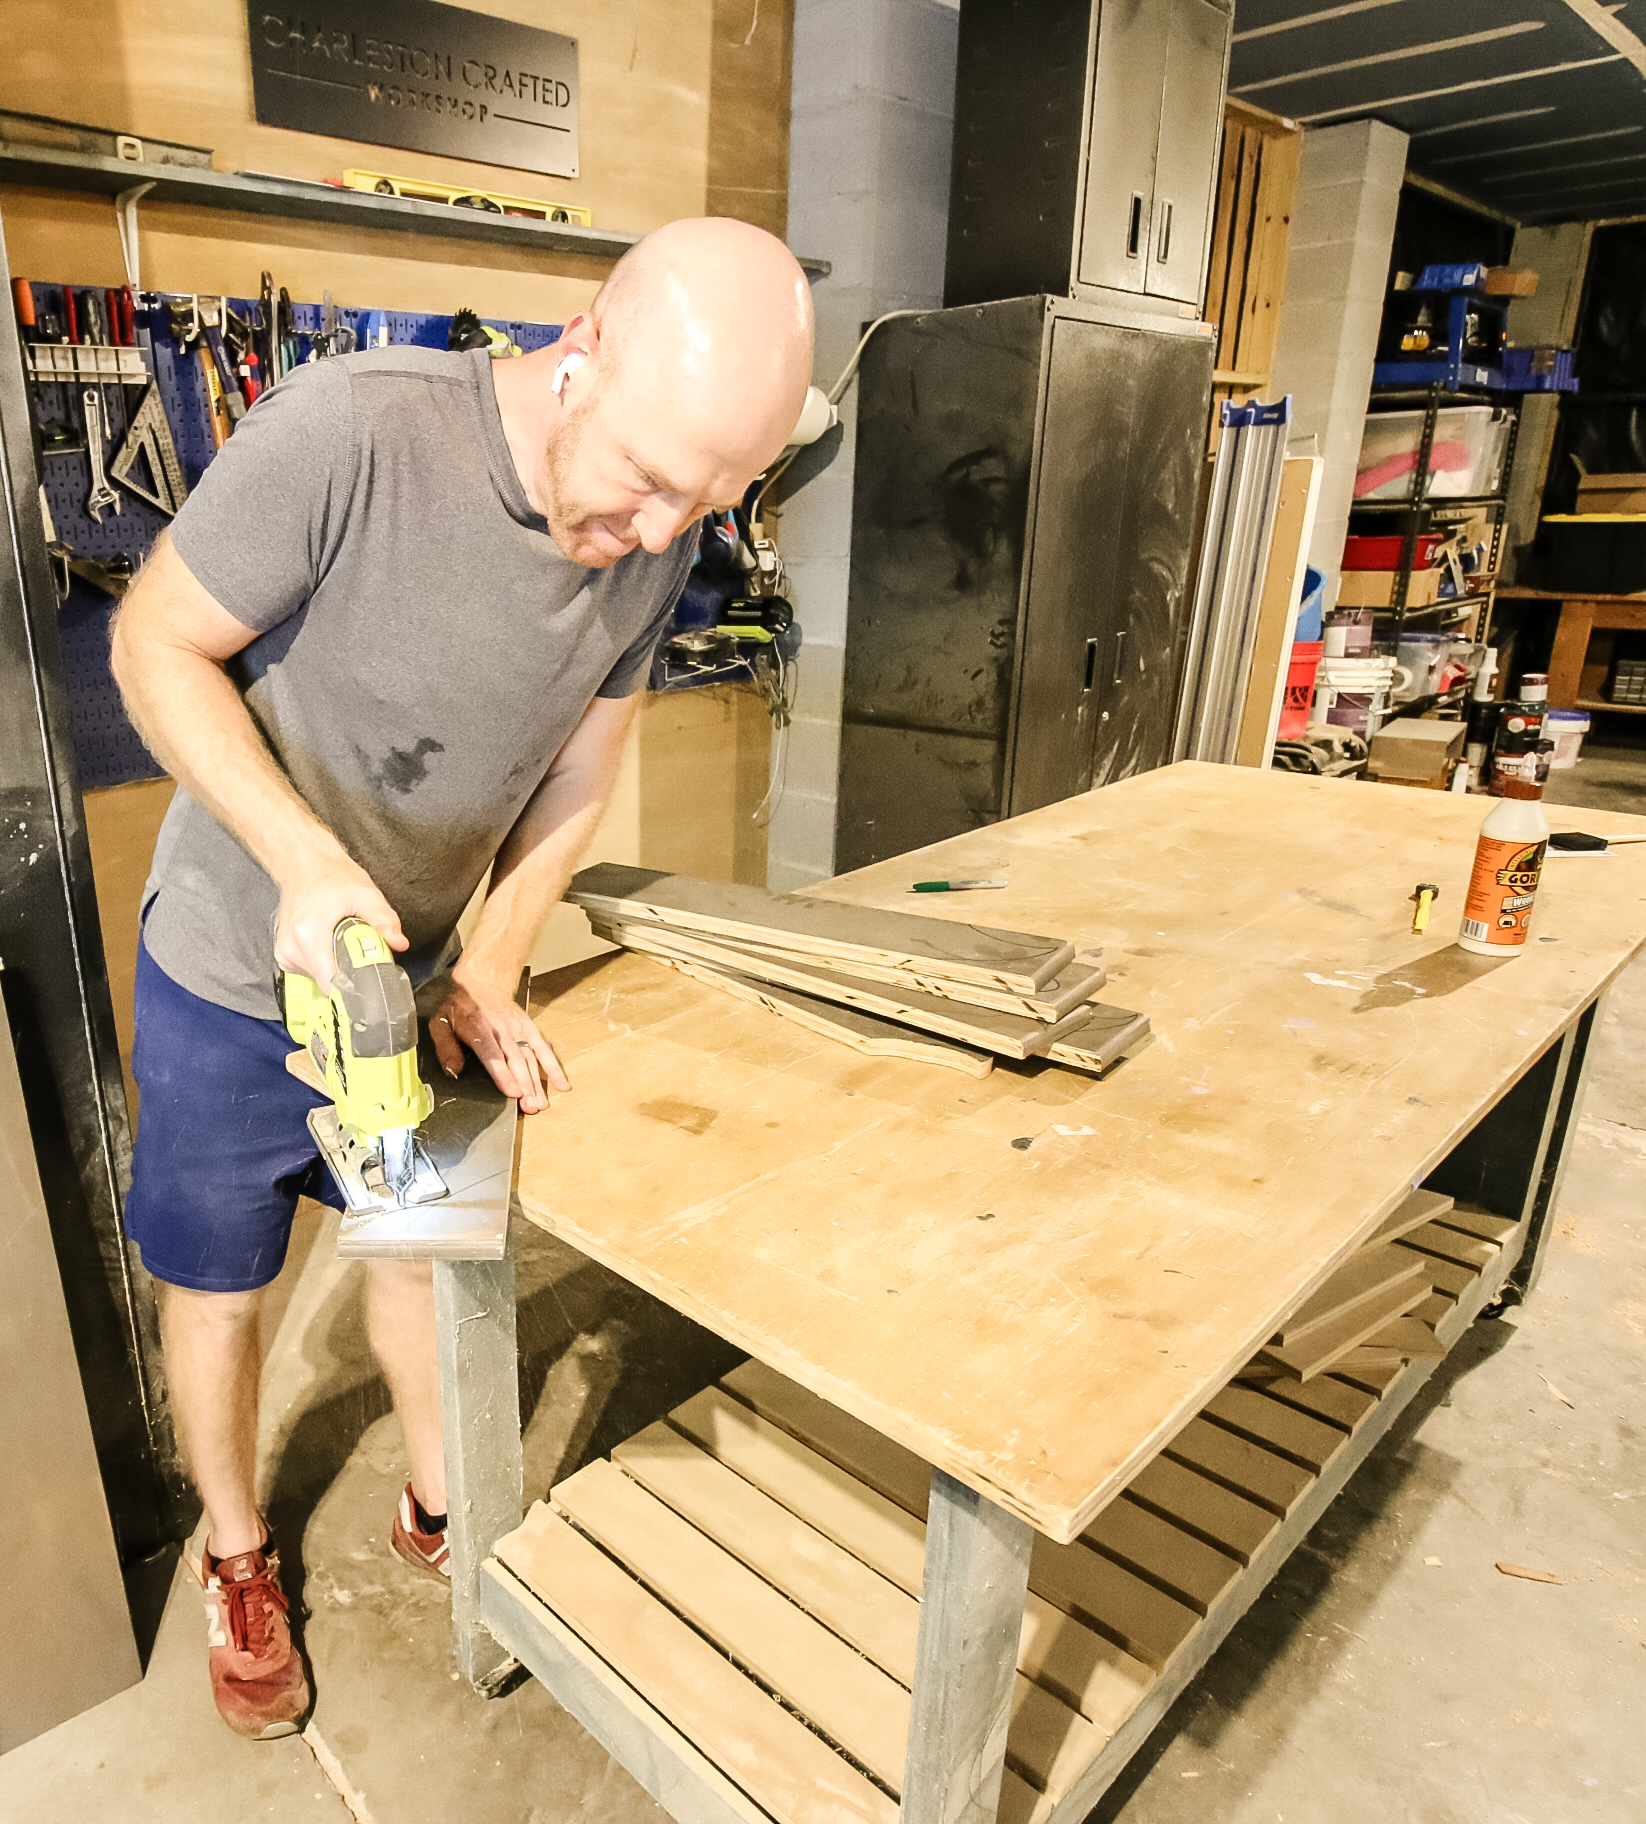
There is no template to draw these ghost faces. Instead, you can use your imagination of what spooky or silly ghosts should look like!
We started out by drawing wispy, cone-like heads at the top of each board, then drew out two eyes and a mouth for each.
These can be as simple as circles or ovals, or you can get a little silly with it and add some flair.

Then, we used a drill bit to poke a hole through each eye and mouth of all six of our ghosts and used a jigsaw to cut them out.
This is a simple process with a simple tool, but you can also use a scroll saw if you want to have more detailing on the faces.
Once that's done, give everything a good sanding down.
Step three: attach stakes
Next, attach the ghost yard stakes you made in the cuts section. These attach to the back of the ghost so that about half is on the ghost and half sticks off.

We used wood glue and 1 ¼" brad nails to secure each stake to a ghost, but you could also just use wood glue and clamps or screws, whatever you have on hand.
Make sure to let the wood glue dry before you consider putting these Halloween ghosts in your yard!

Step four: paint
Next up, paint the ghosts. We all know that ghosts are traditionally pink... jk.
Whatever white spray paint you have will work for this project and this is also another place where you have some creative freedom.
Our spray paint is stored on this DIY spray paint storage rack we made!
You can certainly choose to paint your ghosts a solid white and even add additional design to them with a paint brush.

However, we decided to go for a more wispy, natural ghost look. To get this, we just sprayed back and forth quickly over each ghost and didn't give it full coverage.
Morgan thought I ran out of paint, but when I told her it was intentional, she understood.

Let the paint dry and be ready to finish up!
Step five: place in yard
Finally, put your DIY wood ghost decor in the yard!

You could put them all next to each other or in a group, but we put each one in their own small azalea bush in the yard. This way, they are kind of peeking out at you when you aren't expecting it.

We let the kids pick which ghost goes in which bush to make them feel like they were really involved. These were a big hit with them!
DIY rustic wood ghosts
Our DIY wood ghosts look so cute and fun for this Halloween season!
We love how they look during the day, but they also look great at night with spotlights on them!

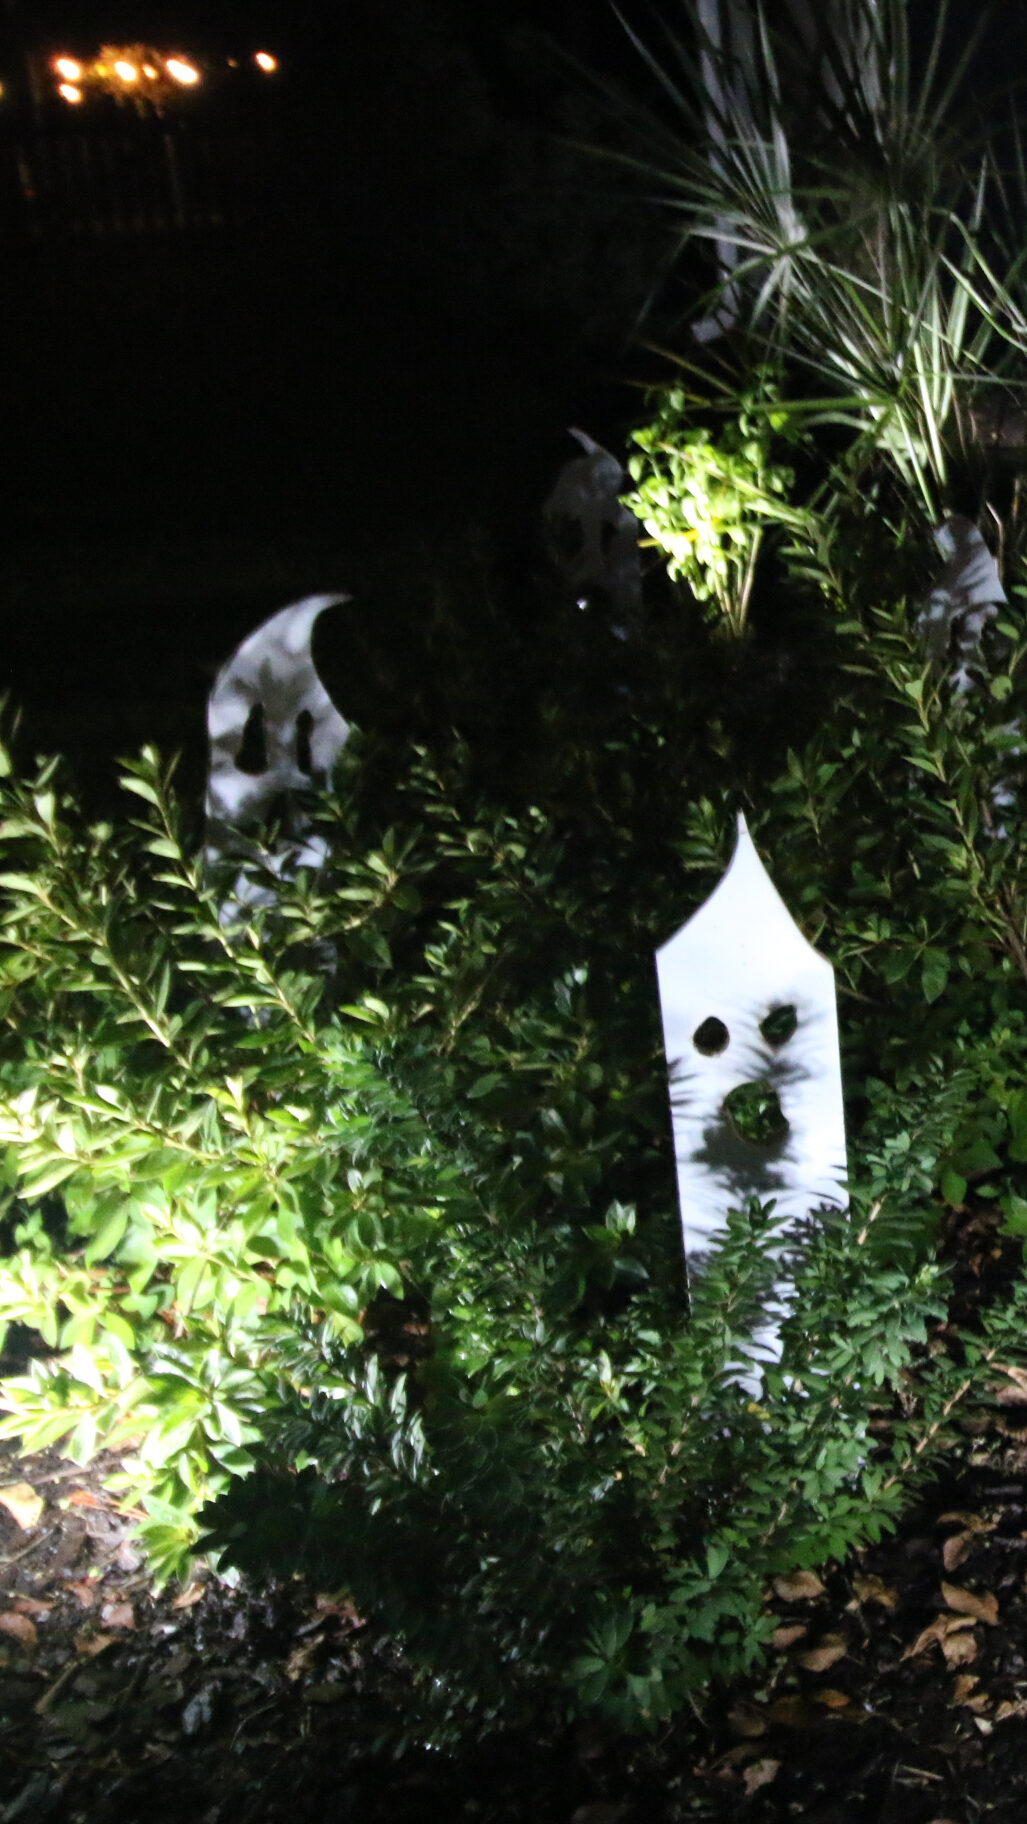
When you aren't expecting anything in the bushes, these are a really cute Halloween surprise!

Grab some scrap wood today and make our DIY wooden ghosts for your outdoor Halloween decor!
Our favorite Halloween projects
Here are some of our favorite Halloween DIYs from the past!
Indoor Halloween Decor
- How to put up fake spiderwebs the right way
- Spider staircase
- DIY halloween village display
- Embroidery hoop Halloween wreath
- Spiderweb Halloween mantel
Outdoor Halloween Decor
- DIY concrete pumpkins
- How to pose skeletons in your yard
- DIY plastic pumpkin topiaries
- How to make a light up pumpkin arch
- Skeleton beach day yard display
- Skeleton pirate yard display
- Skeletons being chased by dogs yard display

Looking for something?
We've been doing this since 2012 so we have a LOT of blog posts!
Search stuff like: Ceiling Projects | DIY Plant Stands | Thrift Flips


Hey there, I'm Sean, the woodworking enthusiast and builder behind CharlestonCrafted.com! Since 2012, I've been sharing the magic of turning raw materials into beautiful creations. I love teaching others the art and satisfaction of woodworking and DIY. I try to inspire fellow crafters to make something extraordinary out of nothing at all.


