DIY Tree Jewelry Organizer Stand Made form Copper Pipes
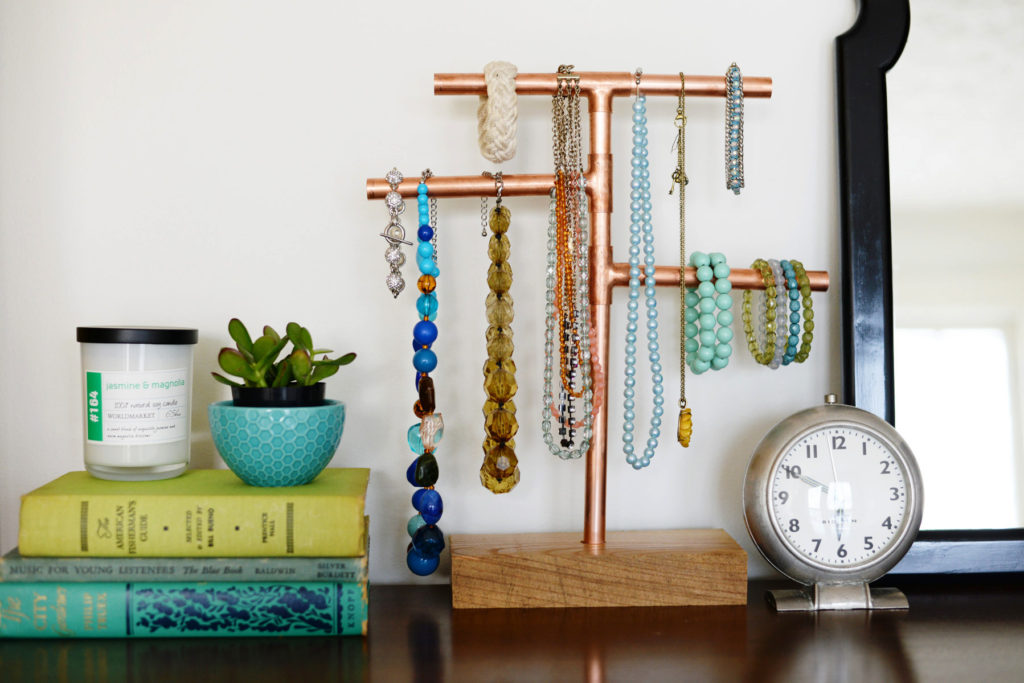
No matter what size bedroom you have, you can always benefit from great jewelry or clothing storage and organization ideas. Here are a fun and budget-friendly idea for a simple dresser top tree jewelry organizer stand that can be created in any dimensions desired.

Make a large scale stand with multiple tiers if you own lots of bling, or create a simple “T” (tree) stand for a more minimalist look. A simple wooden block holds the pipe in place and stabilizes your stand. See how to make your own in just a few easy steps!

Supplies you’ll need to build a jewelry tree stand:
- 8ft 1/2 inch diameter copper pipe
- 1/2 inch diameter T (3 way) pipe fittings (3 used here but you may need more based on how many tiers you have)
- hand held pipe cutter
- drill
- 1/2 inch drill bit
- wood block
- lacquer, varnish, stain or paint (optional for finishing the block)
- super glue (not pictured)
Instructions step by step to build a jewelry organizer:
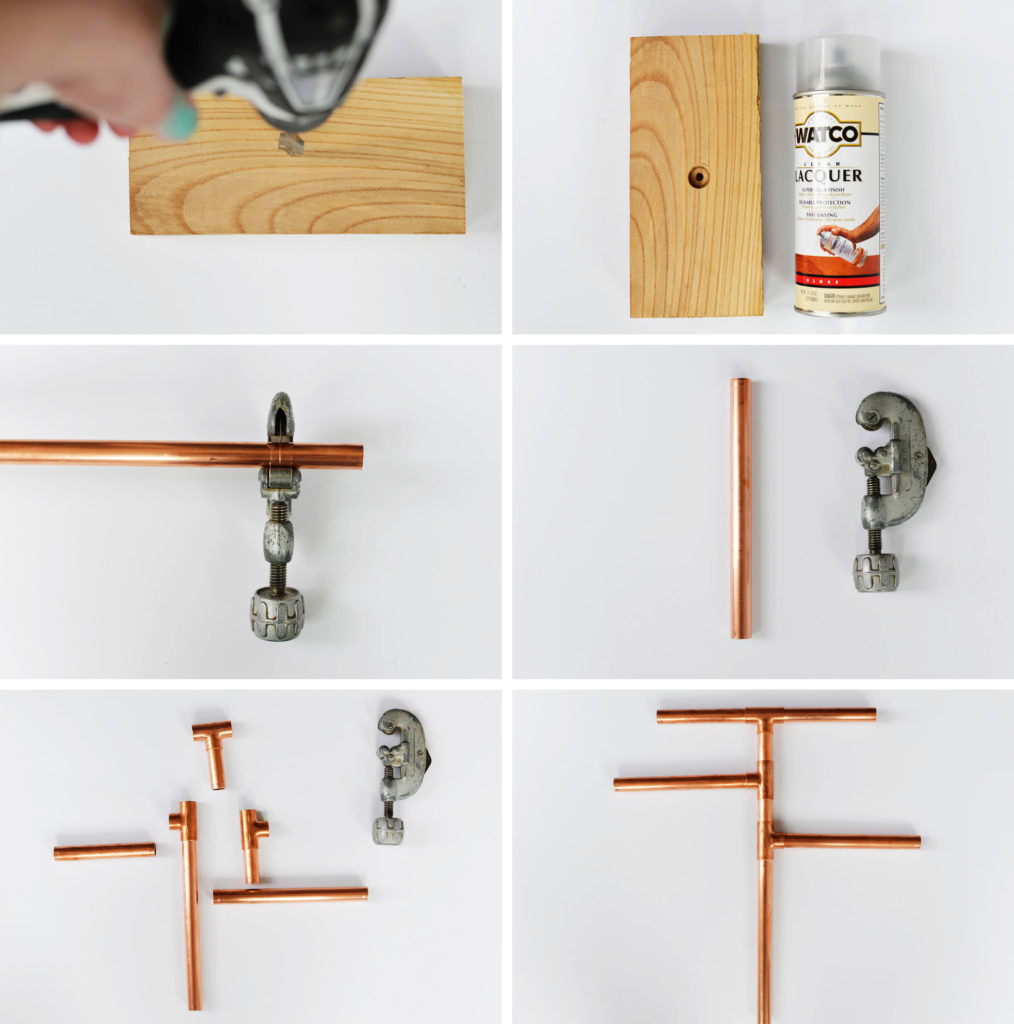
Step 1: drill the woodblock
Start by drilling a hole in the center of your block using the drill and drill bit. Drill approximately half way down into the block for insertion of the copper pipe stand.
Step 2: spray painting
Next, finish off the block. This is an optional step. You can do this by spraying or painting a simple coat of clear lacquer to keep with a natural look. Or you could paint the block a bold color to brighten up your dresser top.

Step 3: Create the “T” Shape
To create the jewelry stand, measure and cut pieces of pipe into the desired design. Here we created a double “T” shape by using a 3 way at the top with 2 medium length pieces of pipe connected to a very short piece of pipe. We then attached that to another 3 way with a large piece of pipe creating another “tier” or “layer” for the stand.
We repeated this again for the bottom tier and then cut a long piece to finish off the stand. These measurements will be based on how short/tall and wide you want your jewelry stand to be. Measure your dresser space first to determine your dimensions. Remember that you can always cut off a little more pipe as need to adjust the size of the stand. It’s easier to cut pieces shorter than it is to make them longer.

Step 4: Attach both pieces
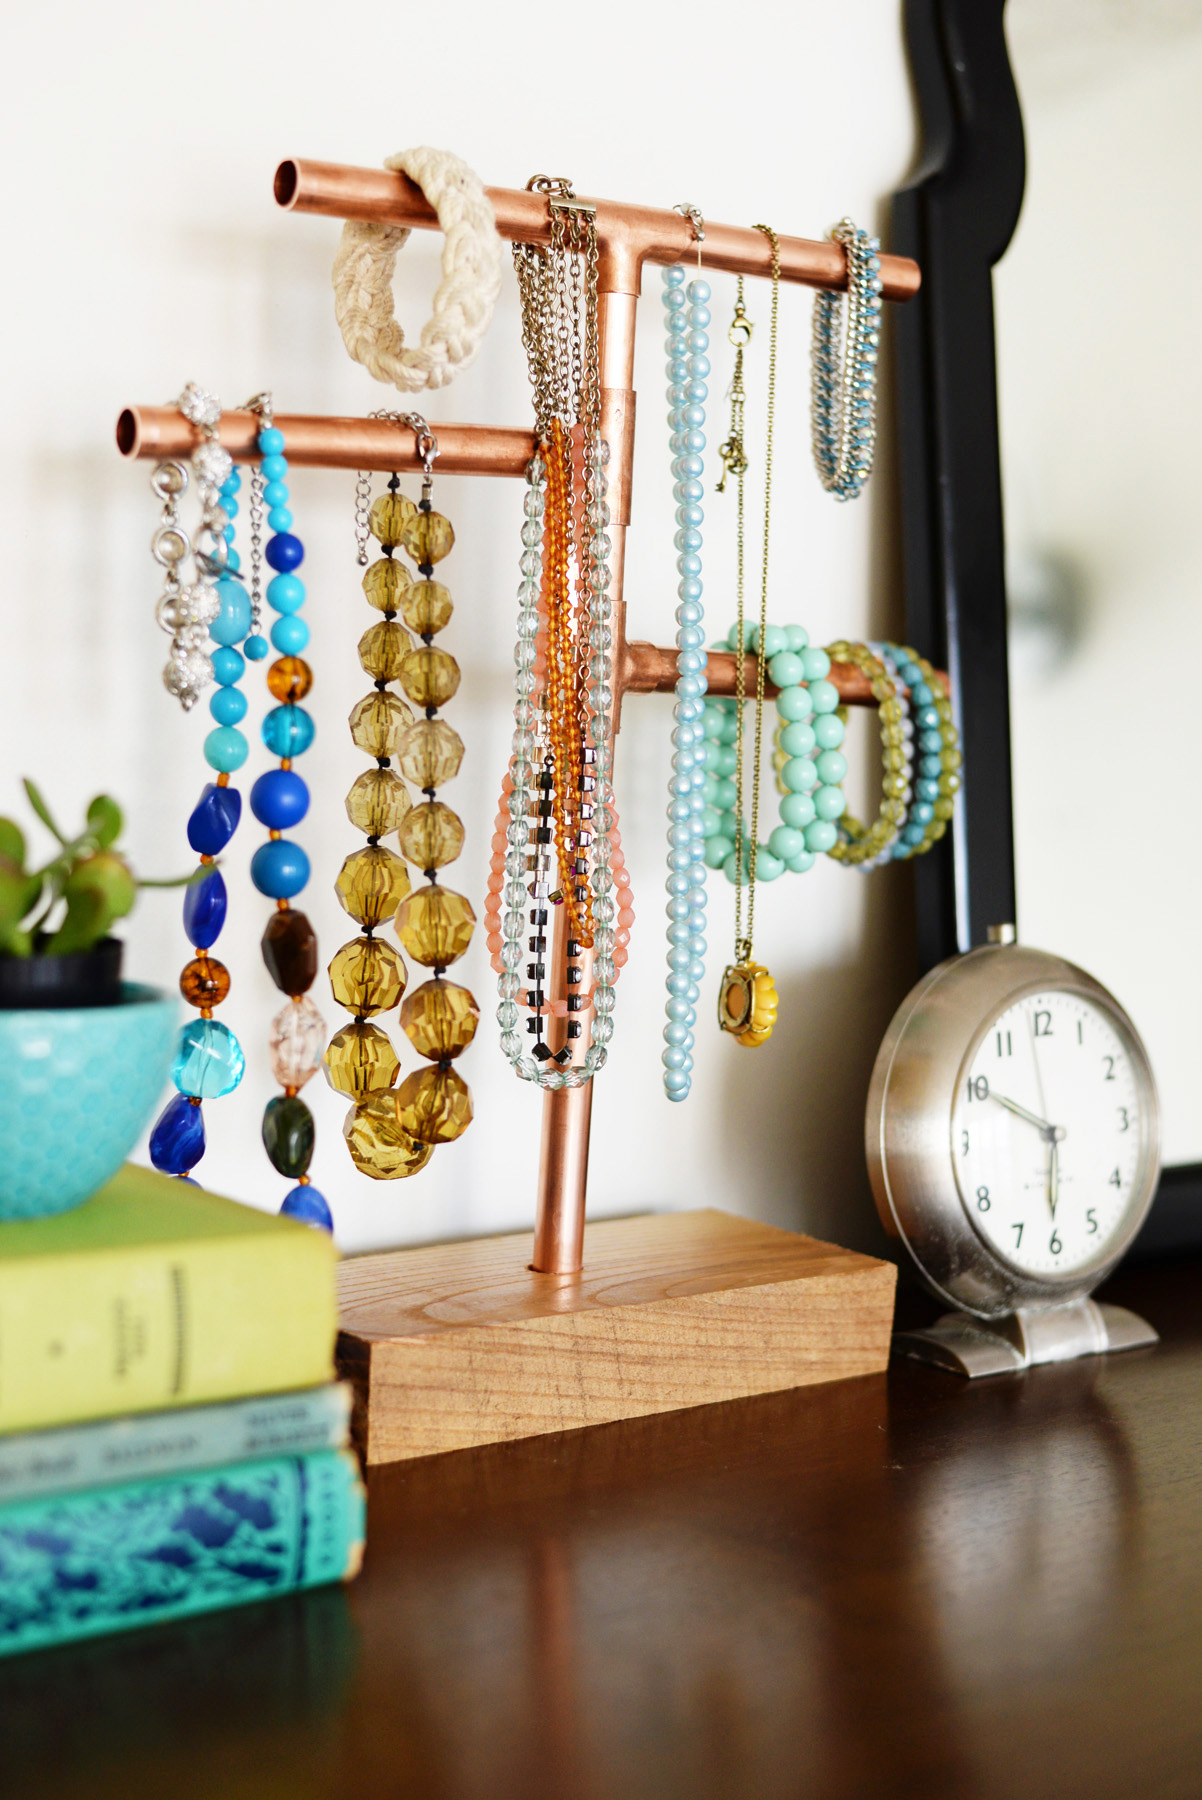
Lastly, place your copper stand into the wooden block to hold the stand upright. It should slide easily into the hole that you created with your drill. If needed, use super glue to secure the pipe in place and keep it from moving around in the stand.

Display your bracelets or necklaces on the different tiers. If needed, you can spin the arms of the stand around to give more dimension to the stand. Have fun organizing and displaying your pretty jewels!


