How to make your own sourdough starter, at home, with just a few simple ingredients, no special equipment and 5-8 days time!

If you enjoy making your own bread, chances are, at some point, you considered sourdough. …I love sourdough bread. I love any bread though quite honestly. I just have to limit because I could eat bread all day long.
It’s popular where I’m from (up north in Minnesota) to pass around sourdough starter. Though when I got to Arizona, getting starter was rare. I’ve been here 20 years and not once have any of my friends given me starter – but then not too many (if any) of my friends cook either.
But that is ok… because making a fresh batch is relatively easy to do. It just takes flour and water – and time. Lots of time.
Wait – it might require patience too… 😉
My kids love making it.. my 10 year old included, so if you have kids it could be a fun project to get them involved with.
They Key to Sourdough Starter…
If there is ONE key ingredient to sourdough starter it’s wild yeast. Wild yeast is all over. Unfortunately, convenience tends to prevail these days and commercial yeast is now popular, and that is because it’s relatively easy for manufacturers to produce in bulk and sell.
Not to mention it’s faster – after all, we live in a society of convenience where we shouldn’t have to wait for anything. Right?
What is Wild Yeast?
Wild yeast is our way of proofing our bread and pastries – it is the key to a ‘good‘ sourdough starter. It creates flavor and texture in homemade breads that commercial yeast can’t replicate. Wild yeast requires cooler temps than regular, commercial yeast. It needs to be fed to be used by anyone who bakes bread.
It has to be fed regularly – just like you feed yourself regularly. It also has to be carefully monitored too. Just like you monitor your own food intake.
What is Sourdough Starter?
To be able to use the wild yeast in baking, you need to have a starter. Prepare that wild yeast in a form (starter) that you can use for baking bread.

To prepare the starter, you need a few things:
- flour
- patience
- water
- and time.
No other fancy ingredients are required. By mixing the proper ingredients together, over time (a few days) you will have a nice, bubbly starter that can be used to make bread. Over those few days, however, you need to “feed” this starter with fresh flour, and fresh water, and take care of the starter – which is relatively easy.
I use all purpose, unbleached flour for my starter. But you can use whole grain flour too. I think it’s easier to start with basic all purpose — then move on from there.
Once you have established your starter, you can feed it daily if you plan on using it daily.
But if you don’t plan on using it daily, simply tuck it in the fridge and pull it out to feed the night before you would like to use it.
How to Make Sourdough Starter
This recipe will make 4 C. of starter — it will take 5 days and you will need a large glass or plastic container, a plastic or wood mixing spoon and a measuring cup. You might also want plastic wrap or a lid for the glass bowl or plastic container.
When you begin making starter, you will eventually see bubbles = which are signs of yeast activity. You will need to feed it regularly (once a day). The wild yeast will grow, and the starter will become smelly and froth up almost double in size.
You will want to leave it on your counter with temps from 70-80 (although my house was 82 and it turned out great too).
Day 1: 4 oz All Purpose Flour + 4 oz. Filtered Water
Mix/Stir them well into a smooth batter. It will be a sticky dough. Scrape down the side of the glass jar, and then cover the container (either with wrap or, loosely with a lid).
Day 2: Discard a portion, then feed — 4 oz All Purpose Flour + 4 oz Filtered Water
Discard a portion of your starter before feeding. You can keep this discard in a pint jar and tuck in the fridge (discard makes wonderful banana bread, or crackers). Mix up the flour and water to feed your starter. Scrape down the sides of the glass jar, and then cover the container. You might see some bubbles already forming in your starter which means that the Wild Yeast is working.
Day 3: 4 oz All Purpose Flour + 4 oz Filtered Water
Discard a portion of your starter once again (maybe 1/4 C), keeping the discard for other recipes. Then re-feed your starter with equal parts of flour and water until well blended. Scrape down the sides of the glass jar, and then cover the container.
Day 4: 4 oz All Purpose Flour + 4 oz Filtered Water
Discard a portion of your starter again, keeping it in a glass jar with previous discard. Don’t forget that you can use this discard for many recipes.
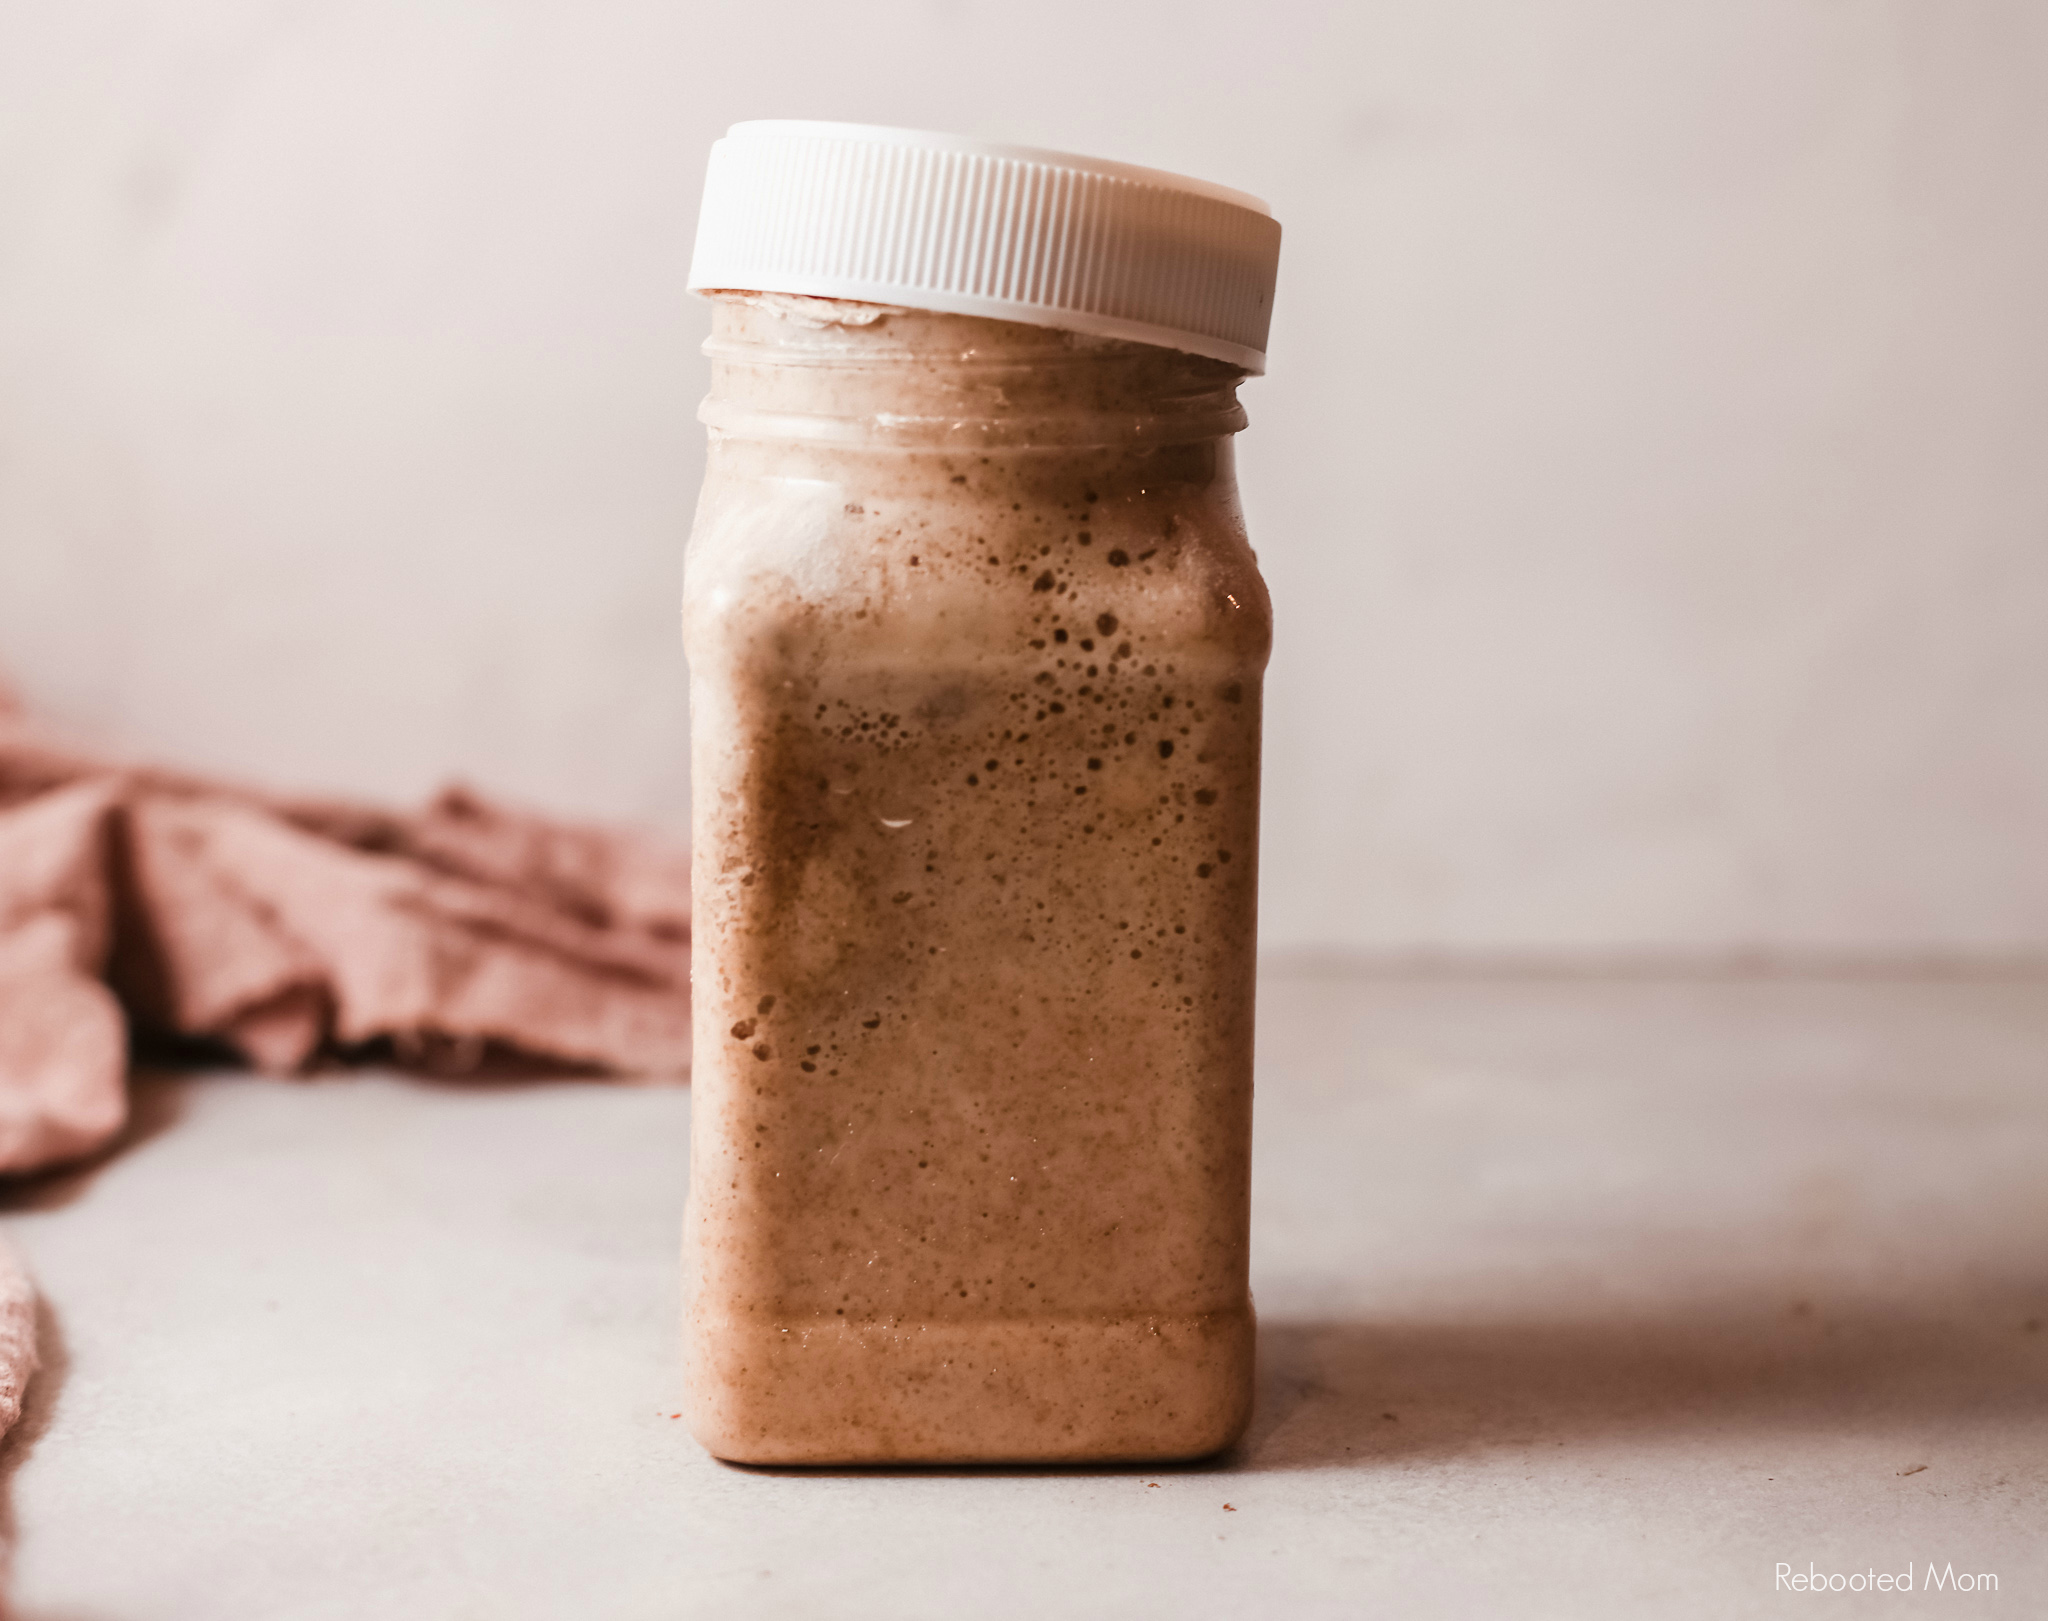
Re-feed your sourdough starter, until well blended. Scrape down the sides of the glass jar, and then cover the container. By now.. your starter should smell pretty strong. It will be really loose, there may be bubbles on the top, and there may be slight liquid on the top too (hooch). Make sure you stir it well when you add the flour & water, then lightly cover once again.
Day 5: You can Now Use your Starter
If you are looking forward to using this starter.. today is the day it’s ready. It’ll be doubled in size, bubbly on top, very sour and VERY loose!


At this point (Day 5), you have some choices:
Maintain the Starter: Discard or use half of it, then feed the other half with new flour and water (Day 1, far above). Stir until a smooth batter, lightly cover with plastic wrap or a lid and let sit on your counter. This is great if you plan on using it for baking recipes:
Sourdough Pretzels (no commercial yeast)
Sourdough Crackers, Banana Bread, even Sourdough Irish Soda Bread
Store for Later.... then cover it tightly, and refrigerate. Remove from the fridge once a week, discard the hooch on the top, then re-feed it with equal parts of flour and water. Then stir well. If you decide to use it at any point, let it sit out overnight to let the yeast wake up, then put it back in the fridge once you are done using it.
Share the Starter: Put a cup or two of starter in a freezer bag and label. Pass along to a friend who loves to bake, along with baking instructions that will allow her to use it in baked goods (ex. banana bread) or, instructions on “feeding” it.
Dry the Starter to Freeze: Smear the starter on a baking mat and let it dry over the course of a few days. Once it’s dry, break it up and store in a freezer bag for a few months. To bring it back to life, dissolve the flakes (1/4 C.) in 4 oz of water, and 4 oz of flour. Then continue feeding it as mentioned far above (Day 1, Day 2 Day 3..) until it comes alive.
Using your Sourdough Starter
When using your starter for recipes that call for freshly fed starter, you’ll want to try to use the starter when it’s at its peak.
Typically, once you feed your starter, it takes 4-5 hours for the starter to “peak” before it starts to fall. You’ll see it peak when you glance at the jar and there is bubbly activity on the top. If you have refrigerated your starter and are looking to use it in recipes, you’ll want to remove from the fridge the night prior, discard a small portion, and re-feed. Your starter should be ready to use in the morning.
Or, early in the morning, you can feed one additional time (after discarding a small bit of course). Then use the starter around lunch or sometime soon after.
Looking for sourdough starter recipes?
Follow me on Pinterest or check out these sourdough starter recipes below:
- Sourdough Pretzels (no commercial yeast)
- Everything Sourdough Bagels
- Sourdough Beer Bread
- Simple Sourdough Pita Bread
- Yummy Sourdough Popovers
- Sourdough English Muffins
- Simple Sourdough Pizza Crust
- Make a Wild Grape Sourdough Starter


I love your site. I’ve been following your recipes for awhile. Your recipes have definitely helped in revamping the way I eat.
I’m so glad to hear that!