Zippers.
It's almost a swear word in the sewing community. There is so much fear surrounding zippers.
Today let's conquer your fear of zippers with this zipper pouch tutorial.
This post contains affiliate links to products I recommend. I do make a portion off any you may purchase. See full disclosure here.
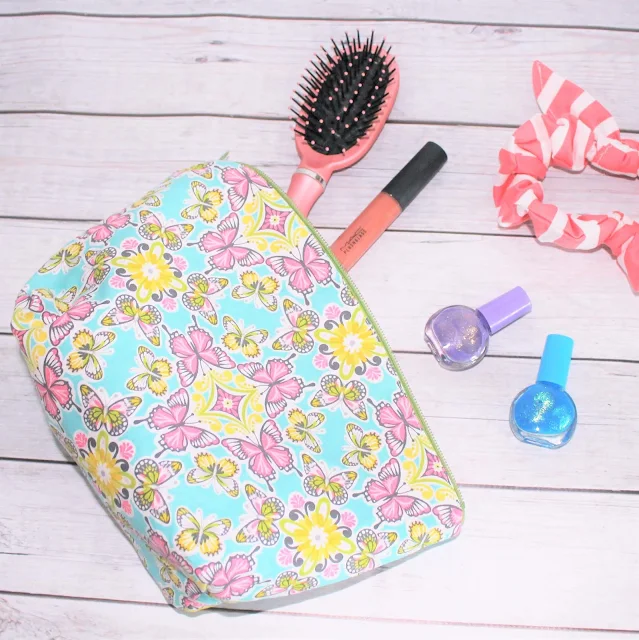
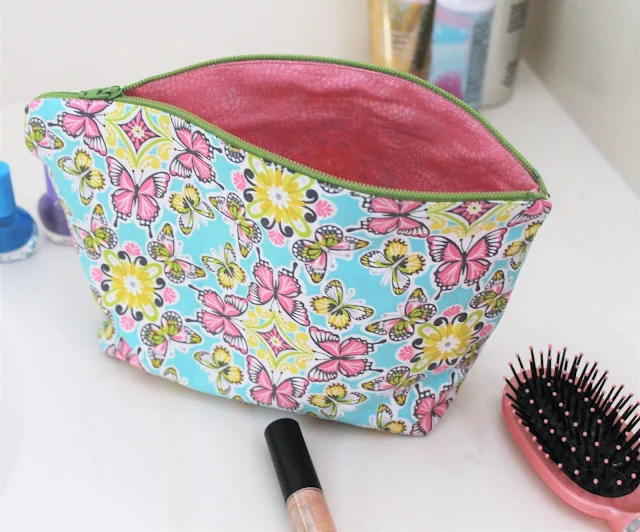
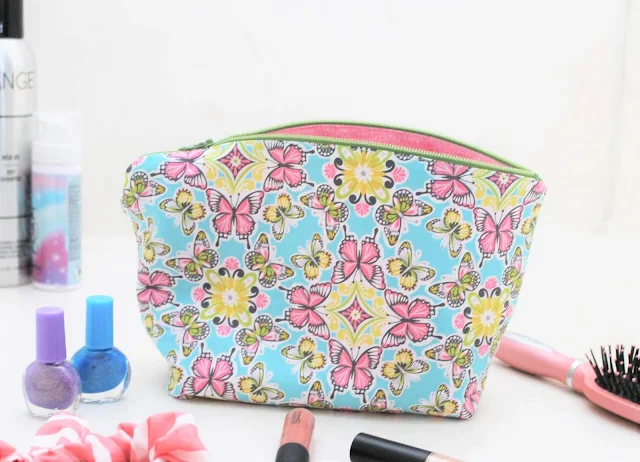
Not only will this post walk you through how to sew a zipper, but you'll end up with a super cute cosmetic bag when you are all done.
I mean I think we call that a win-win!!
And once you've conquered your first zipper (or second, or third), you'll be ready to try some of our other projects like the Mini Backpack Coin Pouch.
Because let's face it, once you can sew a zipper, you'll never want to stop.
Maybe you'll get brave and decide you want to try out this sweet lace dress pattern.
Who knows right?! But you can start right here learning how to sew a zipper. Or just follow along below.
Easy Zipper Pouch Tutorial
Materials Needed
- ¼ yard of fabrics such as cotton, cotton blends, flannel, linen, quilting cottons
- 10” zipper
- Lightweight Iron on Interfacing
- Thread
Step 1
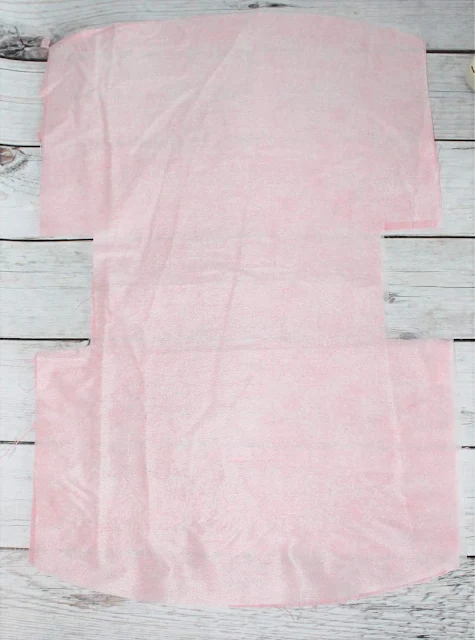
Press the interfacing
to the wrong side of the pouch lining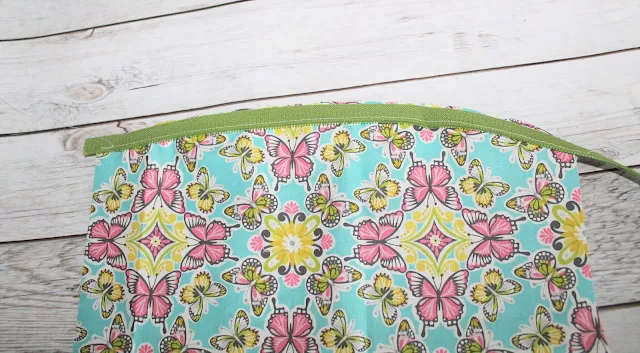
Step 2
Unzip
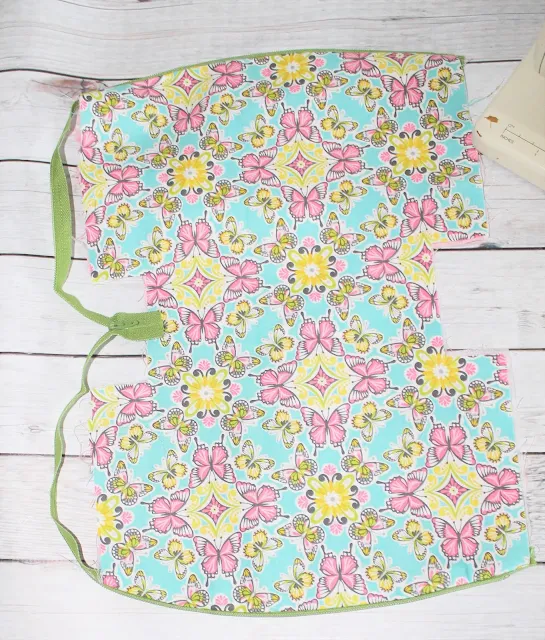
the zipper, place the right side of the zipper to one of the right sides of the
main fabric along the curve. Pin in
place and stitch.
Tip: Use your zipper foot for the best results

Step 3
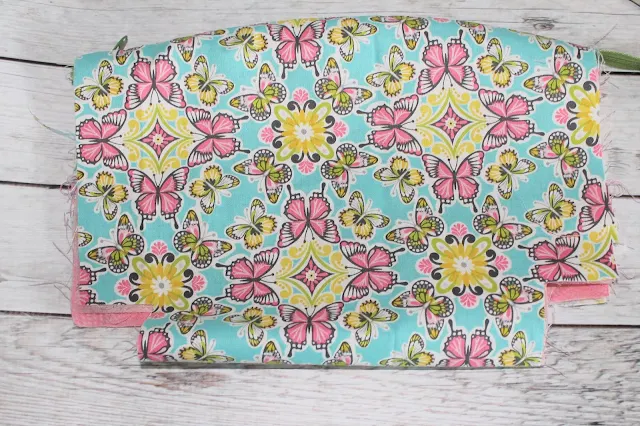
Place the right side of the lining to the right side of the main fabric and stitch along the zipper again.
Place the right side of the lining to the right side of the main fabric and stitch along the zipper again.
Step 4
Repeat step 2 on the opposite side of the pouch with the opposite side of the zipper.
Step 5
Zip the zipper closed
Step 6
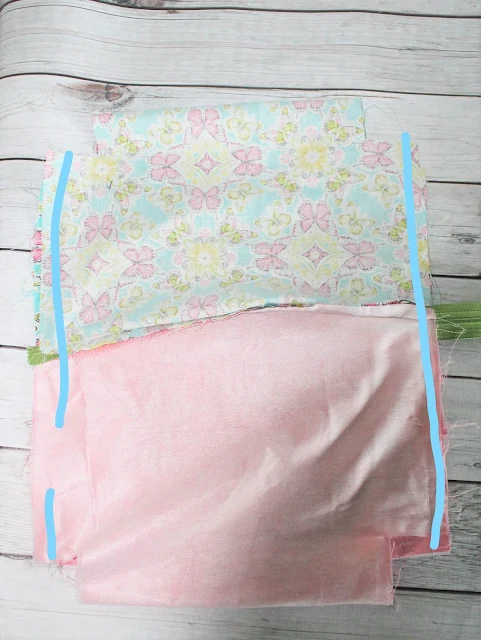
Flip the lining and main fabric so that the wrong side is facing out. Match the 2 sides of the main fabric together and the 2 sides of the lining together.
Step 7
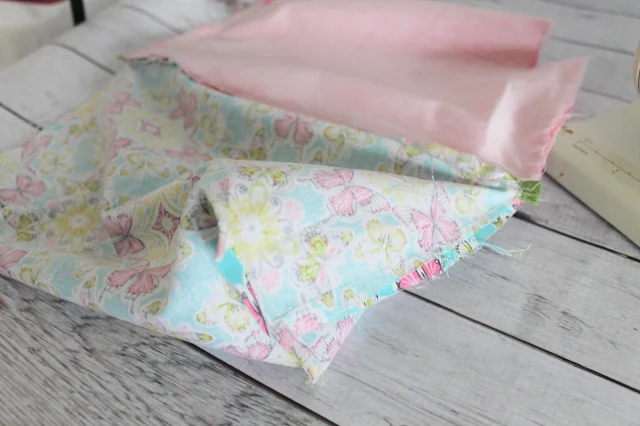
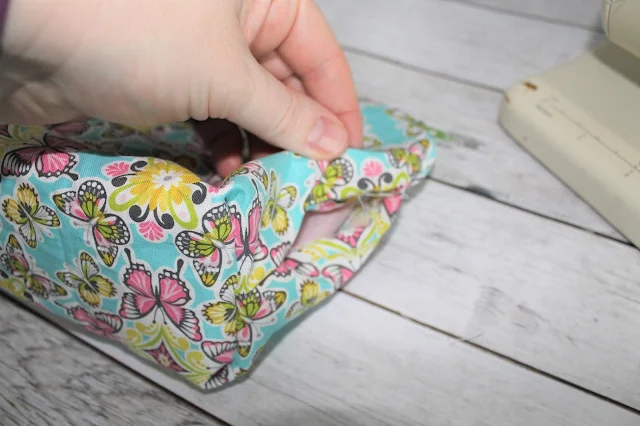
Find the square cut out on one of the sides. Open the square so that the two tips of the squares match up. It should look more like a line.
Repeat this step with all four corners.
Step 8
Stitch along this line and than cut the excess fabric. It should look like the photo.
Repeat this step with all four corners.
Want the free cosmetic bag pattern? Simply click the buttons below to download the PDF sewing pattern or the SVG cut file to cut on your Cricut machine.







This looks so easy I think I can make this one. the fabrics are so beautiful too!
ReplyDeleteYou totally can do it!!
DeleteWhat are the dimensions for the SVG file in Cricut? It is very small when I open the file and I'm not sure what the scale should be.
ReplyDeleteYou may need to print the PDF version if you want the exact dimensions for your Cricut. I believe it was about 10 x 15". You can resize the zipper bag to whatever size works for you on your Cricut. Remember that the pouch uses a 10" zipper so you may need a larger or smaller zipper depending on your sizing.
DeleteThis comment has been removed by a blog administrator.
ReplyDelete