Last Updated on 08/01/2016 by Chris Gampat
We’ve done tutorials before on how to shoot better portraits with a 35mm lens and a 50mm lens, and these days it’s possible to create visually appealing photos with something as wide as even a 24mm lens. Modern optics have improved that much to the point where anyone can look good when shot with a 24mm lens–but you need to be the one that makes them look great. Part of this has to do with how you approach the situation while another part pertains to making your creative vision work in the scene.
For starters, you should know that 24mm lenses are fantastic for environmental portraits!
Don’t Do the Close Up
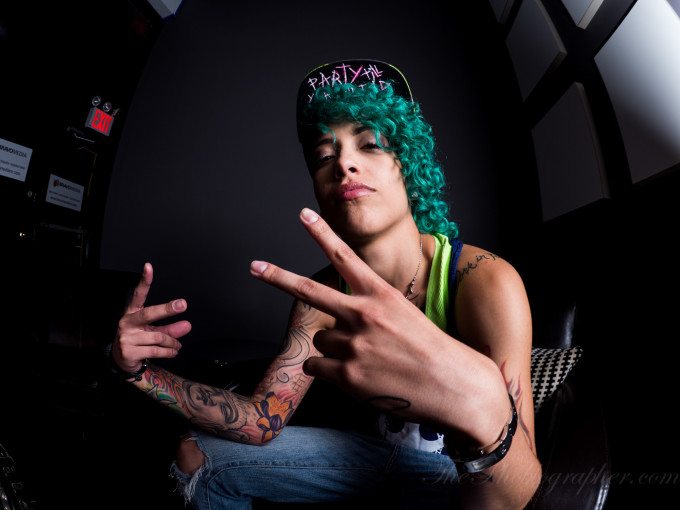
When you get really close up on a subject with a wide angle lens, you run into a pretty big problem involving distortion. It’s kind of like taking a fisheye lens and shoving it in someone’s face.
In practice, this is usually what that looks like. It’s not cool–but it can be used very creatively with the right subject to showcase an extreme view–more on that later.
Very generally speaking, you’re going to need to get fairly close to your subject anyway because of the way that a 24mm lens works. If you do street photography, you’ll understand this. With portraiture though, it’s a great idea to generally keep a few feet away from your subject. Something like 5 to six feet can usually work well. 24mm lenses are best relegated to shooting nothing tighter than the upper half of someone–and even then I’d really only believe that that works with only certain body types.
Very quickly, here’s a situation where a fisheye or very wide angle lens can work–and a lot of it has to do with the specific lighting and subject matter. The tactic is used often with extreme sports–but we’re talking about portraits here.
So let’s get back on track.
The Environmental Portrait
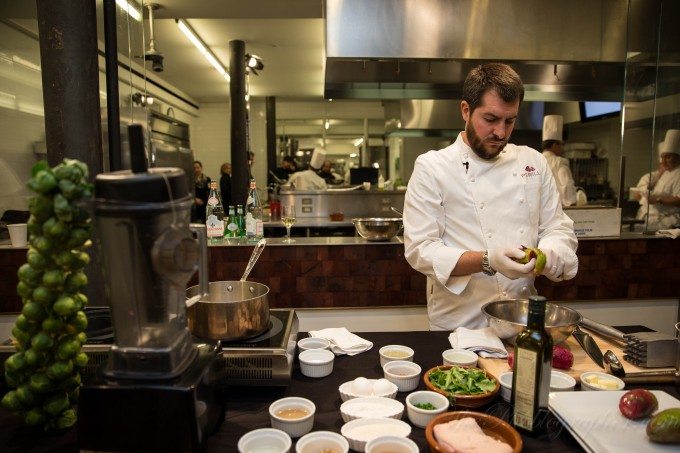
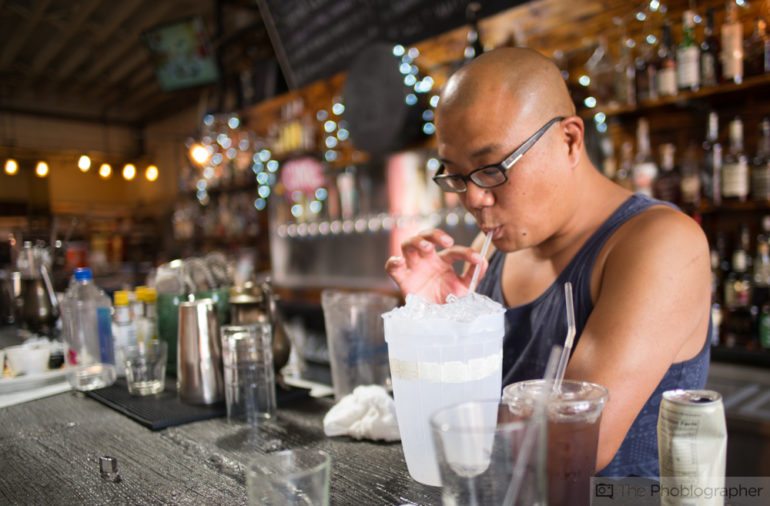
Something we touched on very early on is the Environmental Portrait. For those that don’t know, environmental portraits are photos of people in their natural environment. The photos should say something about the person and who they are. They’re very popular with photojournalists and with photographers that do special commissioned headshots.
Some examples are:
- A chef in the kitchen working.
- An artist in their loft studio with some work that they’re currently in progress with and other pieces by them in the studio.
- A Police Chief in his office at the desk.
- A Doctor in their jacket, with a stethoscope around their neck and either in their office or in a patient’s room.
The 24mm lens can capture not only your subject but everything else in the scene. Providing that you’re only getting as tight as maybe halfway through their body, you’ve got plenty of room to position various elements in the image.
So use that space!
Keeping Your Subject And Everything Important Along the Middle Area of the Imaging Circle
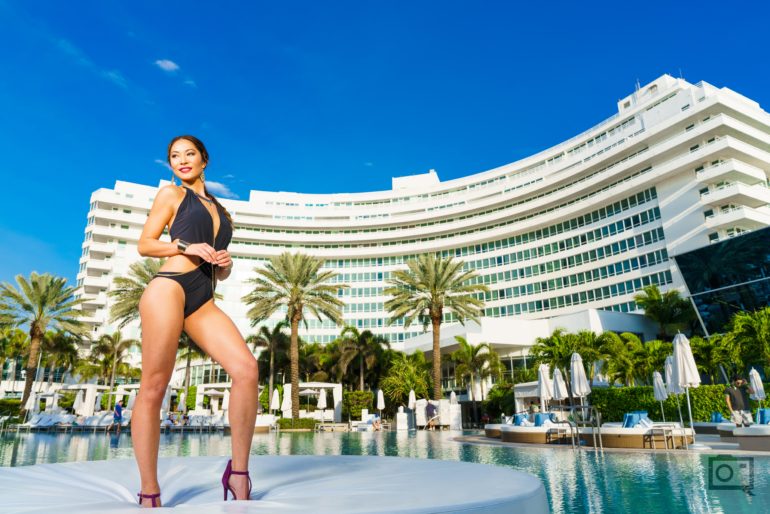
You know how the rule of thirds more or less dictates that you should keep your subjects along those intersecting points in the frame? Nowhere is that more important than with a 24mm lens when you’re shooting a portrait. Positioning your subject far off into the corners can result in distortion that makes things look odd.
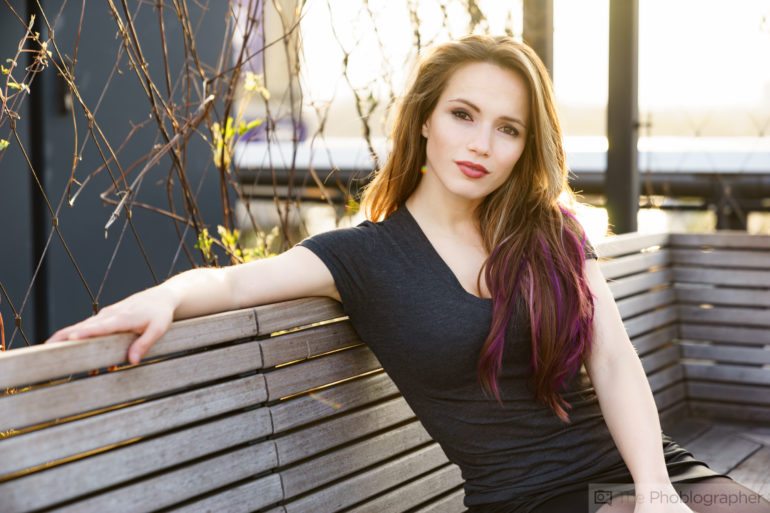
Of course, models themselves like the one in the image above are a different situation–they’re partially paid to look a certain way for the camera. Most people though come in all manners of beautiful shapes and sizes–so the general rule still sticks there.
With all this said, don’t be afraid to crop. There’s absolutely nothing wrong with it if it means you get a better photo in the end.
Don’t Forget to Use an Applebox

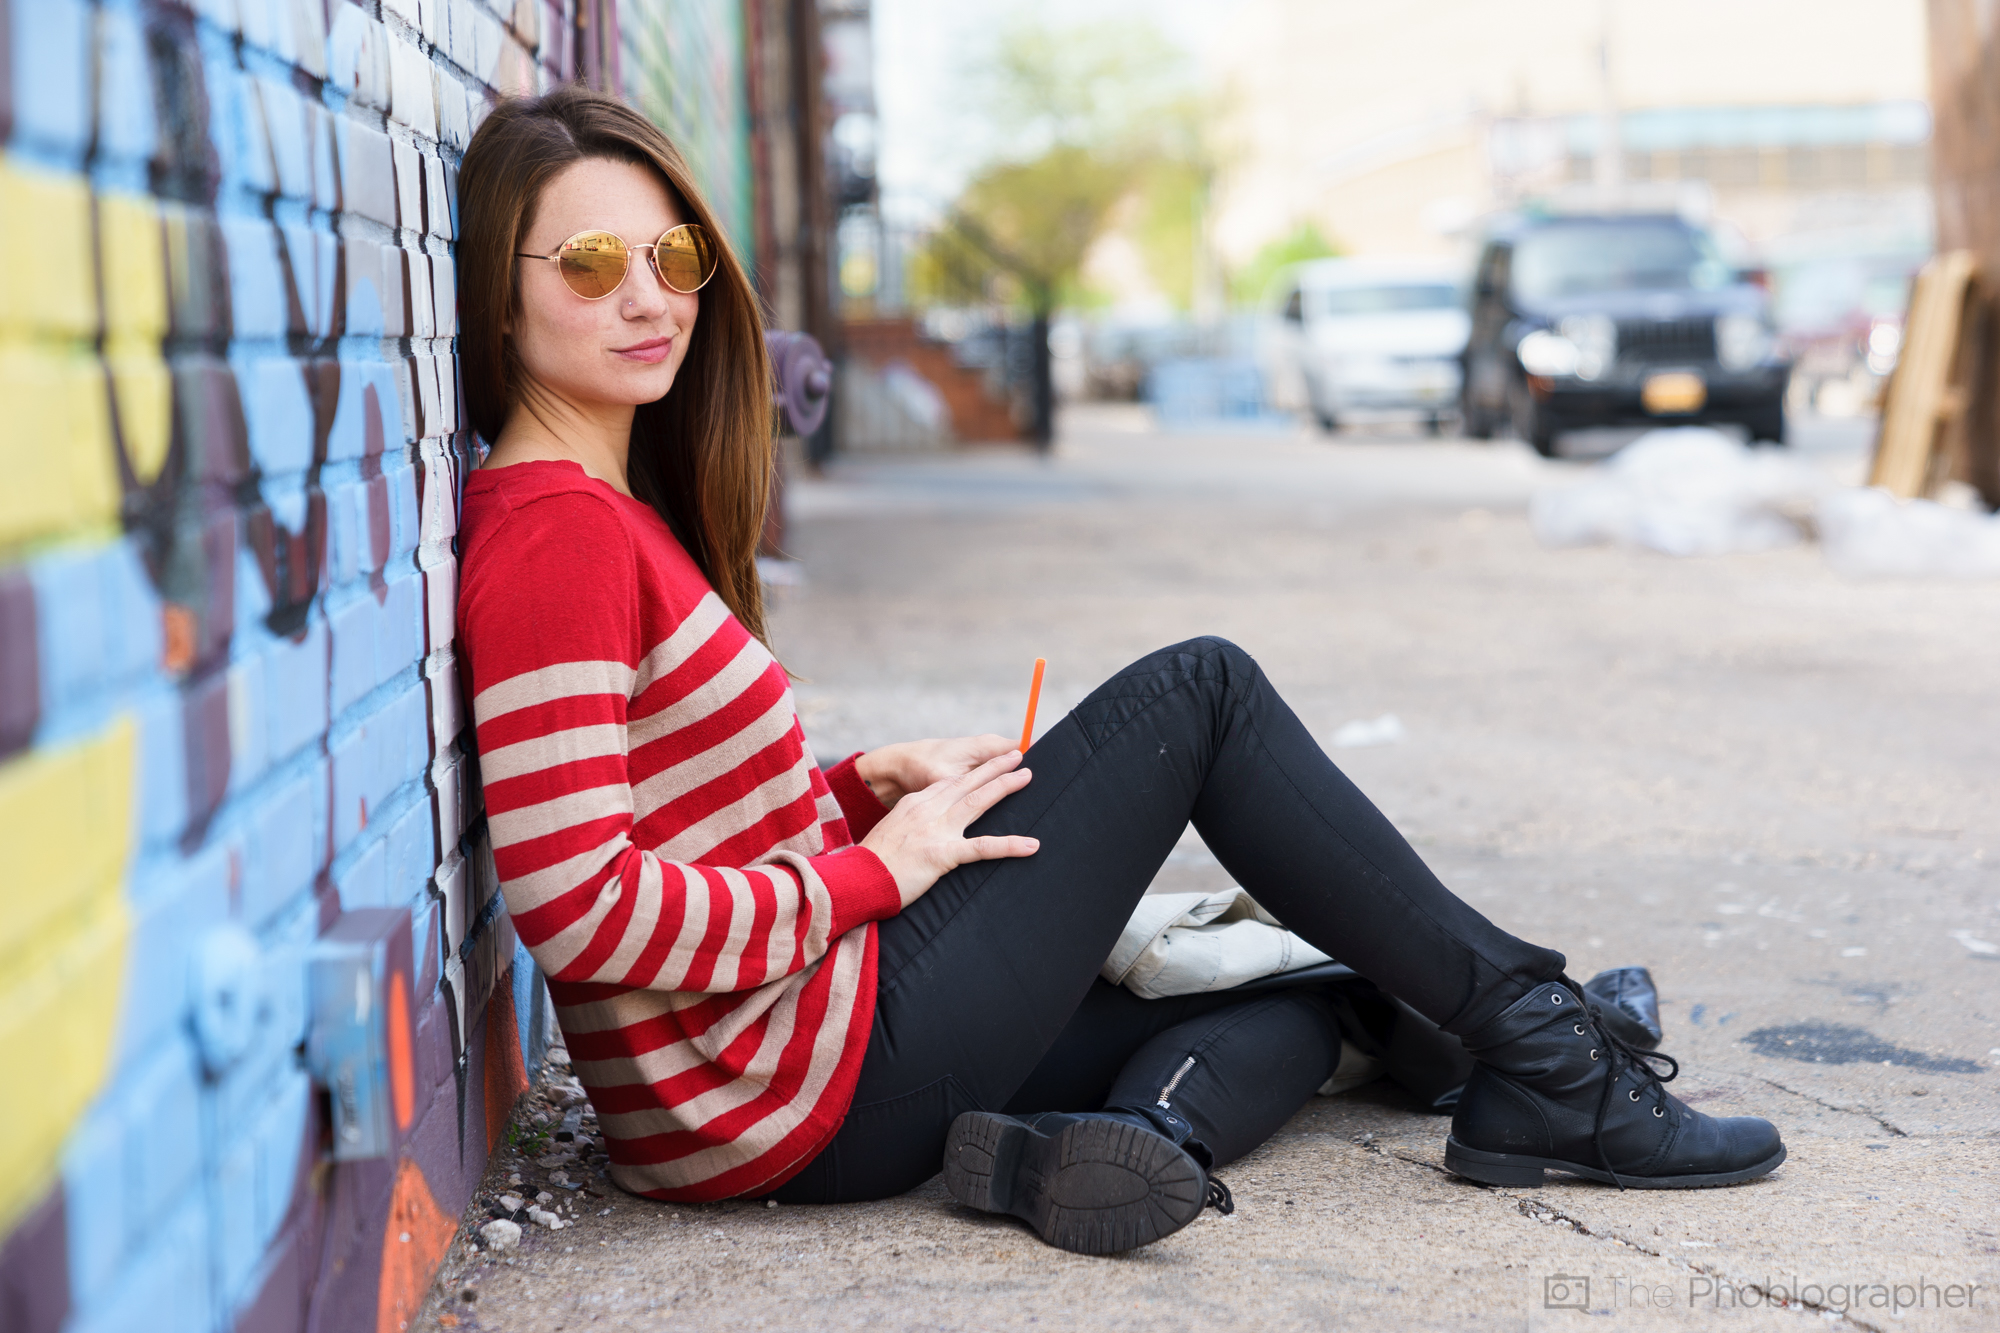
So too does asking the person to sit.
If you’re taking the sitting position, follow these tips:
Keep the Depth of Field As Shallow As Possible
With a 24mm lens, much more of a scene is in focus at any given distance when put up against an 85mm lens with an equivalent aperture setting. With that said, having the subject in focus and trying to blur out any other details that aren’t important in the scene should be paramount.
For sure, this goes for any portrait–but it especially goes for a 24mm lens because of how you use it. Again, you’re creating a wider portrait and so it will be easier for viewers to see more subject details.


