A map style is a set of visual customizations to map features that you associate with a map ID. You then reference the map ID in your application code to display the customized map.
You can create a map style before you have a map ID; however, to use the style, you must associate the style with a map ID. To use a map style, you must take all of these steps:
Create and publish a map Style. For details, see Create a style and Publish a style.
Create a map ID. For details, see Create a map ID.
Associate the map style with a map ID. For details, see Associate a map ID to a map style.
Add the map ID to your app to display your style. For details, see Add the map ID to your map.
Create a map style
Create a map style using one of these methods:
Create a new style using the default Google map style.
Duplicate and modify an existing standard or customized style.
Import a JSON map style to use as a customized style.
Create a new style
In the Google Cloud console, go to Map Styles, and select a project, if needed.
In Map styles, click Create style.
In the dialog, select any variations, if needed, and Customize.
Select map features and change their style to create the map style you want. Map features with custom styles have a solid blue dot next to them.
Click Save.
In the Save and publish map style box, enter a name for your style and optionally a description, and click Save.
The style is automatically published, and you see your new style's main page.
Duplicate a style
Go to Map Styles, and select a project, if needed.
Select one of your existing styles.
On the style page, click Duplicate.
In the Duplicate Map Style box, enter a new map name and optionally a description.
Click Save.
The style is automatically published, and you can see your new style's main page. Associate it with a map ID to use it for your maps. For details, see Associate a map ID to a map style.
If you want to modify the style, click Customize, make changes, and click Save.
Import a JSON map style
Alternatively, you can create a map style by using JSON. For information on which properties you can style using JSON, see the JSON style reference.
In the Google Cloud console, go to Map styles, and select a project, if needed.
In Map styles, click Create style.
In the dialog, select the JSON tab
Paste your valid JSON styling code into the field.
- If your JSON is invalid, the warning "Unable to load the style preview" appears.
- If your JSON is valid, you see a preview of the pasted style, and the blue Customize button is available.
Click Customize.
Select map features and review or change their style as needed to create the map style you want. Map features with custom styles have a solid blue dot next to them.
Click Save.
In the Save and publish map style box, enter a name for your style and optionally a description, and click Save.
The style is automatically published, and you see your new style's main page.
Publish a style
When you first create a new map style, which includes duplicating an existing style or importing a JSON style, that first instance of the new map style is automatically published. After that, you can save changes as a draft and then publish when you're happy with the changes.
Make the changes to the map style or duplicated map style you want to publish. For details, see Change a style.
While you're still making changes, click Save.
When you're ready to publish and have your changes go live for any map IDs using that map style, click Save, and then click Publish.
Published versus Draft map styles
Published: A published map style is live. Any maps that use the map style display the published version of it.
Draft: Draft versions of a map style are works in progress and aren't displayed in maps until you publish them.
Change a style
If you want to make changes to your map style, you can make the changes right in the style editor. You have a couple of choices when you update a style:
If you want changes to go live as soon as you're ready: Click Customize and make your changes. Click Save to save your changes as a draft, and then click Publish when you are ready.
If you want to test your changes in a test environment first: Instead of making changes directly in the map style, duplicate the style first. For details, see Duplicate a style and Test map style updates.
Once you've created a map style, you can make changes to it on the style's main page in any of the following ways:
Edit: Click Customize.
Duplicate: For details, see Duplicate a style.
Rename: Rename the map style.
Delete: Delete the map style.
Use data-driven styling and datasets
In the style's main page, you can enable and view layers for data-driven styling for boundaries and data-driven styling for datasets on light map styles.
When you link a light map style that has data-driven styling or datasets enabled to a map ID, the enabled layers are also available for dark mode.
To use data-driven styling or datasets with a dark map style, you must do the following in the Google Cloud console:
Go to Map Styles and either select a light map style or create one.
In the style main page, enable the your choice of layers on a light map style.
Associate the light map style to the same map ID as the dark map style.
Associate your style to a map ID
A map ID can only have one light style and one dark style associated with it. To change the associated style for a specific map ID, do the following in the Google Cloud console:
Go to Map Management and select a map ID.
Under Map styles, click Change style for light or dark.
In the panel, select one of the styles to associate to this map ID.
Click Done.
Click Save to apply all changes.
To use your cloud-based map style, add the map ID to your app.
Navigate on the preview map
You navigate on the preview map in the same way you navigate on any Google map:
Enter an address or location in the Search Address box.
Click the compass to center on your location. You may also have to grant location permissions.
Drag to move the map.
Zoom in or out using the plus (+) and minus (-).
Find map features
To find a map feature that you want to style, you can use the filter or the map inspector.
You can also expand and collapse map feature categories to find the map feature you want. Browse the list of map features at What you can style on a map.
Filter map features
To find map features using the filter, under Map Features, enter a term in the Filter box.
If you can't find a map feature:
Don't use plurals. All of the categories are singular.
Try using a more generic term for the feature. For example, instead of "pizza parlor" or "fast food," search for "restaurant."
Try using a broader category, and then explore that category for the closest map feature. For example, instead of "theater," search for "entertainment."
Inspect map features
To find map features using the map inspector, perform the following steps:
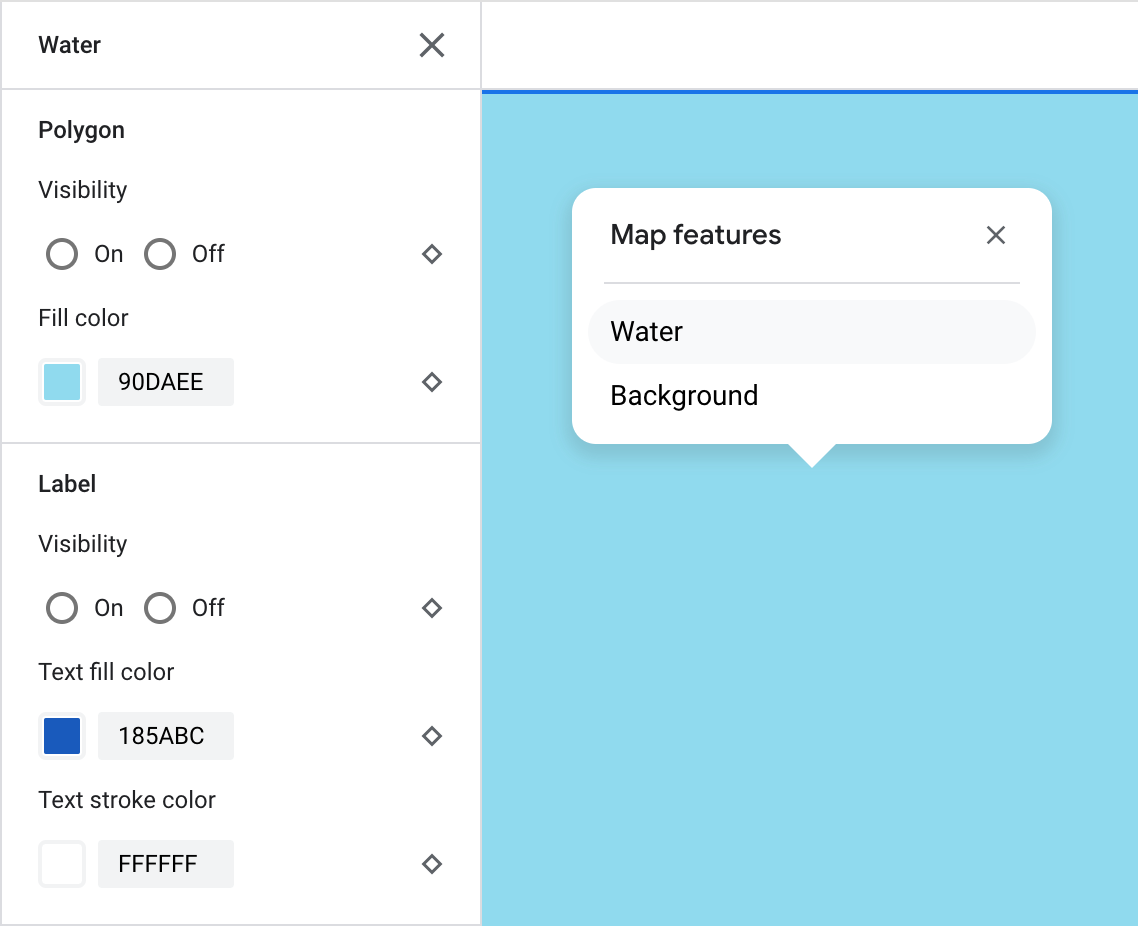
Left-click anywhere on the map to open the map inspector at your click point.
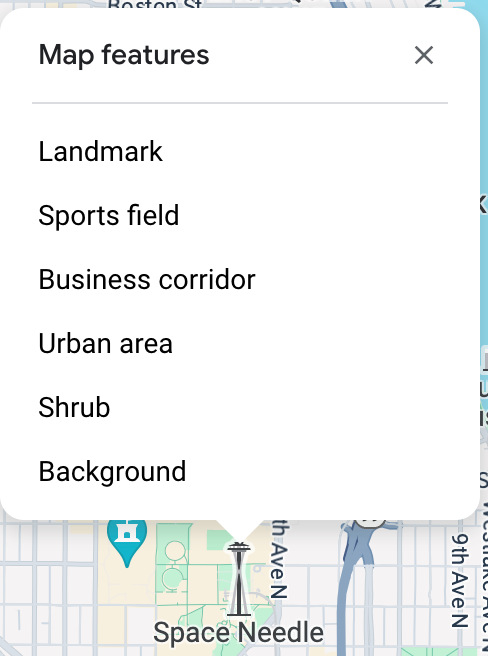
Select a map feature from the map inspector, and the corresponding Map Features pane expands and shows the elements you can customize.