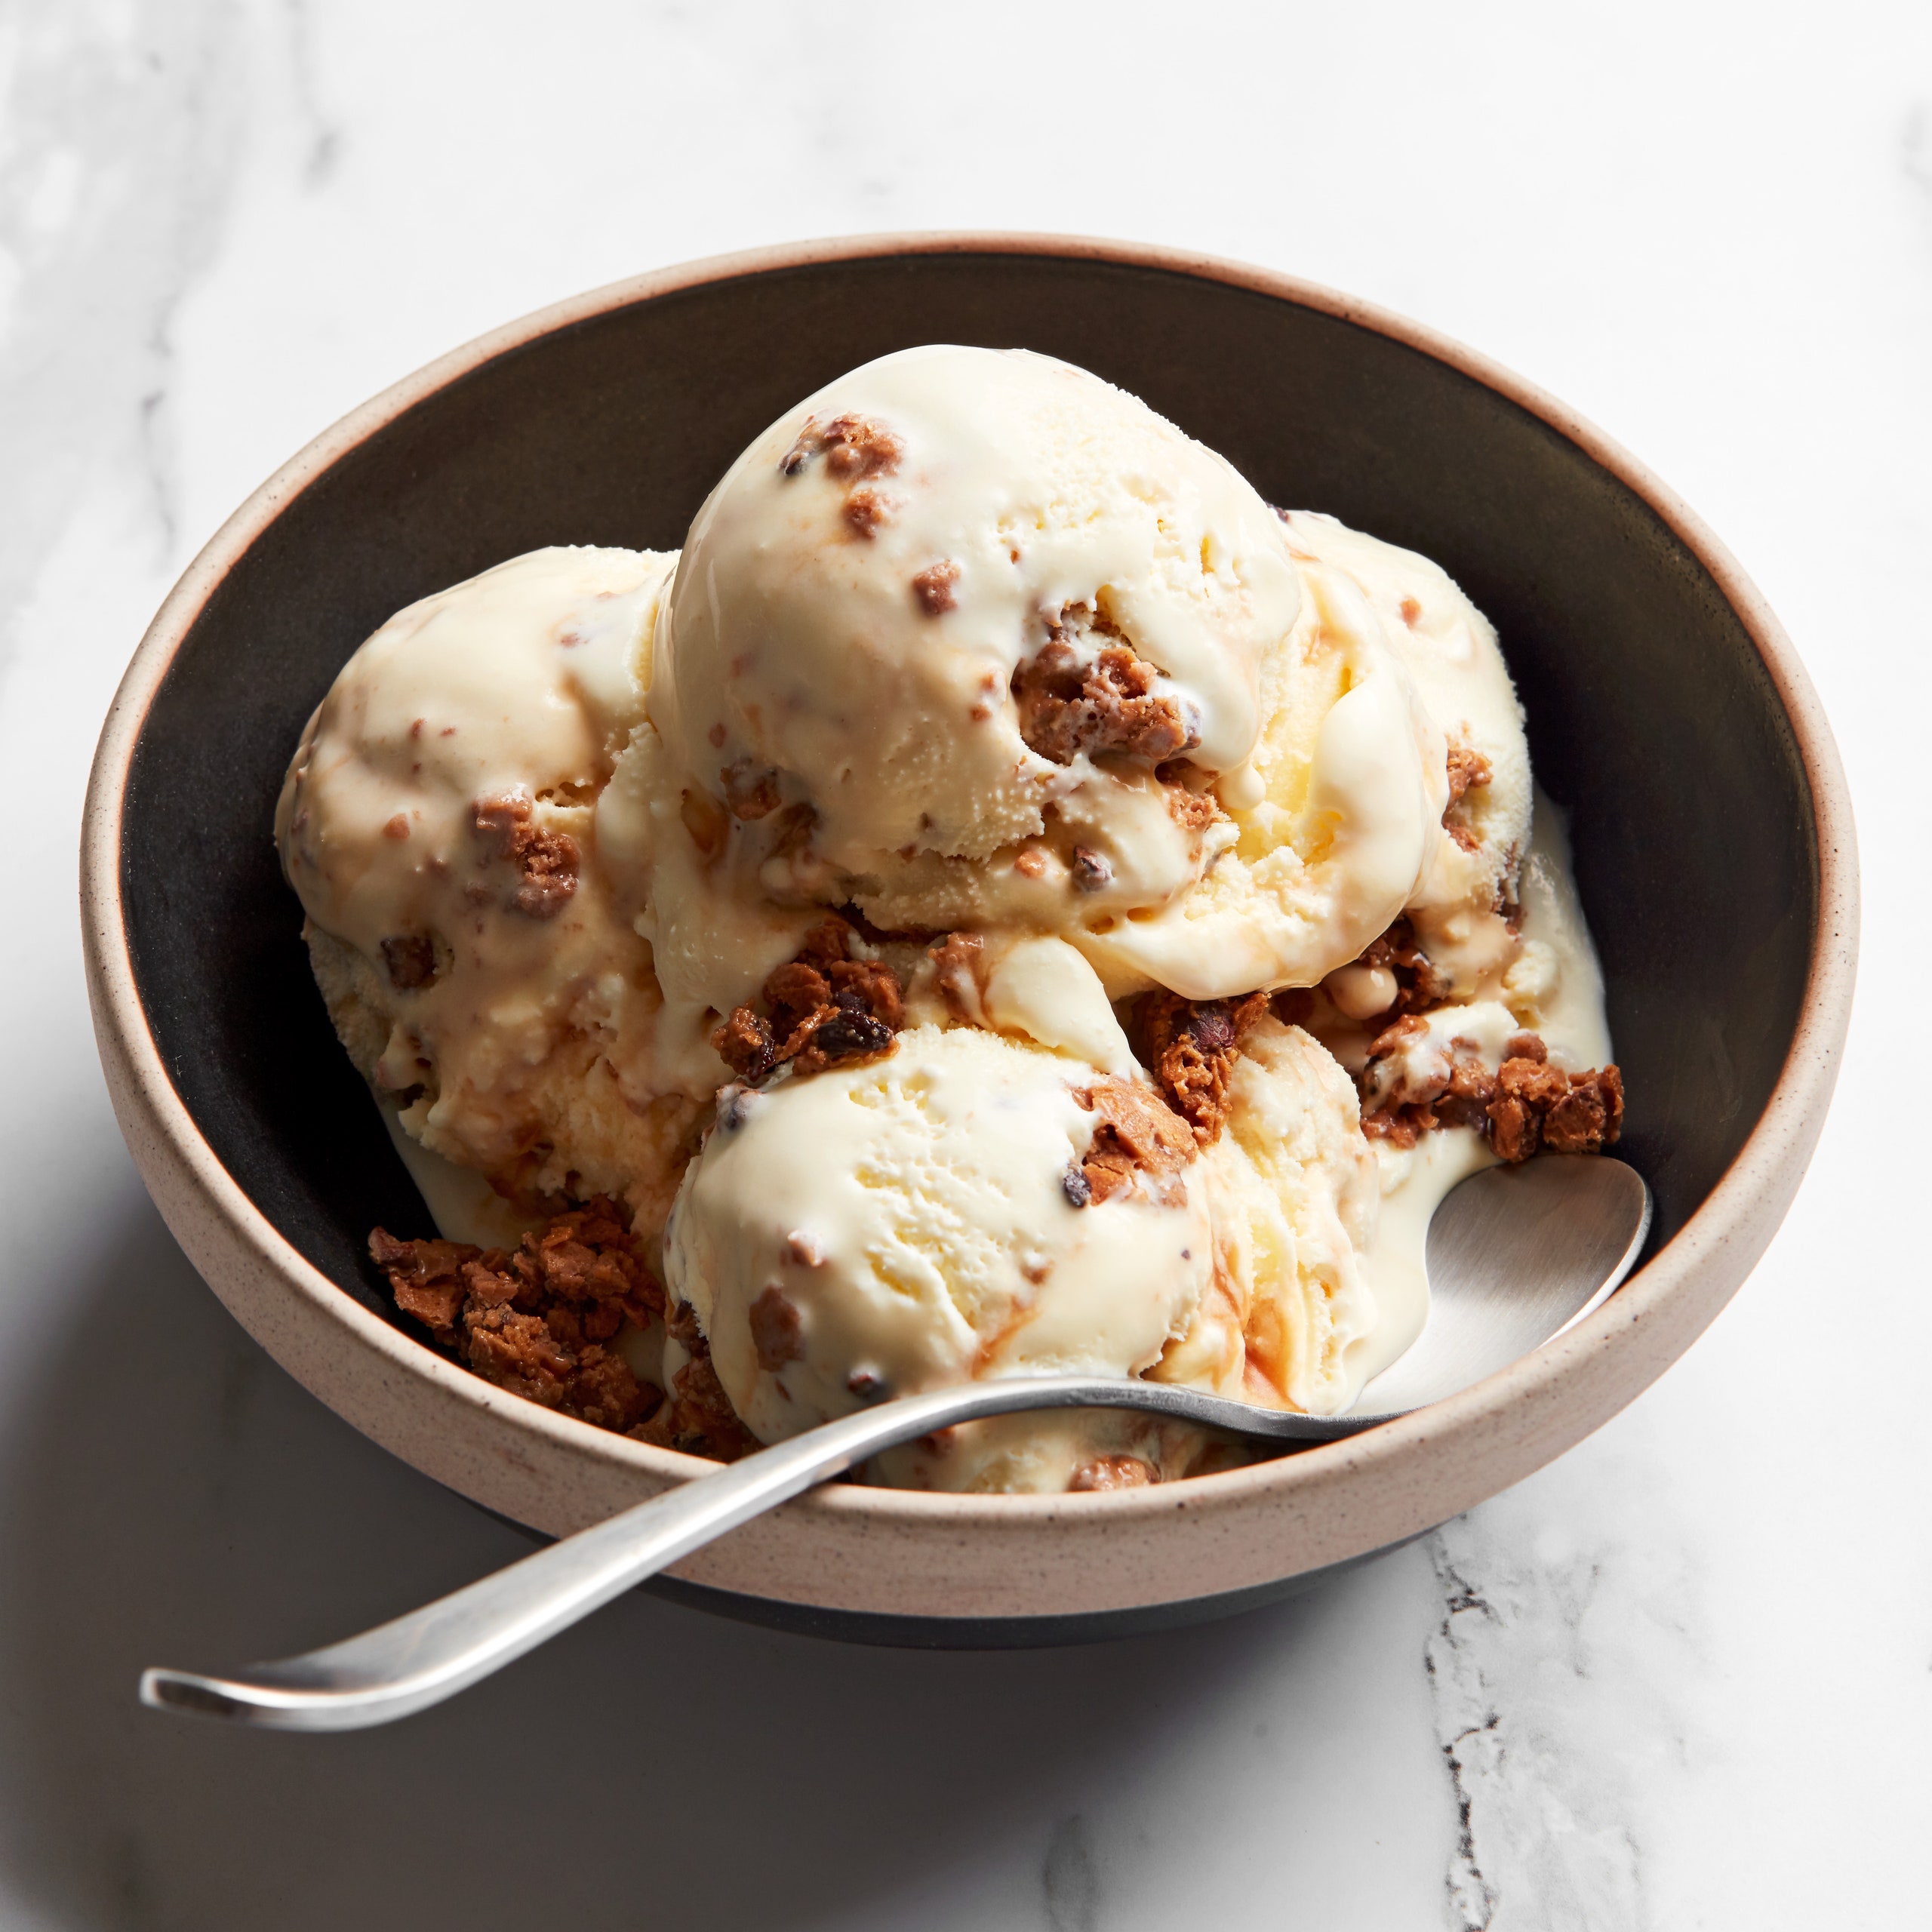
I prepare Nutterbuddies—small crispy peanut-butter-and-chocolate squares—as a confection for many of the restaurants I’ve worked for, in Seattle and Chicago, and they’ve garnered quite a cult following. This ice cream was created for the legions of Nutterbuddy fans, and has earned a few more fans of its own along the way.
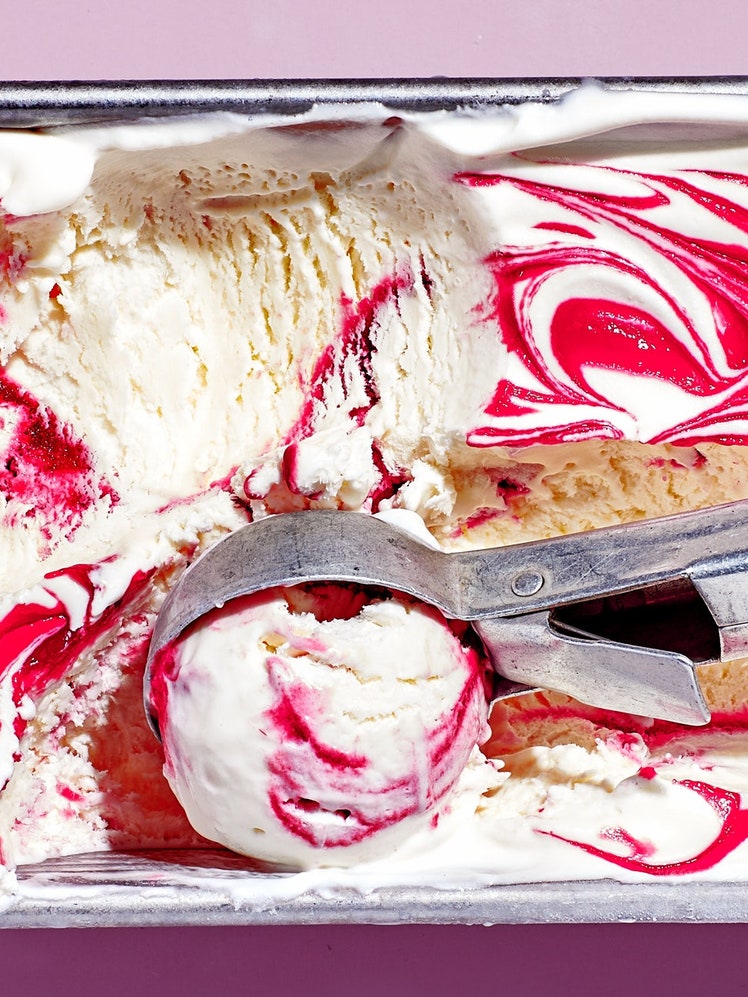
When it comes to caramel ribbons in ice cream, I want the caramel to be soft enough to dissolve in my mouth, but chewy enough that I can feel it when I bite into a scoop. The ideal texture is found with corn syrup, which not only reduces the sweetness of the caramel but also helps keep it soft at frozen temperatures.
The most important part of making a caramel sauce is cooking it so the sugars darken into a rich amber, but not so dark that it becomes bitter. Watch the cooking sugar like a hawk, and add the butter to stop the cooking when the perfect color is achieved. Test the color with strips of white paper. (The pot will distort the color of the caramel.) And when making any caramel, keep a bowl of ice water nearby in case of burns. This caramel sauce recipe will keep in your freezer between batches for up to 3 months, and is as delicious warmed and drizzled over ice cream as it is folded into it.
This ice cream also has another special addition: melted milk chocolate and peanut butter coat crispy flakes and cacao nibs, making a salty, crunchy, peanut-buttery crunch.
The hardest ingredient to find for this recipe is feuilletine, which looks like crushed corn flakes, but has the flavor of an ice cream cone. Feuilletine stays crisp when added to confections, and it crackles between your teeth. You can substitute Rice Krispies, and I wouldn’t shame you, but you’ll be greatly rewarded if you special-order feuilletine from an internet supplier or harass a local pastry chef for some of the good stuff. Once your ingredients are in hand, I promise this comes together in a jiffy. When you finish making the peanut crunch, be sure to keep it frozen at all times; it will melt at room temperature.
Recipe information
Yield
Makes between 1½ and 2 quarts ice cream
Ingredients
For the Creamy Caramel Ribbon:
For the Nutterbuddy Crunch:
For the Vanilla Ice Cream:
For the Nutterbuddy Ice Cream:
Preparation
For the Creamy Caramel Ribbon:
Step 1
Heat the cream and corn syrup: Cook the cream, corn syrup, and salt in a small pot over medium-high heat until the cream begins to simmer, stirring to dissolve the corn syrup. Remove the cream from the heat and set aside in a warm place. Place the butter near the stove.
Step 2
Caramelize the sugar: Place the sugar and water in a small heavy-bottomed saucepan, and stir gently. Place the pot over medium-high heat, and use a moist pastry brush dipped in clean water to wash down stray sugar crystals so they dissolve in the boiling sugar. Continue cooking, washing down any crystals, until the sugar reaches a medium amber. Dip a piece of white paper in the caramel to test the color.
Step 3
Mix the cream into the caramel: When you have reached caramel color, immediately remove the pot from heat, and stir in the butter to stop the cooking. Add the warm cream bit by bit, being careful as it will sputter. Add the vanilla and stir. If there are any lumps of unmelted caramel, continue cooking the sauce at a low simmer until smooth and even.
Step 4
Prepare the caramel sauce as an add-in: Strain the caramel sauce through a fine-mesh sieve, then transfer the warm caramel to a container and let it cool in the refrigerator. Once cool, cover tightly. This will keep for 2 weeks in the refrigerator. To add the caramel to ice cream, stir it vigorously until it is fluid enough to drizzle into freshly churned ice cream.
For the Nutterbuddy Crunch:
Step 5
Melt the peanut butter, chocolate, and oil: Place the peanut butter, milk chocolate, and coconut oil in a large mixing bowl. Find a pot with a mouth a few inches smaller than the bowl, fill it with 2 inches of water, and bring it to a boil over medium-high heat. Reduce the heat to a simmer, then set the mixing bowl on top. Melt the peanut butter mixture, stirring occasionally, until evenly mixed.
Step 6
Mix in the solids: Set the mixing bowl on a towel to wipe away any moisture from the bottom. Stir in the fuilletine, cacao nibs, and salt.
Step 7
Chill the mixture: Line a sheet pan with parchment paper, and scatter the peanut butter mixture in an even layer. Place in the refrigerator for 10 to 15 minutes, until it is semi-firm. Break up the mixture into individual bites by tossing it with your hands.
Step 8
Freeze and store: Transfer the pan to the freezer for 1 hour, or up to 24 hours. When the crumbled Nutterbuddy Crunch is completely frozen, loosely pack it into an airtight container to keep for up to 3 months in the freezer.
For the Vanilla Ice Cream:
Step 9
Prepare an ice bath: Fill a large bowl two-thirds of the way with very icy ice water and place it in the refrigerator.
Step 10
If using commercial stabilizer, mix with sugar before proceeding. Boil the dairy and sugars: Put the cream, milk, corn syrup, and sugar in a medium heavy-bottomed saucepan, and place it over medium-high heat. Cook, whisking occasionally to discourage the milk from scorching, until the mixture comes to a full rolling boil, then remove the pot from heat.
Step 11
Infuse the vanilla: Cut the vanilla bean in half lengthwise and use the tip of a paring knife to scrape the seeds from the pod. Stir both the vanilla seeds and the pod into the hot dairy, and allow the vanilla bean to infuse for 30 minutes. (If using vanilla extract, wait to add it to the cooled ice cream base or the flavor will disappear during cooking.)
Step 12
Remove the vanilla and reheat: Remove and discard the empty vanilla pod. Reheat the dairy over medium-high heat. If using cornstarch and milk as texture agent, whisk into vanilla flavored dairy just as the mixture is beginning to come to a boil. Cook 1 minute more, until the liquid comes to a full rolling boil, then remove from the heat.
Step 13
Temper the yolks and cook the custard: In a medium bowl, whisk the yolks. Add ½ cup of the hot dairy mixture to the yolks while whisking so the hot milk doesn’t scramble the yolks. Pour the tempered yolks back into the pot of hot milk while whisking. Place the pot over medium-low heat and cook, stirring and scraping the bottom of the pot constantly with a rubber spatula to avoid curdling.
Step 14
Chill: When you notice the custard thickening, or the temperature reaches 180°F on a kitchen thermometer, immediately pour the custard into a shallow metal or glass bowl. If using tapioca starch and milk as your texture agent, whisk into custard base. Nest the hot bowl into the ice bath, stirring occasionally until it cools down. If using guar or xanthan gum as your texture agent, add to custard base and whirl in a blender until smooth.
Step 15
Strain: When the custard is cool to the touch (50°F or below), strain it through a fine-mesh sieve to remove any bits of egg yolk. (This step is optional, but will help ensure the smoothest ice cream possible.)
Step 16
Cure: Transfer the cooled base to the refrigerator to cure for 4 hours, or preferably overnight. (This step is also optional, but the texture will be much improved with it.)
Step 17
Churn: Place the base into the bowl of an ice cream maker and churn according to the manufacturer’s instructions. The ice cream is ready when it thickens into the texture of soft-serve ice cream and holds its shape, typically 20 to 30 minutes.
For the Nutterbuddy Ice Cream:
Step 18
Chill the container: Place a storage container in the freezer; you’ll want it very cold before you fill it.
Step 19
Layer the ice cream with the add-ins: Remove the container from the freezer, drizzle a couple spoonfuls of the ribbon over the bottom. Spread one-third of the just-churned ice cream in the container. Drizzle one-third of the ribbon over the ice cream. Repeat this layering two more times. Plunge a spatula through the layers four or five times to distribute the ribbon. (If mixing in multiple ribbons, simply add both or all of the ribbons at the same time, with the same method described above.)
Step 20
Freeze: Press a piece of plastic wrap directly on the surface of the ice cream, cover the container with a lid, and place it in your freezer for 4 to 12 hours, until completely firm.
For the best texture, choose commercial stabilizer, mixed with the sugar before it is added to the dairy. For the least icy ice cream, choose guar or xanthan gum, whirled in a blender with the custard base after it is chilled in the ice bath. For the easiest texture agent, go with tapioca starch, mixed with 2 Tbsp. cold milk and whisked into the custard base after it is finished cooking. For the most widely-available option, use cornstarch (mixed with 2 Tbsp. cold milk and whisked into the vanilla flavored dairy after it’s reheated, then cooked for 1 minute).


