- AWS Quicksight Tutorial
- AWS Quicksight - Home
- AWS Quicksight - Overview
- AWS Quicksight - Landing Page
- AWS Quicksight - Using Data Sources
- AWS Quicksight - Data Source Limit
- AWS Quicksight - Editing Datasets
- AWS Quicksight - Creating New Analysis
- AWS Quicksight - Adding Visuals
- Using Filters to a Visual
- AWS Quicksight - Insights
- AWS Quicksight - Creating Story
- AWS Quicksight - Using Parameters
- AWS Quicksight - Sharing Analysis
- AWS Quicksight - Dashboards
- AWS Quicksight - Managing Quicksight
- AWS Quicksight - Edition Type
- AWS Quicksight - Managing IAM Policies
- AWS Quicksight - Embedding Dashboard
- AWS Quicksight - AWS SDKs
- Developer Responsibilities
- AWS Quicksight Useful Resources
- AWS Quicksight - Quick Guide
- AWS Quicksight - Useful Resources
- AWS Quicksight - Discussion
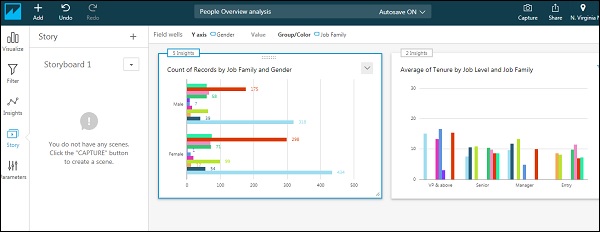
AWS Quicksight - Creating Story
Story is an option wherein you capture a series of screens and play them one by one. For example, if you want to see a visual with different filter options, you can use story. To create a Story, click on Story on the leftmost panel. By default, there is a story with name Storyboard 1. Now capture the screen using the capture icon at the right most panel on the top. Each capture of the screen is also referred to as Scene. You can capture multiple scenes and those will get added under “Storyboard 1”. The data in the story gets automatically refreshed once your main data source is refreshed.
Advertisements